
Moving a WordPress site from one hosting provider to another or from a local server to a live server can be a daunting task, especially if you’re a novice. However, with the right guidance, it’s a process that can be seamlessly executed. In this tutorial, we will walk you through the steps to migrate your WordPress site without breaking a sweat.
Knowledge of the Migration Process
The process of migrating a WordPress site involves moving your site’s files and database from one server to another. This includes your site’s themes, plugins, media files, and database, which contains your posts, comments, and links.
Preparing for Migration
It is crucial to get ready before beginning the migration process. This will make the transition seamless and lower the chance of mistakes.
- Backup Your WordPress Site: The first step is to create a backup of your WordPress site. This is crucial because if anything goes wrong during the migration, you can restore your site to its previous state.
- Choose a New Hosting Provider: If you’re migrating to a new hosting provider, ensure you choose a reliable one that suits your needs. Look for factors like uptime, speed, customer service, and compatibility with WordPress.
- Set Up a Maintenance Page: During the migration process, your site may be temporarily unavailable. It’s best to set up a maintenance page to inform your visitors about the temporary downtime.
Steps to Migrate Your WordPress Site
Here are the steps to migrate your WordPress site:
Step 1: Install a Migration Plugin
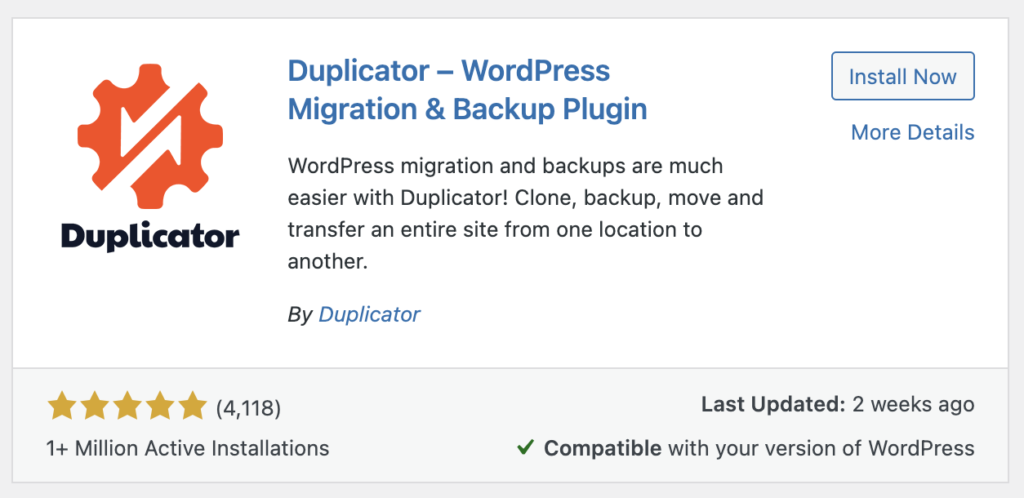
There are several migration plugins available for WordPress. For this guide, we will use the Duplicator plugin, which is a free and popular choice. To install Duplicator:
- Log in to your WordPress dashboard
- Go to Plugins > Add New
- Search for “Duplicator”
- Click “Install Now” and then “Activate”

Step 2: Create a Package
A package is a copy of your WordPress site that can be moved to a new location. To create a package:
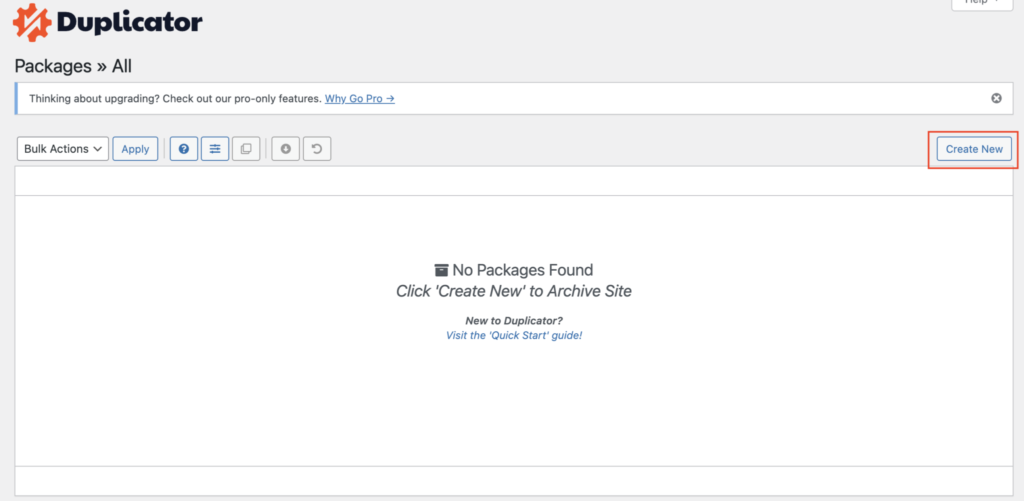
- In your WordPress dashboard, go to Duplicator > Packages
- Click “Create New”
- Follow the instructions to create a package. This process may take a few minutes.

Step 3: Download the Package and Installer Files
Once the package is created, Duplicator will provide two files: the package (which contains your site’s files and database) and the installer (which will help you install your site on the new server). Download both files to your computer.
Step 4: Upload the Package and Installer to Your New Server
Now, you need to upload the package and installer files to your new server. You can do this using an FTP client like FileZilla.
- Connect to your new server using the FTP client
- Navigate to the root directory of your site (usually named public_html)
- Upload the package and installer files
Step 5: Create a New Database on Your New Server
Before you can install your site on the new server, you need to create a new database. This can be done through your hosting provider’s control panel.
- Log in to your control panel
- Go to MySQL Databases
- Create a new database and a new user
- Add the user to the database and grant all privileges
Remember the database name, username, and password. You will need them in the next step.
Step 6: Run the Duplicator Installer
Now, you’re ready to install your site on the new server.
- In your web browser, go to yoursite.com/installer.php (replace yoursite.com with your site’s URL)
- Follow the instructions to install your site. You will need to enter the database name, username, and password you created in the previous step.
Step 7: Update Your DNS Settings
The final step is to update your DNS settings to point your domain name to your new server. This can be done through your domain registrar’s control panel. It may take up to 48 hours for the changes to take effect.
Summary
Migrating a WordPress site may seem complicated, but with the right tools and guidance, it’s a task that can be accomplished with ease. By following these steps, you can successfully migrate your WordPress site to a new server, ensuring a seamless transition for your visitors.
