Embarking on your journey with Apache Spark? Fantastic! In this simplified guide, we’ll walk you through the process of changing the Apache Spark port to the user-friendly 80 and securing your setup with an SSL certificate.
Prerequisites
Make sure you have a clean installation of Apache Spark on your Ubuntu 23 server. Follow our Apache Spark on Ubuntu 23 installation guide.
Step 1: Acquiring an SSL Certificate
Let’s start by obtaining a free SSL certificate from Let’s Encrypt using Certbot:
sudo apt update
sudo apt install certbot
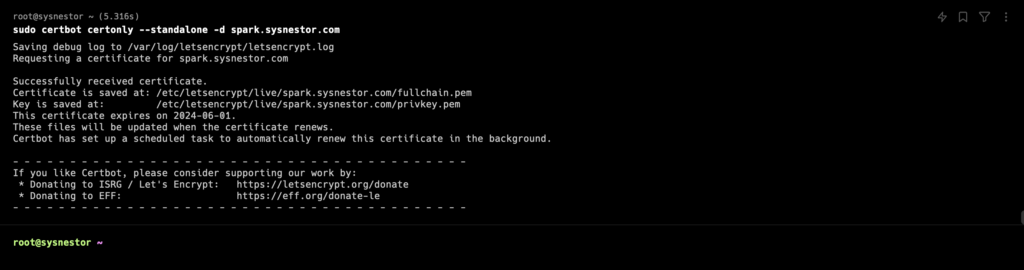
sudo certbot certonly --standalone -d spark.sysnestor.com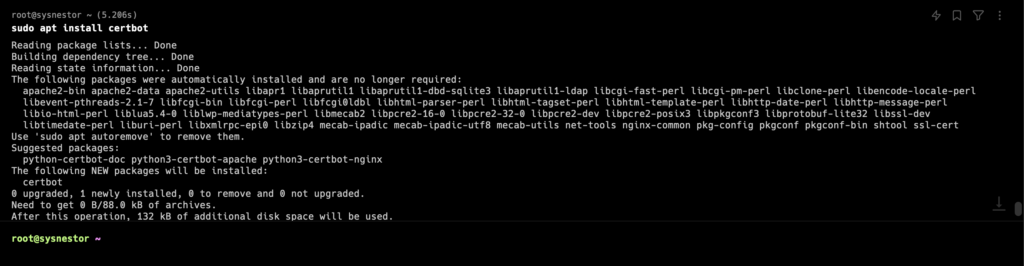
Change spark.sysnestor.com with your domain. Follow the prompts to generate the SSL certificate.
Step 2: Configuring Apache Spark for SSL
Edit your Spark configuration file (spark-defaults.conf) and add the following lines:
nano /opt/spark/python/test_coverage/conf/spark-defaults.confspark.ui.reverseProxy true
spark.ui.reverseProxyUrl https://spark.sysnestor.com
spark.ui.reverseProxyTrust /etc/letsencrypt/live/spark.sysnestor.com/fullchain.pemDon’t forget to change spark.sysnestor.com with your domain.
Step 3: Configure Nginx as Reverse Proxy
Install Nginx
apt install nginxCreate a new Nginx server block configuration:
sudo nano /etc/nginx/sites-available/sparkAdd the following configuration:
server {
    listen 80;
    server_name spark.sysnestor.com;
    return 301 https://$host$request_uri;
}

server {
    listen 443 ssl;
    server_name spark.sysnestor.com;

    ssl_certificate /etc/letsencrypt/live/spark.sysnestor.com/fullchain.pem;
    ssl_certificate_key /etc/letsencrypt/live/spark.sysnestor.com/privkey.pem;

    location / {
        proxy_pass http://localhost:8080;
        proxy_http_version 1.1;
        proxy_set_header Upgrade $http_upgrade;
        proxy_set_header Connection 'upgrade';
        proxy_set_header Host $host;
        proxy_cache_bypass $http_upgrade;
    }
}
Make sure to replace spark.sysnestor.com with your own domain and adjust port 80 to your preferred port.
Enable the Nginx configuration:
sudo ln -s /etc/nginx/sites-available/spark /etc/nginx/sites-enabled
sudo service nginx restart
Step 4: Create a systemd Service:
Create a systemd service file for Apache Spark. Create a file, for example, spark.service, in the /etc/systemd/system/ directory:
[Unit]
Description=Apache Spark

[Service]
Type=simple
ExecStart=/opt/spark/sbin/start-master.sh
Restart=always
RestartSec=3

[Install]
WantedBy=default.target
Enable and Start the Service:
Run the following commands to enable and start the service:
sudo systemctl enable spark
sudo systemctl start spark
This will start the Spark master as a systemd service.
Create a script, for example, monitor_spark.sh, that checks if Spark is running and restarts it if needed:
#!/bin/bash

SPARK_PID=$(pgrep -f "org.apache.spark.deploy.master.Master")

if [ -z "$SPARK_PID" ]; then
    echo "Spark is not running. Restarting..."
    /opt/spark/sbin/start-master.sh
else
    echo "Spark is running (PID: $SPARK_PID)."
fi
Make the script executable:
chmod +x monitor_spark.sh
sh monitor_spark.sh
Spark is not running. Restarting...
starting org.apache.spark.deploy.master.Master, logging to /opt/spark/logs/spark-root-org.apache.spark.deploy.master.Master-1-sysnestor.out
Step 5: Verify SSL Configuration
Visit https://spark.sysnestor.com in your web browser. Ensure the connection is secure, and the Apache Spark web console is accessible.
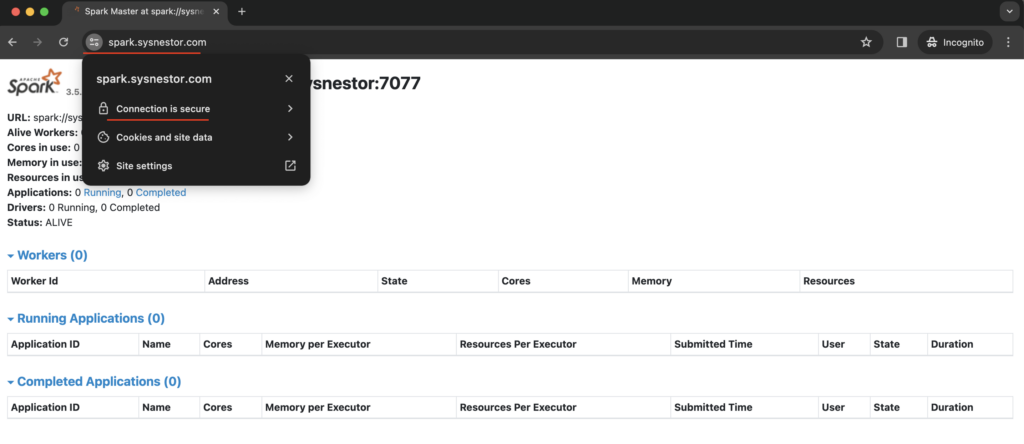
Congratulations! You’ve successfully added SSL to your Apache Spark deployment and set up a reverse proxy with Nginx. Your Spark web console is now securely accessible via https://spark.sysnestor.com.
Remember to regularly renew your SSL certificate using Certbot.