In an age where digital content is king, the role of text-to-speech (TTS) technology has become increasingly vital. This innovative tool has revolutionized the way we interact with digital platforms, making information more accessible and user-friendly. Especially in the context of WordPress websites, TTS plugins have emerged as a game-changer. They not only enhance the accessibility of content for people with visual impairments or reading difficulties but also cater to the diverse preferences of a global audience.
Integration of Text-to-Speech
The incorporation of Text-to-Speech (TTS) technology into WordPress significantly enriches the user experience by adding an audio component to the written material. This enhancement is especially beneficial for those who favor listening to content, such as individuals who consume media while multitasking or those with varied learning preferences. Additionally, Text-to-Speech plugins play a crucial role in making digital environments more inclusive, ensuring that the vast amount of online information is accessible beyond the confines of reading text on a screen.
Beyond improving accessibility and user convenience, Text-to-Speech technology also provides new opportunities for content creators. It enables them to create more dynamic and interactive websites, which can lead to increased user engagement. In today’s digital world, where capturing and maintaining the attention of users is essential, Text-to-Speech plugins emerge as an effective tool to boost the allure of a WordPress site. Therefore, integrating text-to-speech technology into WordPress goes beyond a mere trend; it represents a thoughtful strategy to make digital content more engaging, inclusive, and focused on the user’s needs.
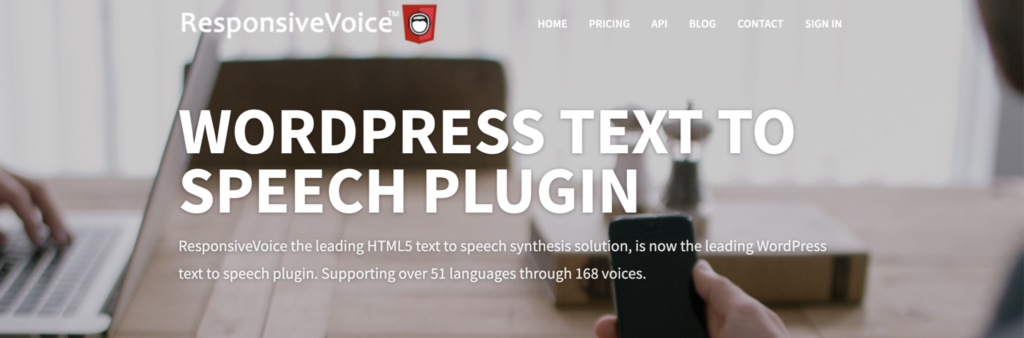
ResponsiveVoice Text-to-Speech: Empowering Websites with Voice
ResponsiveVoice is a highly flexible and accessible text-to-speech plugin tailored for WordPress. It stands out due to its user-friendliness and a comprehensive array of features, making it a preferred option for website proprietors. The plugin excels in transforming web content into spoken words, thereby enhancing accessibility and convenience for a broad audience, including those who prefer auditory learning or those with visual impairments. Its ease of use and robust functionality contribute significantly to its popularity, offering an efficient solution for website owners looking to make their content more inclusive and reachable to a diverse user base.
Key Features:
- Broad Language Support: ResponsiveVoice offers support for over 51 languages and 168 voices, allowing content to be accessible to a global audience.
- Cross-Platform Compatibility: It works seamlessly across different browsers and devices, ensuring a consistent experience whether on desktop, tablet, or mobile.
- Easy Integration: Installing and configuring ResponsiveVoice is straightforward, with no coding skills required, making it accessible for users of all technical levels.
- Customization Options: The plugin allows customization of speech rate, volume, and pitch, providing flexibility to match the voice to the site’s tone and style.
- Automatic Text Detection: ResponsiveVoice can automatically detect and speak text content, simplifying the process of converting text to speech.
ResponsiveVoice is instrumental in enhancing website accessibility, especially for users with visual impairments or reading difficulties. This tool offers an audio version of text content, ensuring that information is accessible to a broader audience. Such inclusivity aligns with various accessibility standards, demonstrating a commitment to universal design. By integrating ResponsiveVoice, websites can effectively cater to diverse needs, fostering greater user engagement and inclusivity.
Moreover, the plugin increases user engagement. Visitors who prefer auditory learning or those who are multitasking can listen to content rather than reading it, which can increase the time they spend on the site and improve their overall experience.
Real-World Applications:
- Educational Websites: ResponsiveVoice can narrate articles, lessons, and tutorials, aiding in learning and comprehension for students with different learning preferences.
- E-commerce Sites: Product descriptions and reviews can be spoken aloud, providing a more interactive shopping experience for users.
- Blogs and News Sites: Transforming written content into a spoken format can turn articles into something akin to podcasts, thereby reaching a broader audience.
- Corporate Websites: For businesses, ResponsiveVoice can provide spoken instructions, descriptions of services, and support content, making information more accessible and engaging for visitors.
ResponsiveVoice Text To Speech is more than a plugin; it’s a tool that transforms how visitors interact with websites. By bridging the gap between the visual and auditory, it opens up new possibilities for content consumption and user engagement, making websites more inclusive, accessible, and user-friendly.
Installing the ResponsiveVoice Text To Speech plugin on your WordPress website is quite simple. Follow these steps to get started:
- Access Your WordPress Dashboard:
- Log into the admin area of your WordPress website. This is typically done by appending
/wp-adminto your website’s URL (e.g.,www.yourwebsite.com/wp-admin).
- Log into the admin area of your WordPress website. This is typically done by appending
- Navigate to the Plugins Section:
- In your dashboard, locate the ‘Plugins’ menu on the left-hand side and click on it. This will take you to the plugin management area.
- Add a New Plugin:
- At the top of the Plugins page, you’ll find an ‘Add New’ button. Clicking this button opens up the plugin installation interface.
- Search for ResponsiveVoice:
- Use the search field within the ‘Add Plugins’ page to look for the ResponsiveVoice Text To Speech plugin. Simply enter “ResponsiveVoice” and press Enter to search.
- Install the Plugin:
- Once you find the ResponsiveVoice plugin in the search results, there will be an ‘Install Now’ button next to it. Click this button, and WordPress will download and install the plugin for you.
- Activate the Plugin:
- After installation, you need to activate the plugin to start using it. Click the ‘Activate’ button that appears in place of the ‘Install Now’ button.

Amazon Polly for WordPress: Harnessing Advanced TTS Technology
Amazon Polly, offered by Amazon Web Services (AWS), represents a significant advancement in text-to-speech (TTS) technology. This service is distinguished by its remarkably lifelike speech generation, a feature made possible through deep learning technologies.

- Lifelike Voices: Amazon Polly offers a wide range of natural-sounding voices in various languages and dialects, making it highly versatile for global content.
- Customizable Speech: Users can control aspects like speech speed, pitch, and volume, allowing for a tailored auditory experience.
- Speech Marks and SSML Support: Amazon Polly supports Speech Synthesis Markup Language (SSML) and provides speech marks, enabling precise control over how the speech sounds, including pauses and emphasis on specific words.
Integration with AWS Services and Benefits: One of the key advantages of Amazon Polly is its integration with other AWS services.
- Scalability and Reliability: Leveraging the robust infrastructure of AWS, Amazon Polly can easily scale to handle large volumes of text conversion, ensuring consistent performance even during high demand.
- Security and Compliance: As part of AWS, it adheres to strict security protocols, ensuring data privacy and compliance with various standards.
- Cost-Effective: Amazon Polly’s pricing model is pay-as-you-go, which can be cost-effective for websites with varying levels of traffic and usage.
User Feedback and Performance Insights: Feedback from users who have integrated Amazon Polly into their WordPress sites often highlights several performance insights:
- Enhanced User Engagement: Websites using Amazon Polly report increased user engagement, as visitors appreciate the option to listen to content.
- Accessibility: The plugin significantly improves accessibility for users with visual impairments or those who prefer auditory learning.
- Ease of Use: Users appreciate the straightforward integration with WordPress, though some non-technical users might require initial setup assistance.
- Quality of Voices: The high quality of the speech output is frequently praised, with voices sounding natural and clear.
Amazon Polly for WordPress brings sophisticated text-to-speech technology to websites, enhancing accessibility and user engagement. Its integration with AWS provides a scalable, secure, and efficient solution for converting text to speech, making it an attractive option for diverse WordPress site owners.
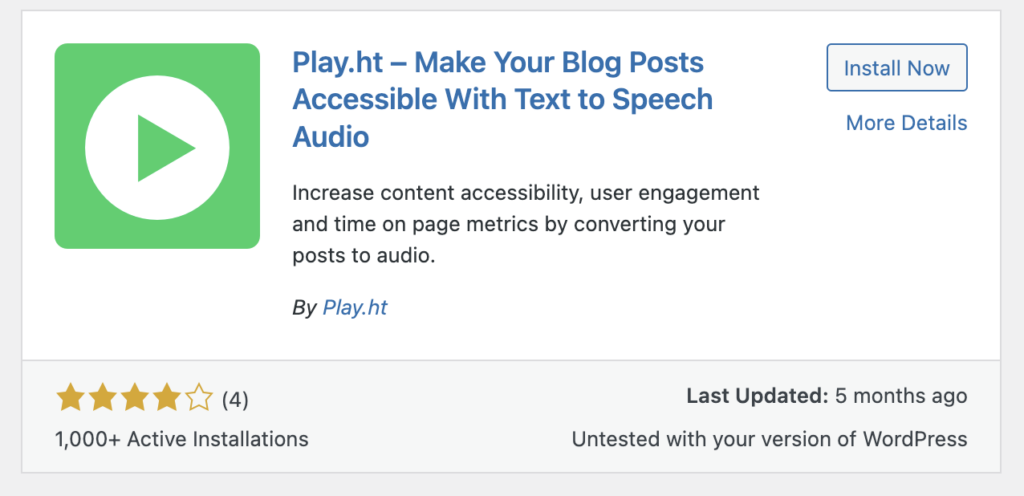
Play.ht: Advanced Text-to-Speech for WordPress
In-Depth Look at Play.ht’s Text-to-Speech Features and Voice Options: Play.ht is a powerful text-to-speech plugin for WordPress that stands out for its extensive range of features and voice options.

- Wide Range of Voices: It offers one of the largest collections of voices, including natural-sounding AI voices from various providers like Google, IBM, Microsoft, and Amazon Polly.
- Multiple Languages and Accents: Play.ht supports multiple languages and accents, catering to a global audience and ensuring versatility in voice selection.
- Customization Options: Users can customize various aspects of speech such as speed, pitch, and tone, providing a tailored listening experience.
- Audio Player Integration: Play.ht seamlessly integrates an audio player into WordPress posts and pages, allowing visitors to listen to the content easily.
- SSML Support: Similar to Amazon Polly, Play.ht supports Speech Synthesis Markup Language (SSML), enabling detailed control over how the speech is delivered.
Comparison with Other Text-to-Speech Plugins: When compared to other Text-to-Speech plugins like ResponsiveVoice or Amazon Polly:
- Quality of Voices: Play.ht often receives praise for the naturalness of its AI voices, which are sourced from leading technology providers.
- Customization and Control: It provides more comprehensive control over voice customization compared to many other Text-to-Speech plugins.
- Ease of Use: Play.ht is known for its user-friendly interface, which is particularly beneficial for those who aren’t technically inclined.
- Range of Voices: The variety and number of voices available on Play.ht surpass many of its competitors.
Case Studies and User Testimonials: User testimonials and case studies often highlight several key benefits:
- Enhanced User Engagement: Users report increased time spent on site and improved user engagement metrics.
- Accessibility Improvements: Websites utilizing Play.ht have seen improvements in accessibility, making their content more inclusive.
- Satisfaction with Voice Quality: Many users express satisfaction with the quality and naturalness of the voices available.
- Ease of Integration: Testimonials often mention the ease of integrating Play.ht with existing WordPress sites, requiring minimal technical expertise.
Play.ht presents itself as a robust and versatile text-to-speech solution for WordPress websites. It distinguishes itself through high-quality voice options, extensive customization capabilities, and user-friendly integration, making it a strong contender in the Text-to-Speech plugin market for enhancing user experience and website accessibility.
Installing the Play.ht text-to-speech plugin on a WordPress website involves a straightforward process. Here are the steps to get it up and running on your site:
- Access Your WordPress Dashboard:
- Begin by logging into the admin area of your WordPress website. This is usually done by appending
/wp-adminto your website’s URL (for example,www.yourwebsite.com/wp-admin).
- Begin by logging into the admin area of your WordPress website. This is usually done by appending
- Navigate to the Plugins Section:
- In your WordPress dashboard, locate and click on the ‘Plugins’ menu. This will take you to the section where you can manage all your plugins.
- Add New Plugin:
- On the Plugins page, click the ‘Add New’ button at the top. This will allow you to search for and add new plugins to your website.
- Search for Play.ht:
- Use the search bar on the ‘Add Plugins’ page to look for Play.ht. Just type “Play.ht” into the search bar and hit Enter.
- Install the Plugin:
- Once you find the Play.ht plugin in the search results, there will be an ‘Install Now’ button next to it. Click this button to start the installation process. WordPress will automatically download and install the plugin.
- Activate the Plugin:
- After the installation is complete, you need to activate the plugin. Do this by clicking the ‘Activate’ button that appears in place of the ‘Install Now’ button.
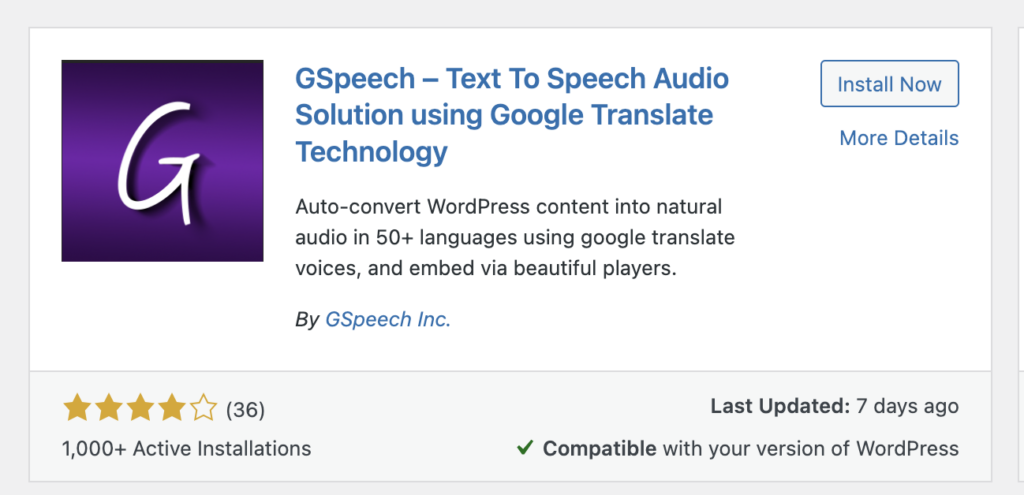
GSpeech: A Unique Approach to Text-to-Speech in WordPress
Overview of GSpeech: GSpeech is a distinctive text-to-speech (TTS) plugin designed for WordPress sites. It offers a unique approach to converting text content into speech, enhancing the accessibility and interactivity of websites.

Unique Approach to Text-to-Speech:
- On-Demand Speech: Unlike some Text-to-Speech plugins that automatically convert all text, GSpeech allows users to select specific text to be read aloud, providing a more interactive experience.
- Floating Speaker Icon: GSpeech often includes a floating speaker icon that visitors can click to hear the text spoken, making it easily accessible and user-friendly.
Customization Features and Ease of Integration:
- Customizable Voice Options: GSpeech lets you choose from a variety of voices and languages, catering to a diverse audience.
- Text Highlighting: As the text is read aloud, GSpeech can highlight words or phrases, which aids in comprehension, especially for language learners or people with reading difficulties.
- Ease of Integration: GSpeech is known for its straightforward integration with WordPress, allowing website owners to quickly set it up without needing advanced technical skills.
Impact on SEO and User Retention:
- SEO Benefits: While Text-to-Speech itself does not directly impact search engine rankings, the enhanced user experience and increased accessibility can lead to longer visit durations and lower bounce rates, which are favorable signals to search engines.
- Improved User Retention: By catering to different user preferences and needs (like those who prefer listening to reading), GSpeech can improve user retention. Visitors are likely to spend more time on a site that accommodates their needs, which is beneficial for both user engagement and SEO.
GSpeech offers a unique and user-friendly solution for adding text-to-speech functionality to WordPress websites. Its on-demand speech feature, coupled with customization options and ease of integration, makes it a valuable tool for enhancing website accessibility and user engagement. While it indirectly contributes to SEO through improved user experience, its direct impact on user retention is a noteworthy advantage.
Installing the GSpeech text-to-speech plugin on a WordPress website is a straightforward process. Here’s how to do it:
- Access Your WordPress Dashboard:
- Log in to the admin area of your WordPress website. You can usually do this by adding
/wp-adminto the end of your site’s URL (for example,www.yourwebsite.com/wp-admin).
- Log in to the admin area of your WordPress website. You can usually do this by adding
- Navigate to the Plugins Section:
- In your WordPress dashboard, find and click on the ‘Plugins’ menu. This will take you to the plugin management area.
- Add New Plugin:
- On the Plugins page, click on the ‘Add New’ button at the top. This will allow you to search and add new plugins to your website.
- Search for GSpeech:
- Use the search bar on the ‘Add Plugins’ page to look for GSpeech. Just type “GSpeech” into the search bar and press Enter.
- Install the Plugin:
- Once you find the GSpeech plugin in the search results, there will be an ‘Install Now’ button next to it. Click this button to start the installation process. WordPress will download and install the plugin for you.
- Activate the Plugin:
- After the installation is complete, you need to activate the plugin. Do this by clicking the ‘Activate’ button that appears in place of the ‘Install Now’ button.
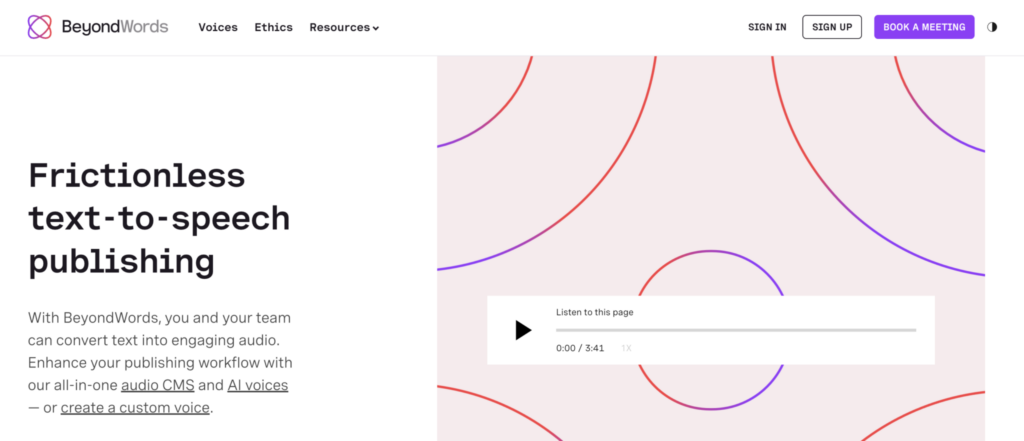
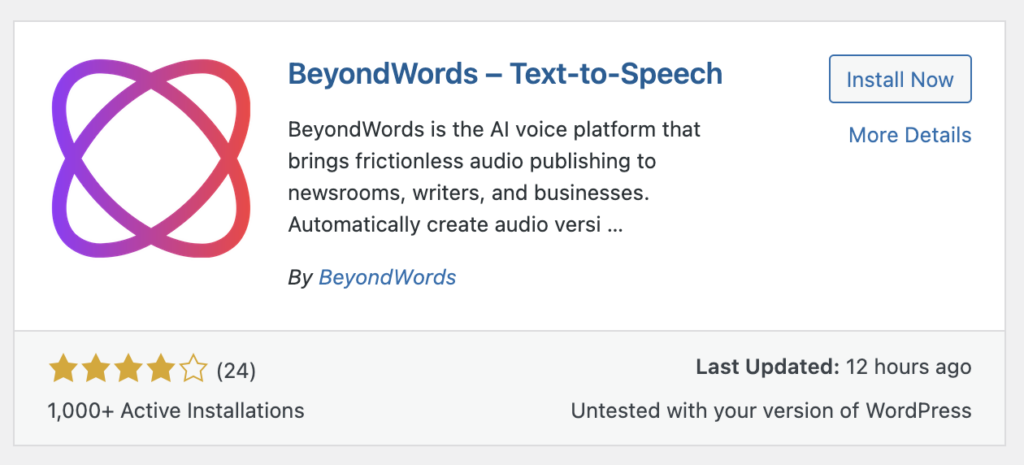
BeyondWords: A Popular Text-to-Speech Solution for WordPress
Introduction to BeyondWords: BeyondWords has emerged as a popular text-to-speech (TTS) plugin within the WordPress community. It’s designed to transform written content on websites into high-quality, natural-sounding audio, thereby enhancing the overall user experience and accessibility.
Natural-Sounding Voices and Language Support:
- High-Quality Voices: One of BeyondWords’ standout features is its range of natural-sounding voices. These voices are powered by advanced AI technologies, providing a more pleasant and engaging listening experience compared to robotic-sounding Text-to-Speech systems.
- Diverse Language Options: The plugin offers support for multiple languages, catering to a global audience and making it a suitable choice for websites that attract international visitors.
User Experience Improvements:
- Accessibility: By converting text into speech, BeyondWords greatly improves accessibility, particularly for users with visual impairments or reading challenges.
- Convenience for Users: It caters to those who prefer listening over reading, such as users who are multitasking or those who learn better through auditory means.
- Customizable Player: BeyondWords typically includes a customizable audio player that can be embedded into posts and pages, allowing users to control playback as they navigate through the content.
SEO Benefits:
- Enhanced Engagement: The improved user experience can lead to longer time spent on the site and lower bounce rates, which are positive signals to search engines.
- Increased Accessibility: Better accessibility can also contribute to SEO, as search engines favor websites that cater to a wider range of users, including those with disabilities.
- Content Versatility: The audio versions of text content can appeal to a broader audience, potentially increasing the site’s reach and visibility.
BeyondWords is a robust Text-to-Speech solution for WordPress sites, renowned for its high-quality, natural-sounding voices and extensive language support. Its focus on enhancing user experience and accessibility, along with the potential SEO benefits, make it a valuable addition to any WordPress website looking to broaden its appeal and accessibility.
Installing the BeyondWords text-to-speech plugin on a WordPress website involves a few simple steps. Here’s a guide to help you through the process:
- Access Your WordPress Dashboard:
- Log in to the administrative area of your WordPress website. This is typically done by appending
/wp-adminto your site’s URL (for instance,www.yourwebsite.com/wp-admin).
- Log in to the administrative area of your WordPress website. This is typically done by appending
- Navigate to the Plugins Section:
- In your WordPress dashboard, locate and click on the ‘Plugins’ menu. This will open the plugin management area.
- Add New Plugin:
- Click on the ‘Add New’ button at the top of the Plugins page. This action opens up the interface for adding new plugins.
- Search for BeyondWords:
- Use the search bar on the ‘Add Plugins’ page to find BeyondWords. Type “BeyondWords” into the search bar and press Enter.
- Install the Plugin:
- When you locate the BeyondWords plugin in the search results, you will see an ‘Install Now’ button next to it. Click this button to start the installation. WordPress will automatically download and install the plugin.
- Activate the Plugin:
- After installation, an ‘Activate’ button will replace the ‘Install Now’ button. Click ‘Activate’ to enable the BeyondWords plugin on your site.
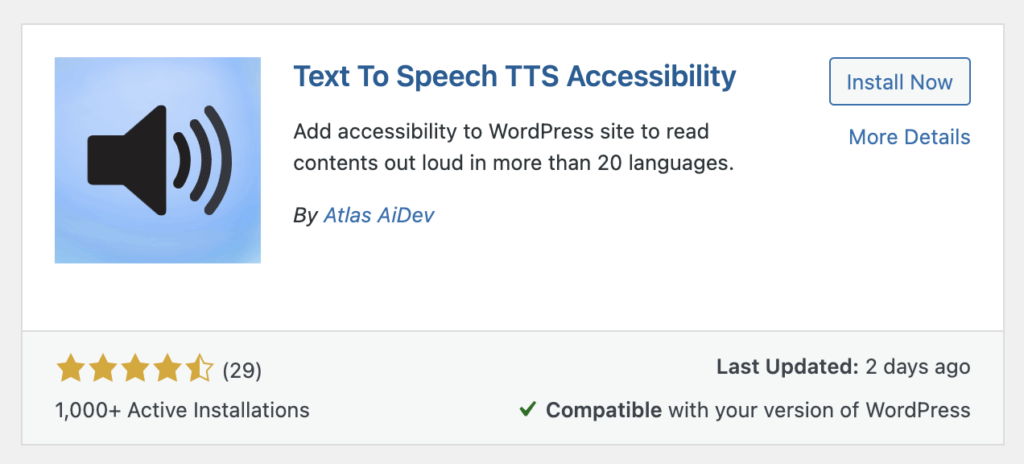
Text to Speech TTS: Enhancing WordPress with Natural Voice Technology
Introduction to Text to Speech TTS: Text to Speech TTS is a favored plugin in the WordPress community, primarily due to its ability to convert written website content into audio. This technology not only makes websites more accessible but also enhances the overall user experience, catering to a broader audience.
Natural-Sounding Voices and Language Support:
- Quality of Voices: One of the key features of Text to Speech TTS is its range of high-quality, natural-sounding voices. These voices are less robotic and more lifelike, which makes listening to content more enjoyable and engaging.
- Diverse Language Options: The plugin supports multiple languages, which is essential for websites with an international audience. This feature ensures that content is not just accessible but also comprehensible to users from different linguistic backgrounds.
User Experience Improvements:
- Accessibility: Text to Speech TTS is particularly beneficial for users with visual impairments or reading difficulties, as it provides an alternative way to access written content.
- Convenience: For users who prefer auditory learning or those who like to consume content while multitasking, this plugin offers a convenient solution.
- Customization: Users often have control over the playback, such as adjusting the speed of speech or selecting different voices, which enhances the overall experience.
SEO Benefits:
- Improved Engagement: By offering an audio version of the content, websites can see an increase in the time visitors spend on the site, which is a positive signal for search engines.
- Enhanced Accessibility: Better accessibility can lead to improved SEO, as search engines tend to favor websites that cater to a diverse set of users, including those with disabilities.
- Wider Reach: Providing content in audio form can attract a wider audience, potentially increasing the website’s reach and visibility.
In summary, Text to Speech TTS is a valuable plugin for WordPress site owners looking to enhance their website’s accessibility and user experience. Its natural-sounding voices and extensive language support make it a versatile tool for reaching a global audience, while also contributing to improved SEO through enhanced user engagement and accessibility.
Installing the Text to Speech TTS plugin on a WordPress website is a straightforward process, similar to installing other WordPress plugins. Here are the steps to guide you through the installation:
- Access Your WordPress Dashboard:
- Log into the administrative area of your WordPress website. This is usually done by appending
/wp-adminto your website’s URL (for example,www.yourwebsite.com/wp-admin).
- Log into the administrative area of your WordPress website. This is usually done by appending
- Navigate to the Plugins Section:
- In your WordPress dashboard, find and click on the ‘Plugins’ menu. This will take you to the plugin management area.
- Add New Plugin:
- On the Plugins page, click the ‘Add New’ button located at the top. This opens the interface for adding new plugins to your website.
- Search for Text to Speech TTS:
- Use the search bar on the ‘Add Plugins’ page to search for Text to Speech TTS. Simply type “Text to Speech TTS” into the search bar and press Enter.
- Install the Plugin:
- When you find the Text to Speech TTS plugin in the search results, there will be an ‘Install Now’ button next to it. Click this button to start the installation process. WordPress will download and install the plugin for you.
- Activate the Plugin:
- After the plugin has been installed, an ‘Activate’ button will appear in place of the ‘Install Now’ button. Click ‘Activate’ to enable the Text to Speech TTS plugin on your site.