
The LAMP stack, an acronym for Linux, Apache, MySQL, and PHP/Python/Perl, is a tried-and-true solution that powers a significant portion of the internet. In this guide, we will walk you through the process of installing the LAMP stack on the latest Ubuntu 23, ensuring a seamless setup for your web development endeavors.
Why LAMP Stack?
Before we dive into the installation process, let’s briefly understand why the LAMP stack is a go-to choice for many developers. Combining the stability of Linux, the versatility of the Apache web server, the reliability of MySQL as a database management system, and the flexibility of PHP/Python/Perl for server-side scripting, the LAMP stack provides a comprehensive and scalable foundation for hosting dynamic web applications.
Step 1: Update Your System
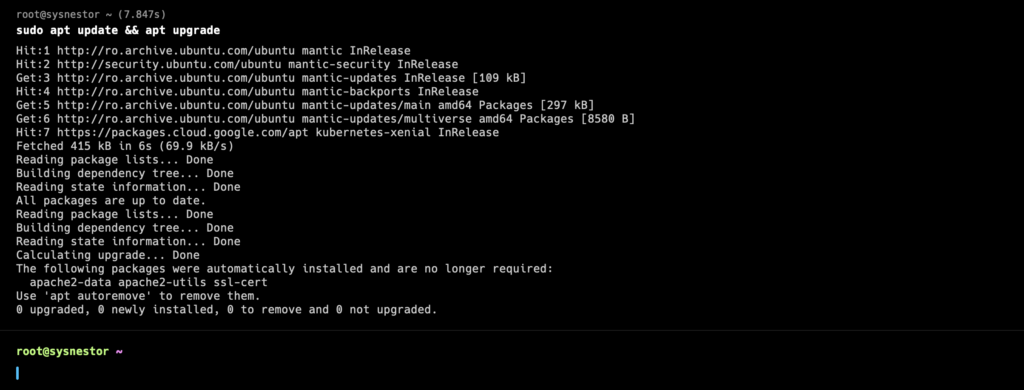
Ensure your Ubuntu 23 system is up to date by executing the following commands in the terminal:
sudo apt update && apt upgrade
Updating your system guarantees that you have the latest security patches and software updates.
Step 2: Install Apache Web Server
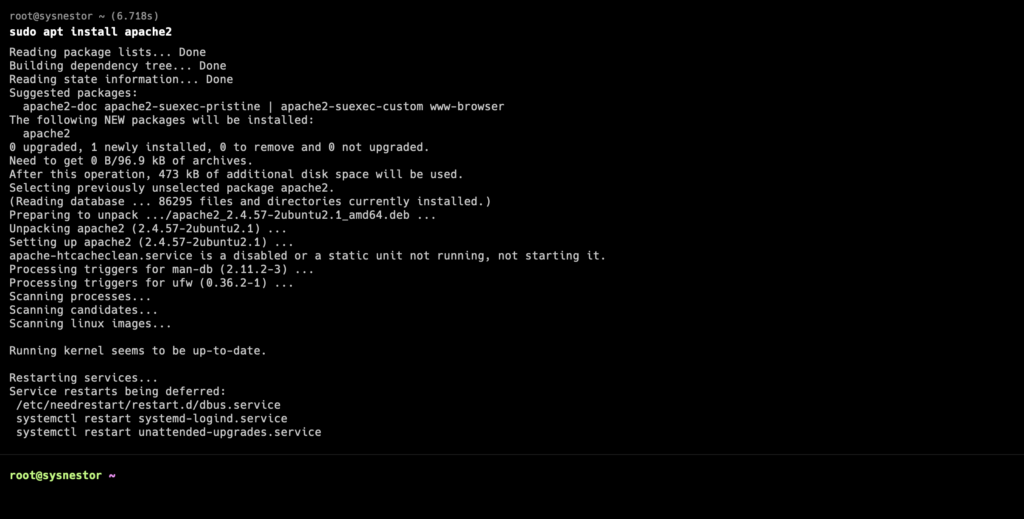
Apache is a widely used and highly configurable web server. Install it with the following command:
sudo apt install apache2
Once the installation is complete, start the Apache service and enable it to start on boot:
sudo systemctl start apache2
sudo systemctl enable apache2
sudo systemctl enable apache2
Synchronizing state of apache2.service with SysV service script with /lib/systemd/systemd-sysv-install.
Executing: /lib/systemd/systemd-sysv-install enable apache2Step 3: Install MySQL Database Server
MySQL is a powerful and popular relational database management system. Install it with the following command:
sudo apt install mysql-server
Secure your MySQL installation with the following command:
sudo mysql_secure_installation


Securing the MySQL server deployment.

Connecting to MySQL using a blank password.
The 'validate_password' component is installed on the server.
The subsequent steps will run with the existing configuration
of the component.

Skipping password set for root as authentication with auth_socket is used by default.
If you would like to use password authentication instead, this can be done with the "ALTER_USER" command.
See https://dev.mysql.com/doc/refman/8.0/en/alter-user.html#alter-user-password-management for more information.

By default, a MySQL installation has an anonymous user,
allowing anyone to log into MySQL without having to have
a user account created for them. This is intended only for
testing, and to make the installation go a bit smoother.
You should remove them before moving into a production
environment.

Remove anonymous users? (Press y|Y for Yes, any other key for No) :

 ... skipping.


Normally, root should only be allowed to connect from
'localhost'. This ensures that someone cannot guess at
the root password from the network.

Disallow root login remotely? (Press y|Y for Yes, any other key for No) :

 ... skipping.
By default, MySQL comes with a database named 'test' that
anyone can access. This is also intended only for testing,
and should be removed before moving into a production
environment.


Remove test database and access to it? (Press y|Y for Yes, any other key for No) :

 ... skipping.
Reloading the privilege tables will ensure that all changes
made so far will take effect immediately.

Reload privilege tables now? (Press y|Y for Yes, any other key for No) :

 ... skipping.
All done!
Follow the on-screen prompts to configure security options for MySQL.
Step 4: Install PHP
PHP is a server-side scripting language that works seamlessly with the LAMP stack. Install PHP along with necessary modules:
sudo apt install php libapache2-mod-php php-mysql php-cli php-common php-mbstring php-gd php-intl php-xml php-mysql php-zip php-curl php-xmlrpc
After the installation, restart the Apache service for the changes to take effect:
sudo systemctl restart apache2Step 5: Test Your LAMP Stack
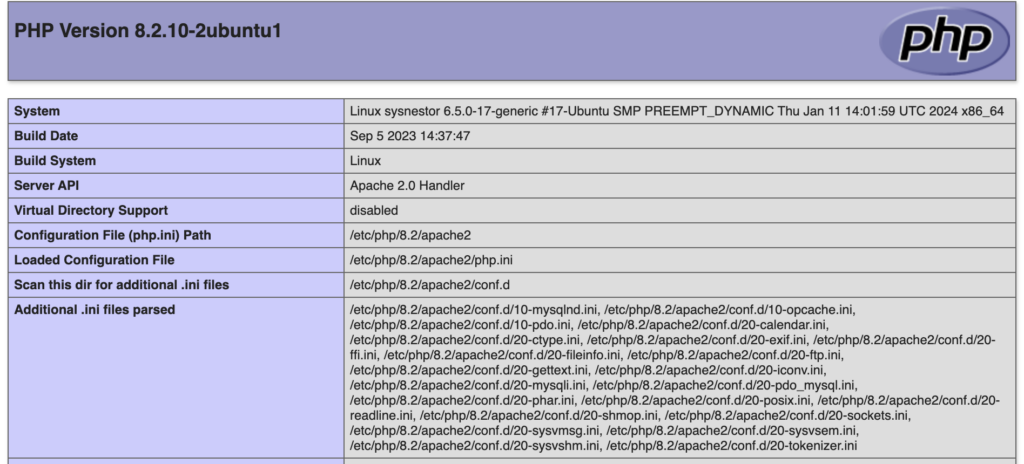
Create a simple PHP file to test your LAMP stack. Use the following command to create a test file:
echo "<?php phpinfo(); ?>" | sudo tee /var/www/html/info.phpVisit http://your_server_ip/info.php in your web browser, and you should see a page displaying PHP configuration information.

Congratulations! You’ve successfully installed the LAMP stack on Ubuntu 23. This powerful combination of Linux, Apache, MySQL, and PHP/Python/Perl provides a solid foundation for hosting dynamic web applications. As you embark on your web development journey, leverage the capabilities of the LAMP stack to create and deploy robust websites and applications. Happy coding!

Comments (2)