
Your website is not just an online presence but the quintessential embodiment of your brand’s persona. Picture this: Your business is flourishing, or perhaps you’ve outgrown the current confines of your web hosting capabilities. Maybe you’re seeking fresher pastures with superior customer support or embarking on a rebranding voyage. Such times call for a strategic migration—a careful transplant of your website to a new digital abode.
This endeavor, akin to relocating a beloved home, can swing between the joy of upgrading to a swanky new residence and the potential pitfalls of moving day woes. In the WordPress universe, this is where the magic wands—known as migration plugins—come into their own. These ingenious tools have turned what once was a webmaster’s labyrinthine task into a process as straightforward as a leisurely stroll in the park.
As we saunter through 2023, let’s toast to the virtuosos of virtual relocation—the top 6 WordPress migration plugins that have utterly transformed the migration game. With these at your disposal, the complexities of copying databases, files, and settings are reduced to mere background tasks, allowing you to orchestrate the entire move with just a few intuitive clicks. And so, with a flourish of anticipation, we delve into exploring these digital maestros, each promising to make your website’s transition as smooth and as hiccup-free as possible.
Why Use a Migration Plugin for WordPress?
Imagine moving houses without a moving truck, having to carry each item in your hands one by one. Sounds exhausting, right? That’s what migrating a WordPress site can feel like without the right tools. Migration plugins act as your digital moving truck, offering a one-stop-shop for transferring your site’s files, databases, themes, and plugins. They handle the heavy lifting, preserving your website’s integrity, reducing the risk of data loss, and saving you a significant amount of time.
Migrating a WordPress site manually can be fraught with risks. One wrong move and you could face data corruption, broken links, or extended downtime — all of which can tarnish your site’s SEO and user experience. By leveraging a migration plugin, you mitigate these risks with features designed to handle the complexities of WordPress’s structure.
Duplicator – A Craftsman’s Tool for Site Duplication
Duplicator shines in the WordPress migration toolkit as a robust solution for transferring websites. Imagine it as a meticulous craftsman, ensuring that every nuance of your site’s character is preserved, from the foundational code to the most minute personal touch. It’s not just about the migration; it’s about creating a mirror image of your website, capturing its essence down to the last pixel.
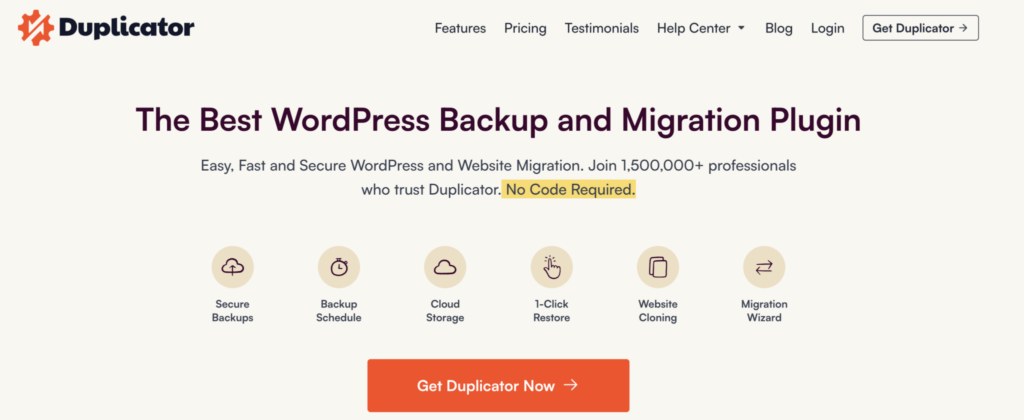
The key to Duplicator’s charm lies in its simplicity, wrapped in a powerhouse of features. It packages your entire site into neat, downloadable zip files, aptly called ‘packages’. These encapsulate your website’s core, from themes and plugins to content and database, ensuring a seamless transition. It’s designed to work fluidly across various platforms, whether you’re moving from a local server to a live one, establishing a staging environment, or the other way around.
One of the most user-friendly aspects is its drag-and-drop functionality, which can feel as intuitive as moving files around on your desktop. This level of ease makes Duplicator an ally not just for seasoned developers but also for beginners who are taking their first steps into site migration.
When is Duplicator the ace in the hole? It’s particularly adept for developers and website managers who regularly juggle sites between development and production environments. Whether you’re perfecting a site in a local sandbox or pushing a tested version to the bright lights of the live internet, Duplicator handles the task with aplomb, making it a staple for those who demand reliability in their WordPress migration adventures.
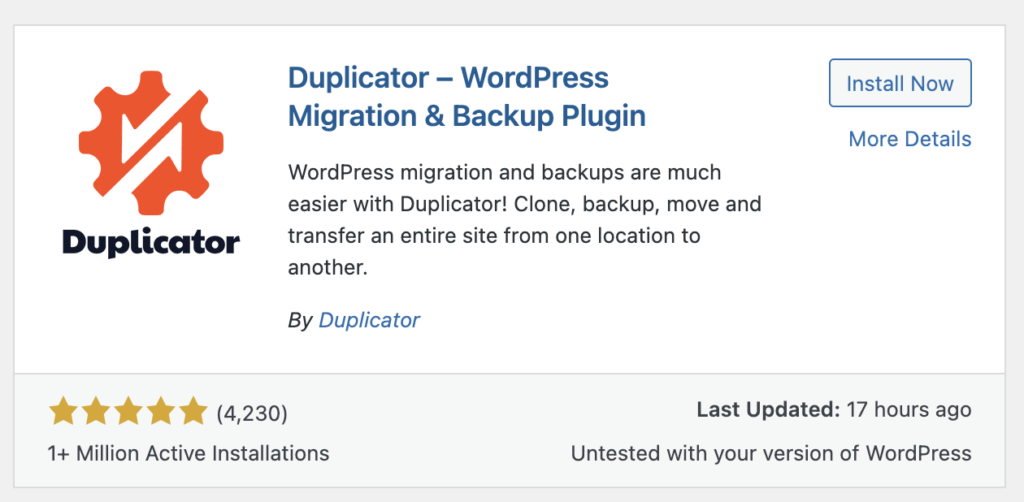
To install the Duplicator plugin and get started with your WordPress site migration, you can follow these steps:
From the WordPress Dashboard:
- Navigate to the ‘Plugins’ section by selecting ‘Plugins’ > ‘Add New’ from your WordPress dashboard.
- Search for “Duplicator” in the search bar.
- Install the plugin by clicking ‘Install Now’ and then activate it. Once activated, you’ll notice a new ‘Duplicator’ option in your dashboard panel
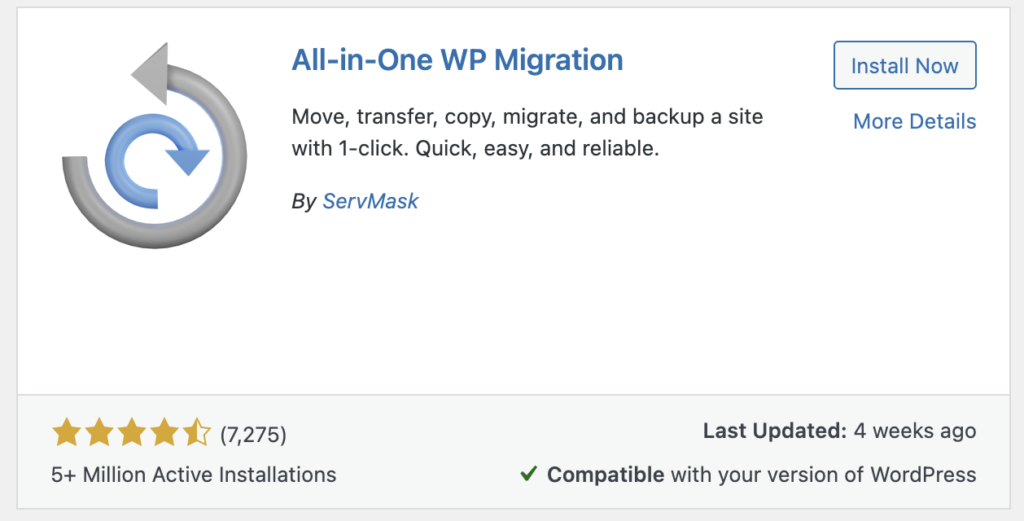
All-in-One WP Migration – The Universal Solution
All-in-One WP Migration stands as a paragon of user-friendliness in the WordPress migration ecosystem. It’s a tool that’s garnered accolades for its straightforward approach, ensuring that the migration of your website is as stress-free as a Sunday morning. This plugin prides itself on being the Swiss Army knife of migration solutions, embodying versatility and ease. It’s crafted with the purpose of transcending the barriers posed by diverse hosting environments, much like a universal remote that effortlessly switches from one device to another.
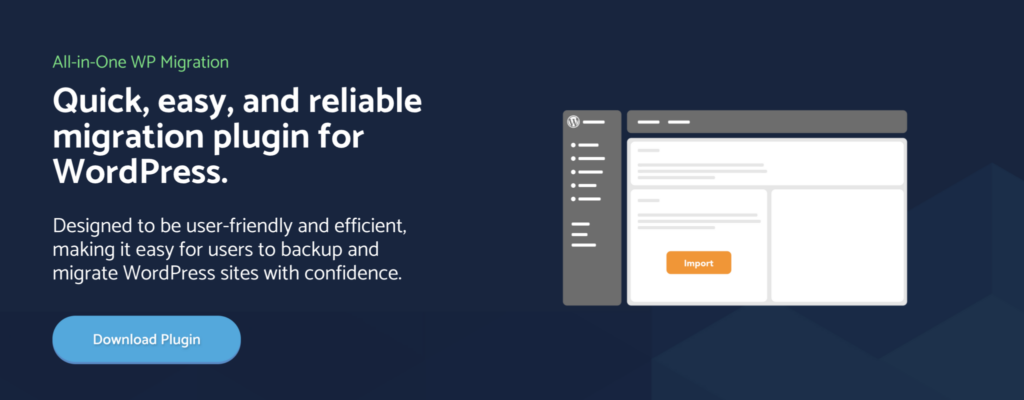
The essence of its design is rooted in its intuitive interface, which greets users with clarity and simplicity. This makes it a hit among both neophytes in the digital realm and seasoned professionals who appreciate efficiency. Whether you’re a blogger taking your first steps into the digital wilds or a developer orchestrating multiple client site migrations, All-in-One WP Migration extends its hand to guide you through the process.
One of its standout features is the ability to fine-tune your migration. With a few clicks, you can exclude certain directories or database tables, customizing the migration to fit the unique wardrobe of your website’s content and structure. It’s like being able to pack for a big move and deciding exactly what you want to take with you, down to the last detail.
Moreover, All-in-One WP Migration extends its adaptability through extension support for numerous cloud storage services. Whether you’re a Dropbox devotee or a Google Drive enthusiast, this plugin ensures that your website’s migration aligns with your preferred storage solution, offering a familiar and comfortable transition path.
When should you reach for All-in-One WP Migration? It’s the go-to choice when you desire a migration process that’s devoid of complicated steps or coding gymnastics. It’s for those times when simplicity is not just a wish but a requirement, ensuring that your website finds its new home with the ease of a key turning in a lock. Whether you’re moving a personal portfolio or a business platform, All-in-One WP Migration stands ready as the migration companion that simplifies the journey.
To install the All-in-One WP Migration plugin and set the stage for a hassle-free site migration, you can follow these human-friendly steps:
- Login to Your WordPress Dashboard: Start by logging into the backend of your WordPress website—the nerve center where all the magic happens. It’s the place where you weave the content and design into the tapestry of your site.
- Navigate to the Plugin Repository: Once you’re in, head over to the ‘Plugins’ section. You can find it on the left-hand sidebar, a treasure trove of add-ons that can extend the functionality of your site. Click on ‘Add New’ to open the door to new possibilities.
- Find the Plugin: Now, you’re ready to summon the All-in-One WP Migration plugin into your digital realm. In the ‘Search plugins…’ box, type in “All-in-One WP Migration” like calling out to a familiar friend. Press Enter and let the system work its magic to find the plugin for you.
- Install and Activate: Upon the plugin’s grand arrival in the search results, you’ll see an ‘Install Now’ button. It’s like the ‘Open Sesame’ to start the installation process. Give it a click, wait for a few moments as the installation completes, and then it’s time to activate your new digital ally. Find the ‘Activate’ button and click it to bring the plugin to life.
- Ready to Migrate: With the plugin activated, you’ll have a new option in your dashboard. Navigate to the All-in-One WP Migration tab, now part of your dashboard’s sidebar, and you’ll find the ‘Export’ option. This is where you’ll begin the process of bundling your site’s content, ready to be transported to its new home.
WP Migrate DB – The Database Specialist
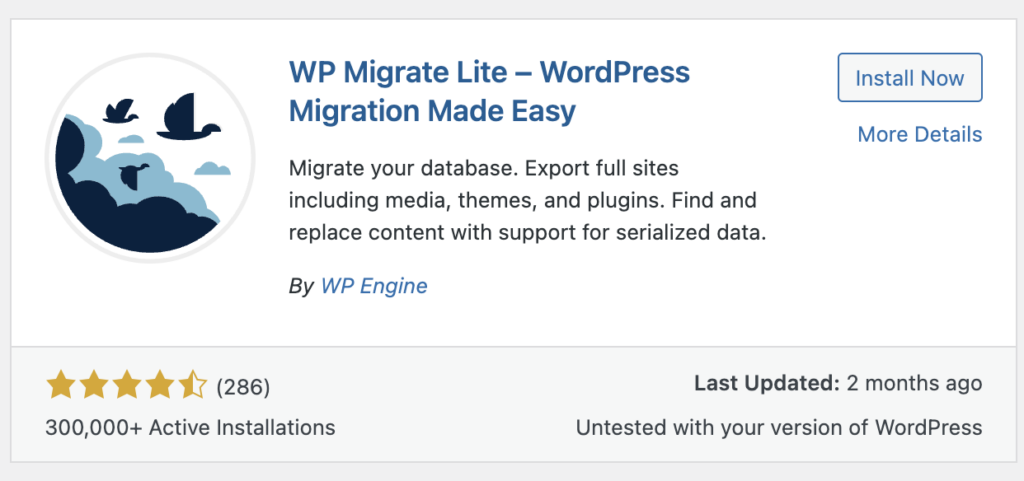
WP Migrate DB is often hailed as a maestro of database migrations within the WordPress plugin orchestra, striking a chord with web developers who require meticulous management over their data transitions. It’s not a broad-spectrum tool; rather, it operates with the finesse of a surgeon, tailored for the delicate operation of database relocation.

This plugin’s key features are crafted to handle the complexities of WordPress databases. Its ‘Find & Replace’ functionality is a standout, behaving like a skilled detective and surgeon combined—it locates specific data within the serialized streams and adjusts them with precision, ensuring nothing breaks in the process.
One of its most lauded capabilities is the ability to push and pull databases between different environments. This feature acts as a direct line—a secure and dedicated channel—facilitating the transfer of data from your local setup to the live site, or from staging to production, without the cumbersome need for exporting and importing SQL files.
For those navigating the waters of a Multisite network, WP Migrate DB proves its mettle by offering a comprehensive migration solution. It recognizes the intricacies of Multisite setups, providing the tools necessary to execute a network-wide migration without leaving any site behind.
When is WP Migrate DB the plugin of choice? It’s particularly suited for developers and website administrators who need granular control over their database migrations. Whether it’s ensuring that serialized data is accurately updated or managing a Multisite network’s various databases, WP Migrate DB offers the focused functionality required for such specialized tasks. It’s a go-to resource for professionals who cannot afford to have anything less than a laser-focused tool for managing their WordPress data migrations.
To install the WP Migrate DB plugin (now known as WP Migrate Light for the free version), here are the steps you’ll need to take:
- Log into your WordPress Dashboard: Begin by accessing your WordPress admin area, which is the command center for all your site operations.
- Access the Plugin Installation Interface: From the dashboard, find and click on the ‘Plugins’ tab, then select ‘Add New’ to add a new plugin to your site.
- Locate WP Migrate Light: In the search box, type in “WP Migrate Light” and then click ‘Install Now’ to start the installation process.
- Activate the Plugin: After the plugin has been installed, you’ll need to click ‘Activate’ to enable it on your WordPress site.
- Using the Plugin: To begin using the plugin, go to ‘Tools’ > ‘Migrate DB’ in the sidebar. Here, you can select options such as saving as a file to your computer and if necessary, compress the file with gzip. You’ll also have the option to find and replace the file path and URL as needed for the new server. Once configured, click ‘Export’ to create the database export.
UpdraftPlus – The Backup Behemoth with Migration Skills
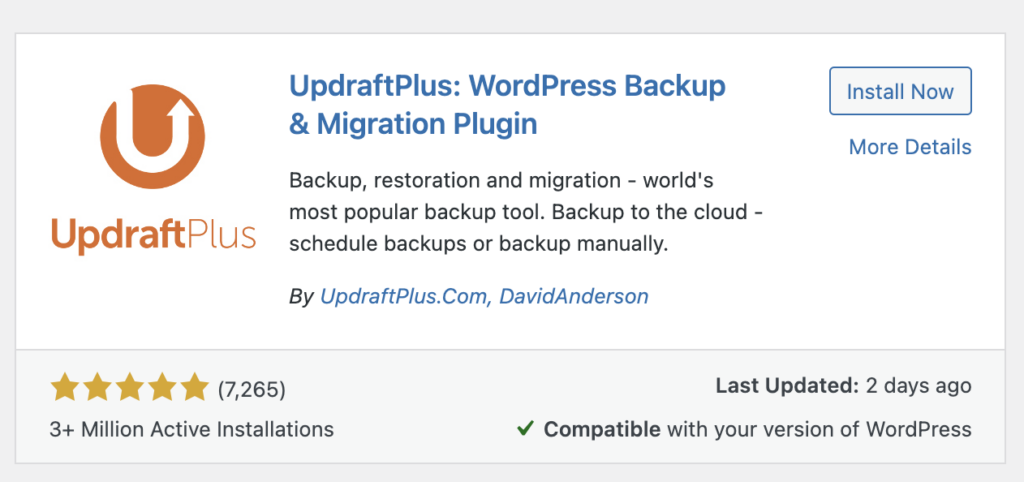
UpdraftPlus distinguishes itself in the WordPress landscape not just as a backup solution, but as a proficient migrator with its premium offerings. It excels in creating incremental backups, which not only safeguard your site but can also be used to migrate your data, making it a multitasking powerhouse.
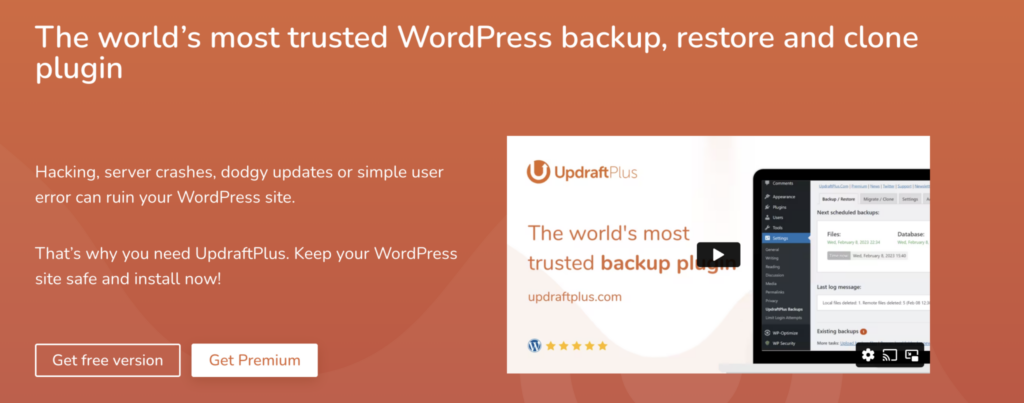
The plugin is capable of working with Multisite networks, although this requires additional add-ons. For migrations, it ensures that your data’s privacy is not compromised by using encrypted transport methods, bringing peace of mind during the transfer process.
Choose UpdraftPlus when you’re looking for a robust tool that serves dual purposes—creating reliable backups and performing secure migrations. It’s ideal for those who place a premium on having a secure backup system in place that can also facilitate site migrations, embodying a comprehensive approach to website maintenance and security.
To install UpdraftPlus Premium for enhanced migration and backup capabilities, follow these steps:
- Uninstall the Free Version: If you have the free version of UpdraftPlus installed, go to ‘Plugins’ in the WordPress dashboard, deactivate it, and then delete it.
- Download the Premium Plugin: After purchasing UpdraftPlus Premium, download the plugin from the link provided in your purchase confirmation or account area and save it to your computer.
- Upload and Activate: In your WordPress dashboard, click ‘Plugins’, then ‘Add New’, and choose the file you’ve downloaded. After uploading, click ‘Activate Plugin’ to activate UpdraftPlus Premium on your site.
- Configure the Settings: Navigate to ‘Settings’ and select ‘UpdraftPlus Backups’ to configure the plugin settings according to your requirements.
- Activate Premium Features: Finally, go to the ‘Premium / Extensions’ tab within the UpdraftPlus settings. Log in with your UpdraftPlus account details, find your purchase, and click ‘activate it on this site’ to enable all premium features.
By following these steps, you’ll have UpdraftPlus Premium installed, offering both robust backup and migration tools for your WordPress site.
Migrate Guru – The Heavy-Duty Mover
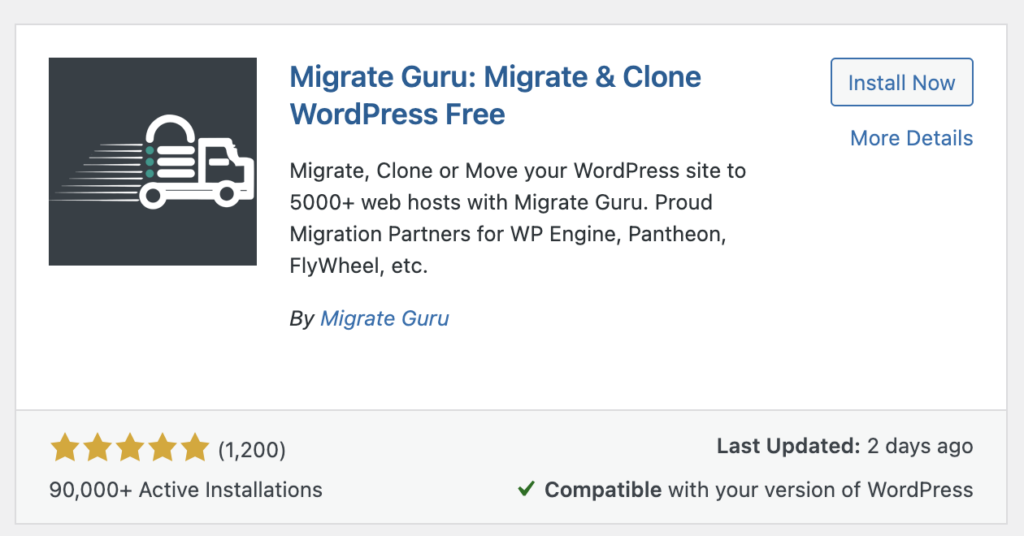
Migrate Guru carves out a niche as a veritable titan among WordPress migration plugins, particularly when it comes to transferring the heftier behemoths of websites. It’s well-suited to the task of moving large-scale sites—think gargantuan, up to 200 GB—without breaking a sweat over server timeouts or storage dilemmas that often plague such mammoth migrations.

Its prowess includes a one-click migration feature that simplifies the process, alongside real-time alerts that keep you informed of progress without needing to constantly monitor the process. Additionally, its cloning capabilities are a boon for developers who need to replicate sites for testing, ensuring that any changes can be trialed in a risk-free environment before going live.
Migrate Guru is the go-to choice when your website is a titan in its own right, demanding a migration tool that’s up to the task of moving vast amounts of data with reliability and ease. It’s the solution for those who’ve previously been entangled in the web of server constraints and are looking for a more robust and capable migration ally.
To install Migrate Guru, you can follow these steps:
- Install via WordPress Admin:
- Log into your WordPress Admin area.
- Navigate to ‘Plugins’ > ‘Add New’.
- Search for ‘Migrate Guru’ in the WordPress repository.
- Click the ‘Install Now’ button to install the plugin.
- Activate the Plugin:
- After installation, activate Migrate Guru.
- Once activated, you’ll be redirected to the Migrate Guru admin menu.
- Begin Migration:
- On the Migrate Guru page, enter your email address.
- Agree to the Blogvault Terms and Conditions and Privacy Policy.
- Click the ‘Migrate Site’ button to start the migration process.
By completing these steps, you’ll have Migrate Guru ready to assist in migrating your large WordPress site.
BackupBuddy – The Trusted Packrat
BackupBuddy isn’t merely a tool in your WordPress arsenal; it’s more like a steadfast companion in the digital realm, adeptly handling the nuances of your website’s migration. It’s not limited to safeguarding your data; it also ensures a smooth journey for your entire site—widgets, settings, and all—to its new digital residence, whether that’s a fresh domain or a different hosting environment.
Think of BackupBuddy as your virtual moving van, meticulously packing and transporting every aspect of your site. It offers thorough backups of your database and files, primed and ready for migration. The individual file restoration feature stands out, providing a safety net for retrieving specific elements without the need to roll back entire sections of your site.
What truly sets BackupBuddy apart is its user-friendly migration wizard. This feature acts like a knowledgeable guide through the sometimes tricky process of changing URLs and swapping domains, smoothing out the technical wrinkles that can arise during site migration.
BackupBuddy is the go-to choice for those who value a plugin that’s been through the rigors of time, proving its worth in both backup and migration scenarios. It’s ideal for users who seek a reliable, comprehensive solution, blending the security of backups with the flexibility and efficiency of site migration tools.
Summary
Migrating a WordPress site can be a seamless experience when equipped with the right tools. Each of these six migration plugins brings its own strengths to the table, catering to a variety of requirements and expertise levels. Whether you’re a developer handling complex client sites, a business owner moving to a more robust hosting platform, or simply securing your website data against unforeseen circumstances, there’s a plugin designed to meet your specific needs. This diverse toolkit in the WordPress ecosystem ensures that site migration is no longer a task to dread but a smooth and manageable process.
