Navigating the transition of your website from a WordPress Multisite network to a standalone installation can seem like a daunting challenge. However, with a strategic approach, a clear roadmap, and this comprehensive guide, you can make this migration efficient and painless.
Step 1: Getting Started
The Underestimated Power of Backups
One of the most overlooked aspects of website management is ensuring reliable backups. Before making any major changes, particularly a migration, you must safeguard your data.

Plugins like UpdraftPlus offer intuitive solutions, ensuring that all your data is secure. With features like scheduled backups, cloud storage options, and one-click restores, these tools are indispensable.
Step 2: Exporting a Single Site in WordPress Multisite Network
Making the Most of WordPress’s Core Features
- Once logged in, navigate to the dashboard of the subsite you intend to migrate.
- Go to Tools and select Export.

- WordPress provides flexibility in export options. For an all-encompassing migration, choose ‘All Content’, and then proceed to ‘Download Export File’. An XML file of your site’s content will be ready for download.
Step 3: Importing Child Site to New Domain
Laying the Groundwork
Setting up a fresh WordPress Multisite installation on your desired domain is essential. This ensures a clean slate, devoid of any conflicting data or settings.

Transferring Your Data
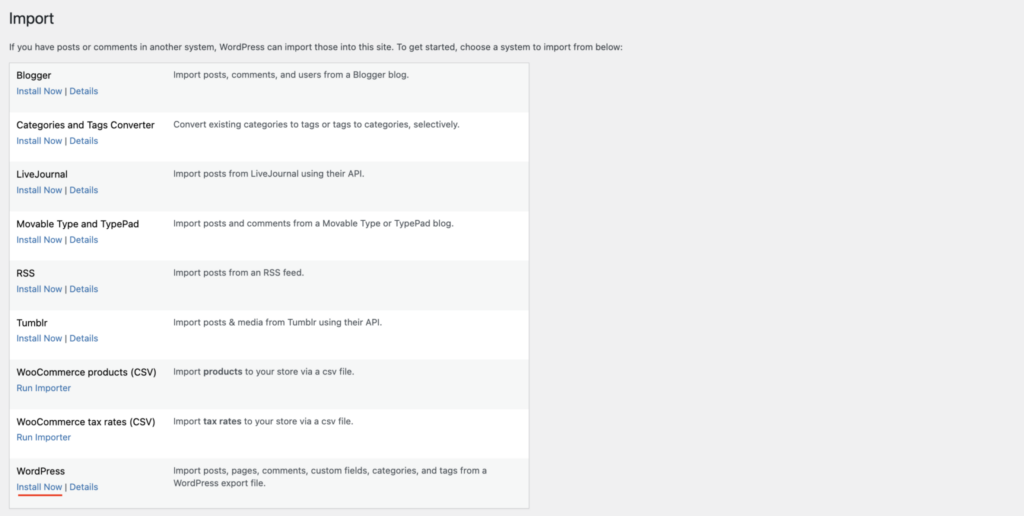
- In this fresh installation, head over to Tools, and select Import.
- The WordPress Multisite Importer plugin will be essential at this juncture. If not already available, you’ll be prompted to install it.
- Post-activation, there’s an option to upload your XML file.
- During the import, WordPress offers a degree of customization. Assign content to current users, create new ones, or map content as per your needs. Furthermore, to retain media elements, check the option to download and import file attachments.

Step 4: Setting up Redirects
Ensuring Seamless User Experience with Redirects
When changing your website’s structure or domain, redirects act as signposts, guiding your visitors to the right location.
Method 1: All in One SEO for WordPress
- Once you activate the All in One SEO for WordPress, navigate to its Redirection Manager.
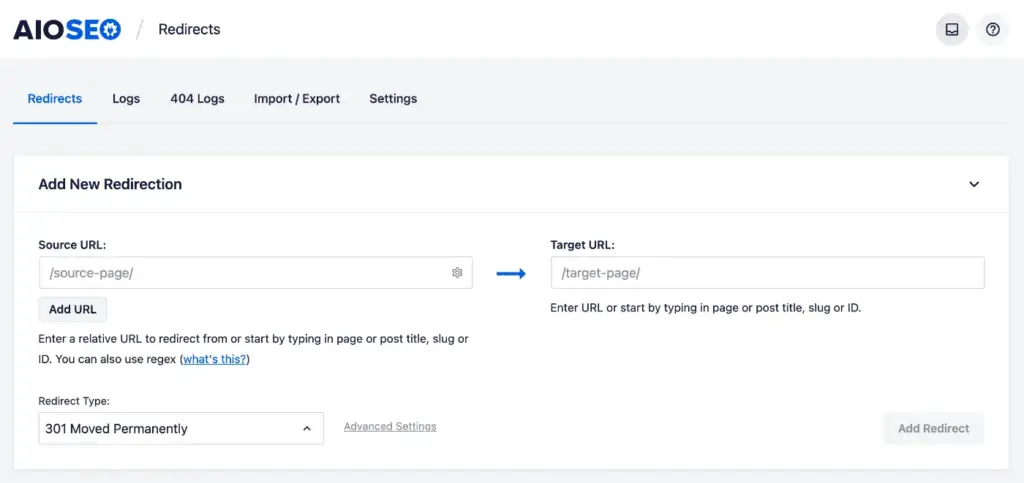
- It’s here you set up the old and new URLs. Make sure you opt for the 301 option – indicating a permanent move.
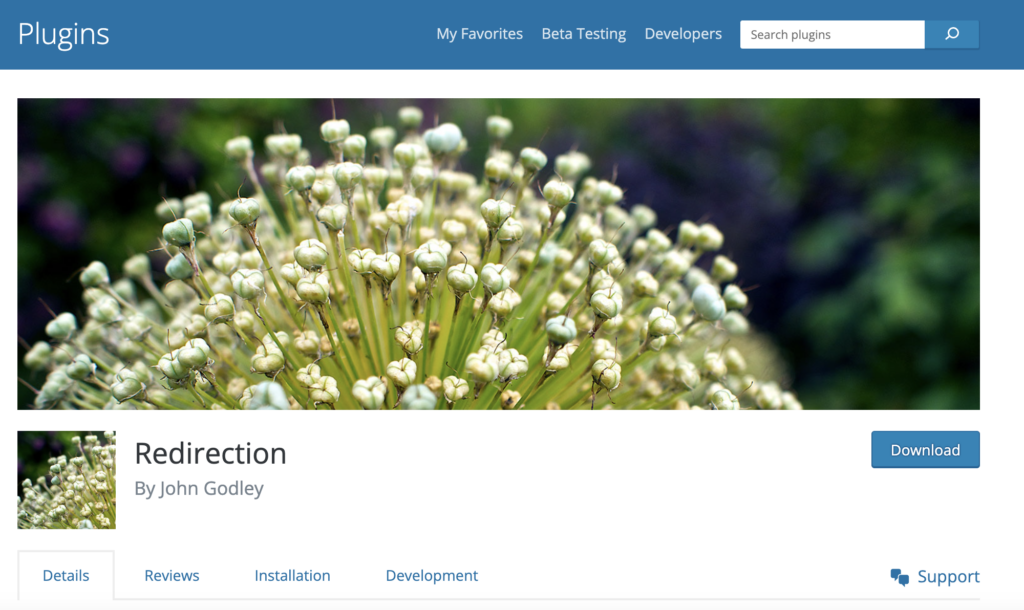
Method 2: Redirection Plugin
- After activating the Redirection plugin, you’ll find its interface under Tools.
- The process mirrors the previous method. Define your source and target URLs, and confirm with a 301 redirect.
Method 3: .htaccess file Method
Directly manipulating the .htaccess file gives a more hands-on approach to redirects. But be cautious; errors here can have repercussions.
- Access your root directory using FTP.
- Spot and edit the .htaccess file.
- To redirect, add:
Redirect 301 /old-path/ https://yournewdomain.com/new-path/
Summary
A migration from WordPress Multisite to Single Install necessitates careful planning. But with the help of this enhanced guide, which is packed with visual aids, the challenging process becomes manageable.
