
How To Migrate Your WordPress To Another Hosting Provider cPanel Version.
cPanel is a web hosting control panel software developed by cPanel, LLC. It provides a graphical interface and automation tools designed to simplify the process of hosting a web site to the website owner or the “end user”. It enables administration through a standard web browser using a three-tier structure.
OLD HOSTING PROVIDER
Step 1. Backup(compress) your WordPress website files from the old hosting provider.
Login to your cPanel hosting account and navigate to File Manager(here you will find all your hosting account files and directories).
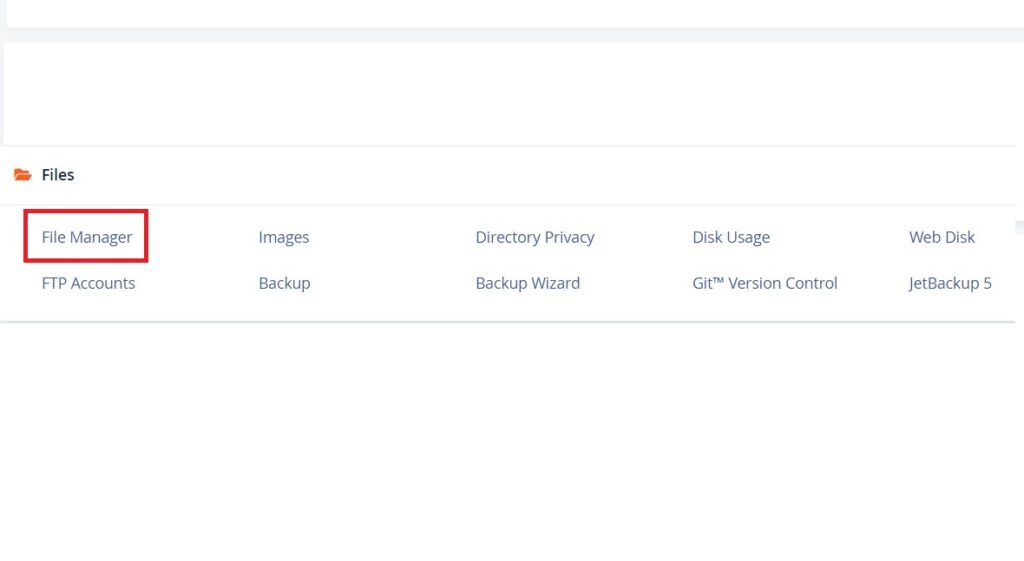
What is cPanel File Manager?
cPanel File Manager gives you useful options to quickly manage your files within the cPanel interface. It’s easy to use and it removes the hassles of using FTP. You can create, upload, modify or remove files from this interface.
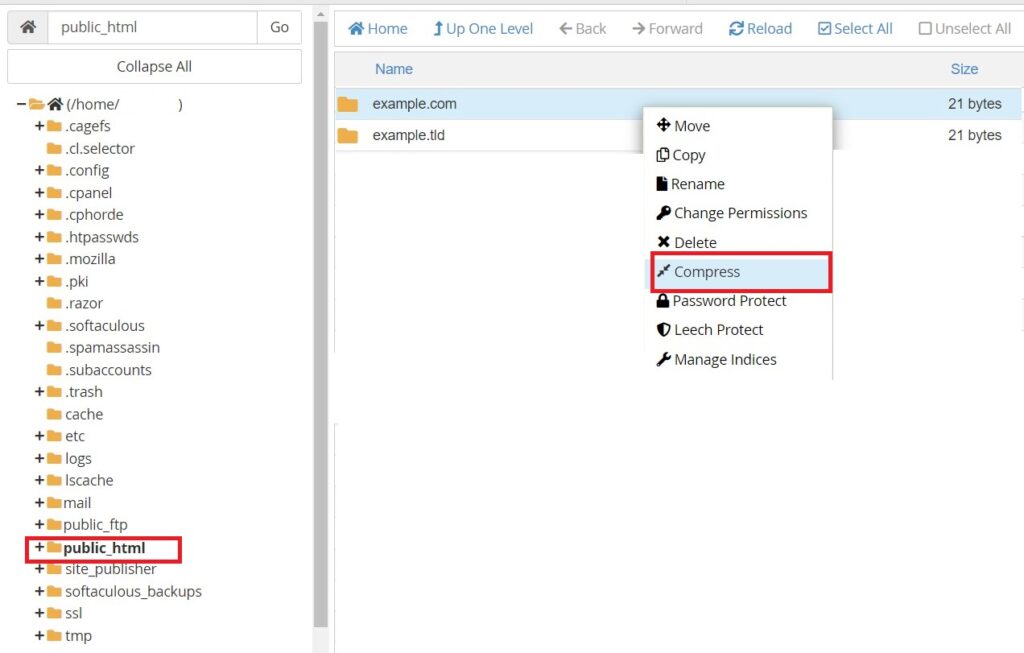
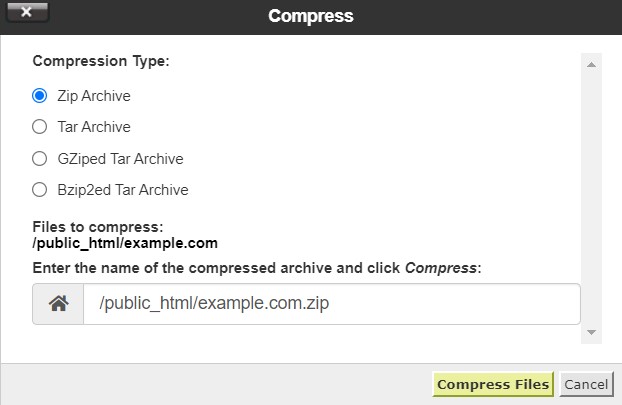
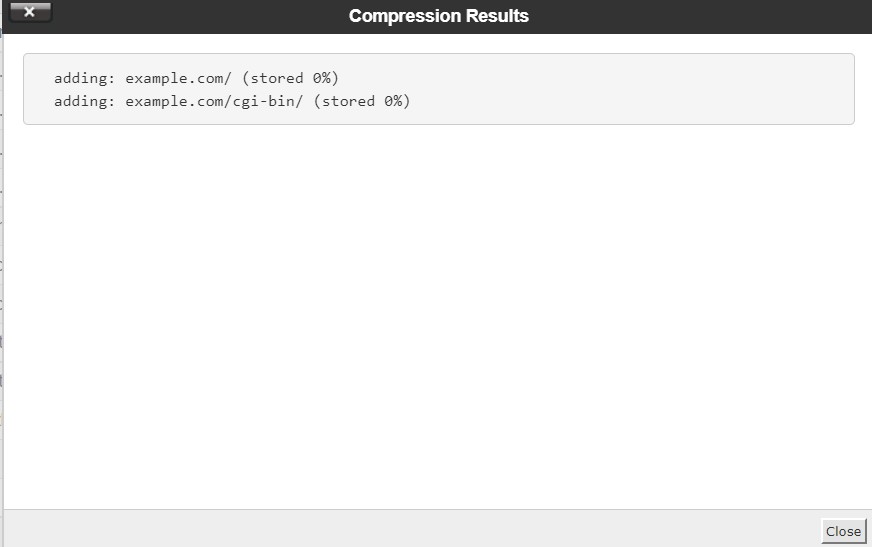
After you find your website directory, right-click on it then hit Compress, give the archive a name e.g. mywebsitedirectory.zip. After the compress process is done you will find your website directory archive example.com.zip and you will be able to download it.
Step 2. Backup(download) your WordPress website MySQL database from the old hosting provider.
What is a MySQL database?
MySQL is an open-source SQL relational database management system that’s developed and supported by Oracle.
If you have no idea what MySQL database your website is using don’t panic, we will show you how to find it. Every WordPress website is using a MySQL database and you will be able to find it in your website directory.
How to find your WordPress MySQL database name and password?
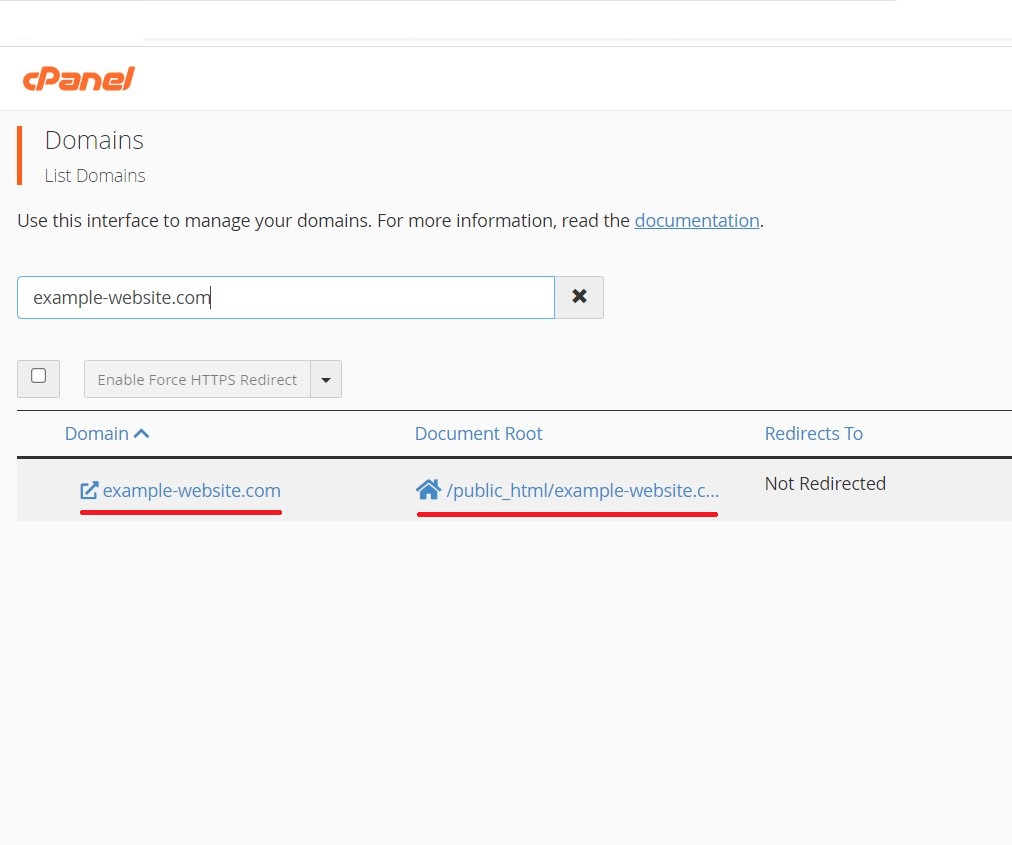
First, we need to make sure that we are in the correct directory, so to make sure you are in the right website directory you can check by cPanel -> Domains, here you will find a list with all your domains and directories.
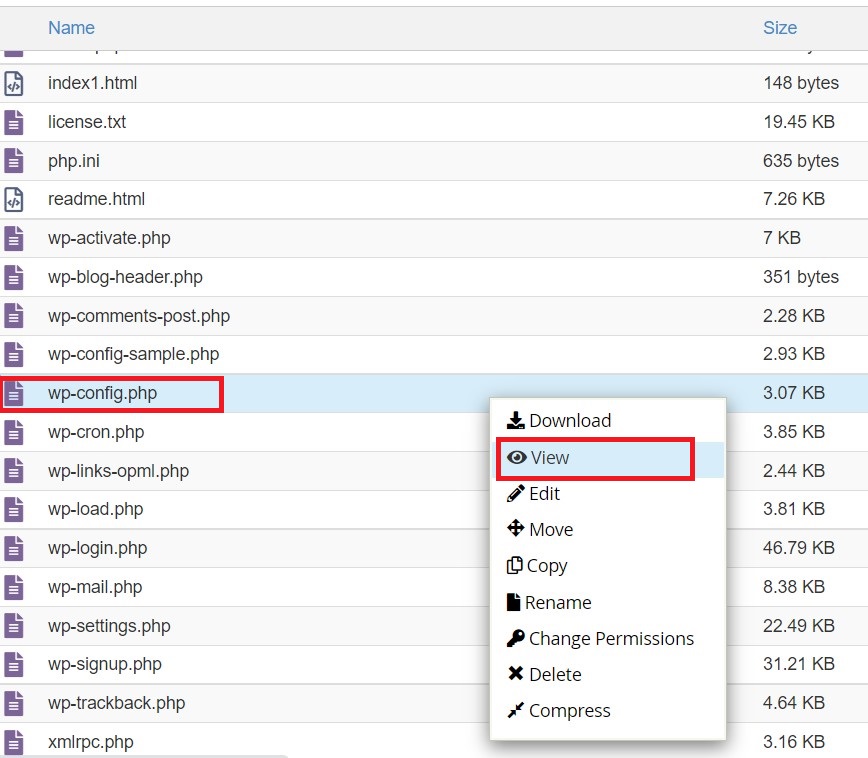
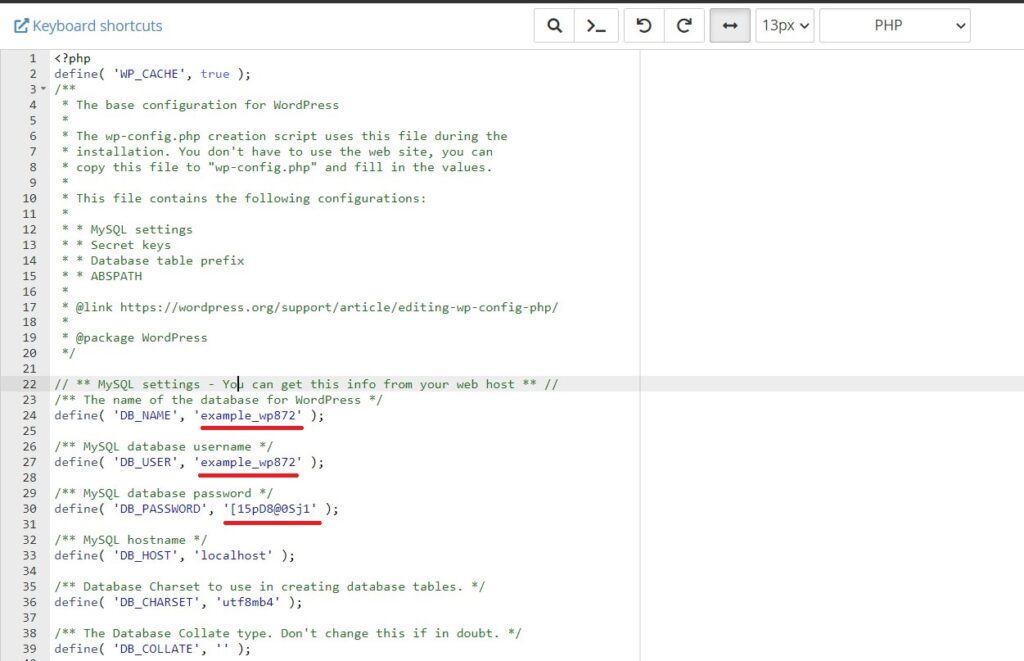
It is easy to find your WordPress MySQL database name and password, go to your website directory and search for wp-config.php file, right-click on the file -> View and you will find in this config file your MySQL database information.
So now that we know what MySQL database our website has let’s export it. Navigate to your cPanel and search for phpMyAdmin function and you will find a list in the left menu with all your MySQL databases. Click on the MySQL database you wish to download and now you can export it.
We are DONE on the old hosting provider.
NEW HOSTING PROVIDER
Step 1. Add your domain to your new cPanel hosting account.
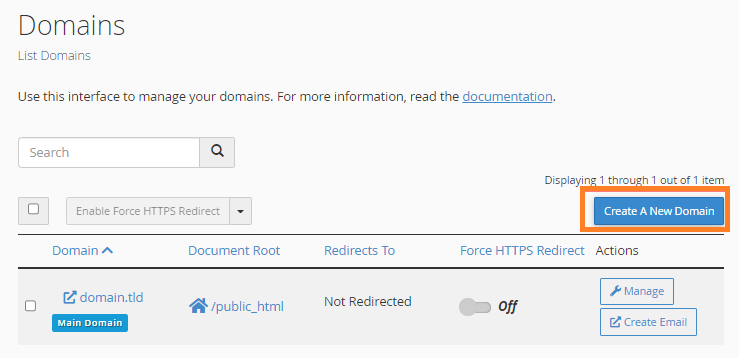
Login to your cPanel hosting account and search for the Addon Domain Function & Add your domain as Addon Domain to your cPanel hosting account:

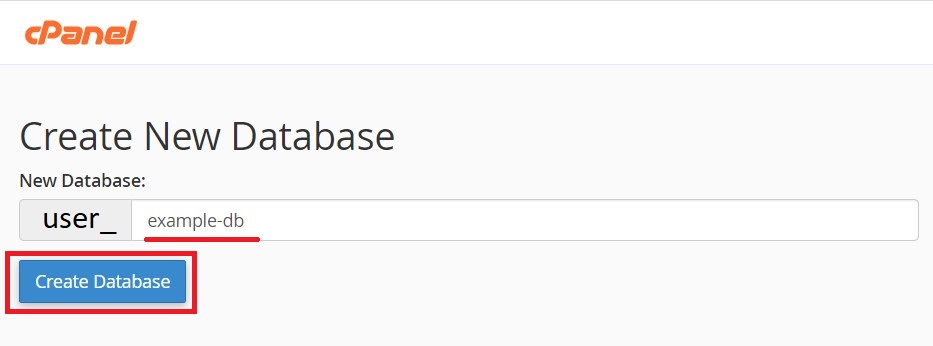
Step 2. Create a new MySQL database and user.
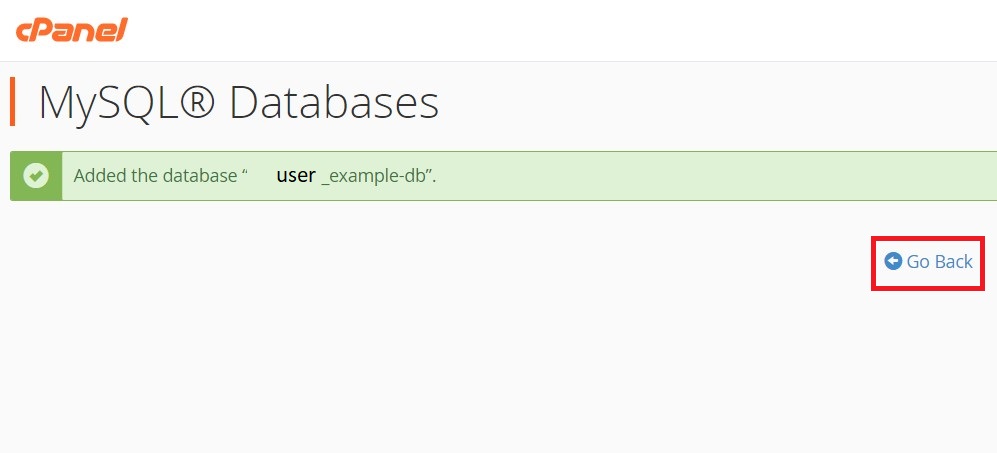
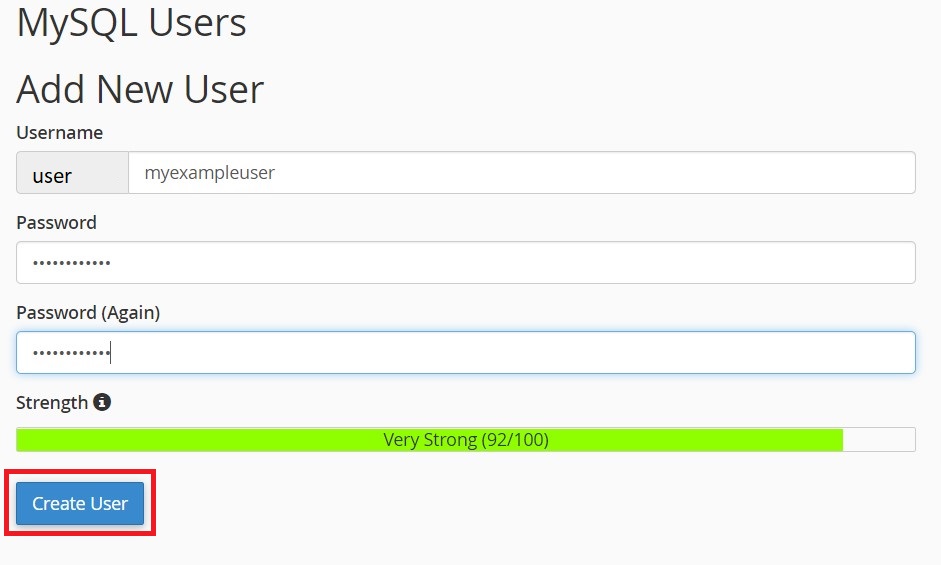
Login to your cPanel hosting account and search for the MySQL® Databases function. Here you will find Create New Database and Add New User options:
Add New User
Add User To Database
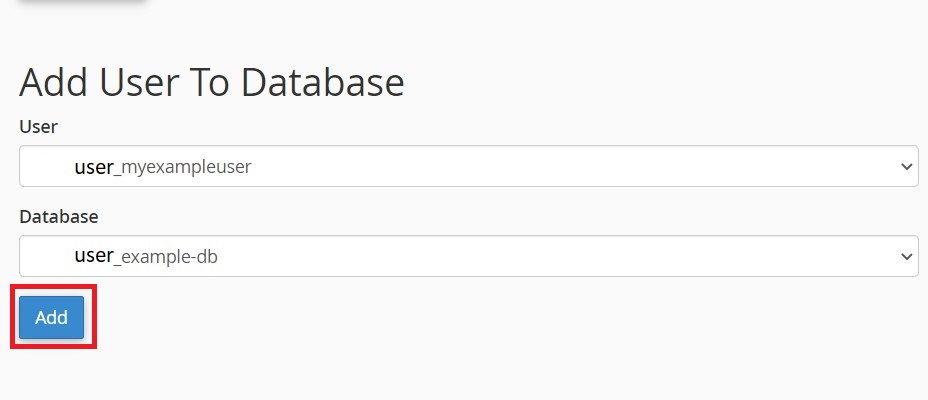
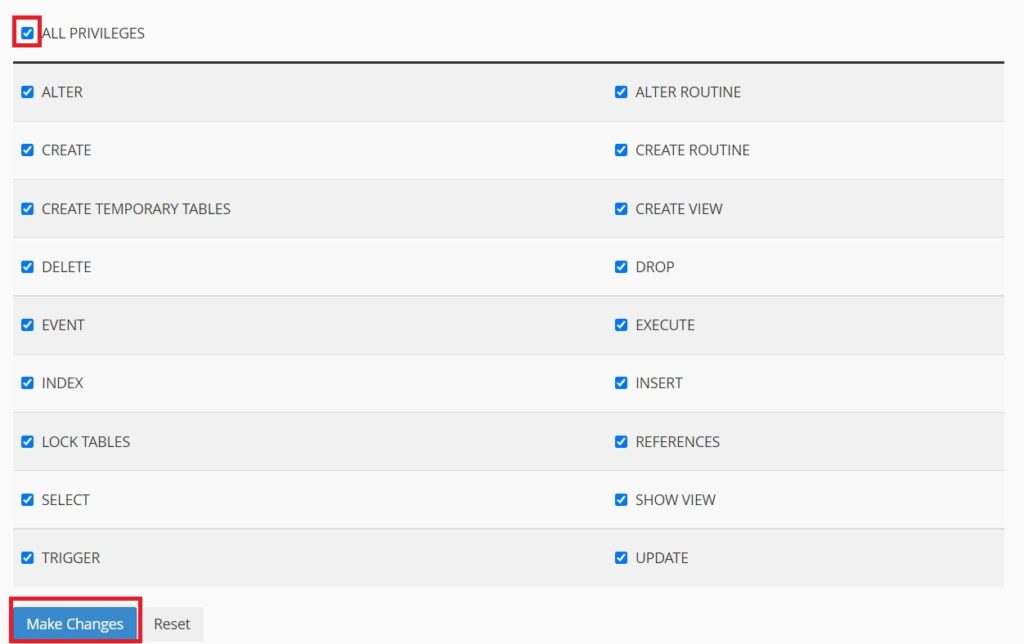
OK, so we have created our new database and user for our WordPress Website, we are done here.
Step 3. Upload website files to the new cPanel hosting account
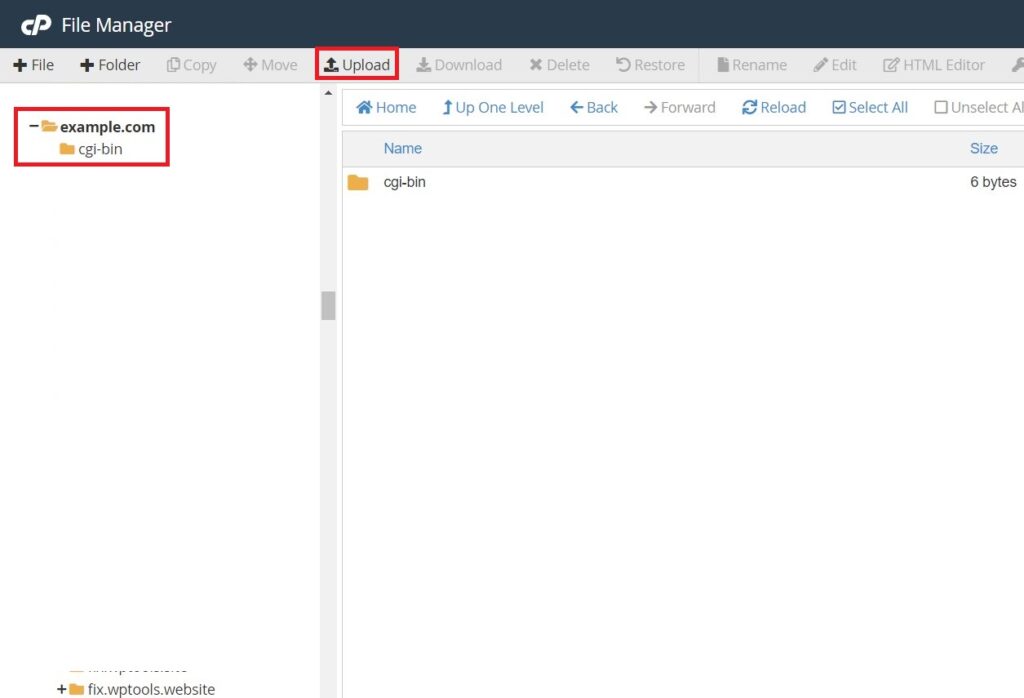
We will use again the File Manager in our new hosting account to upload our website archive(compressed) in our website directory. We have to navigate to our website directory and we will use the Upload function that we will find in the top menu.
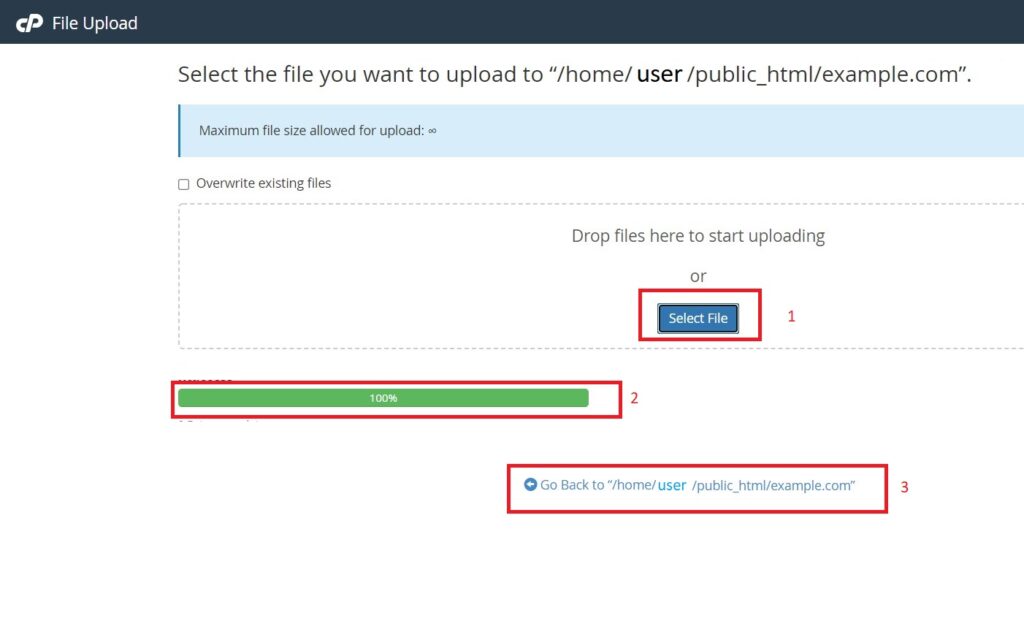
Extract the files.
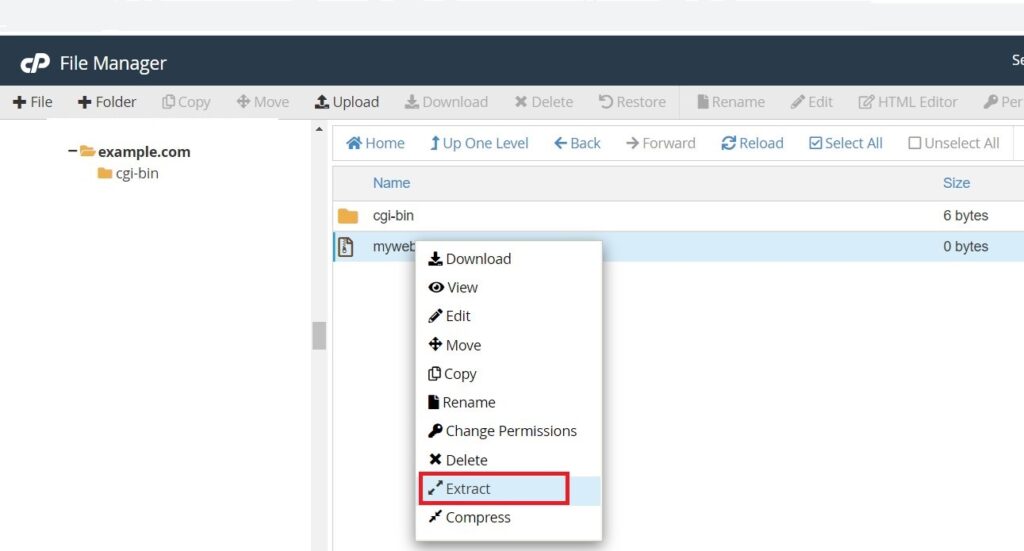
Step 4. Upload MySQL Database to the new cPanel hosting account
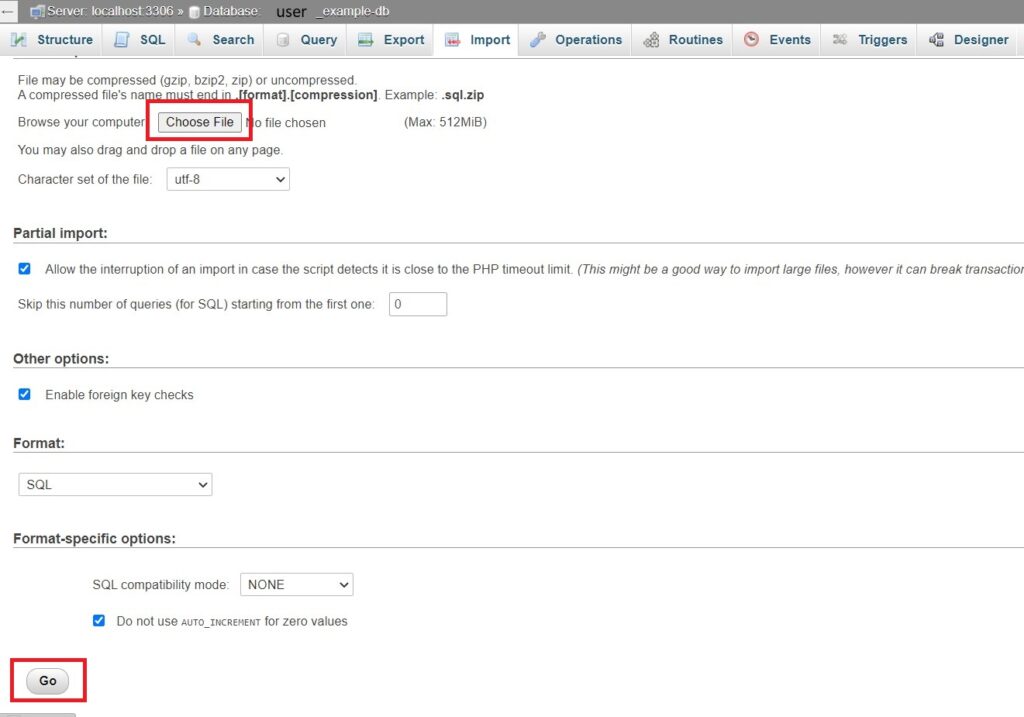
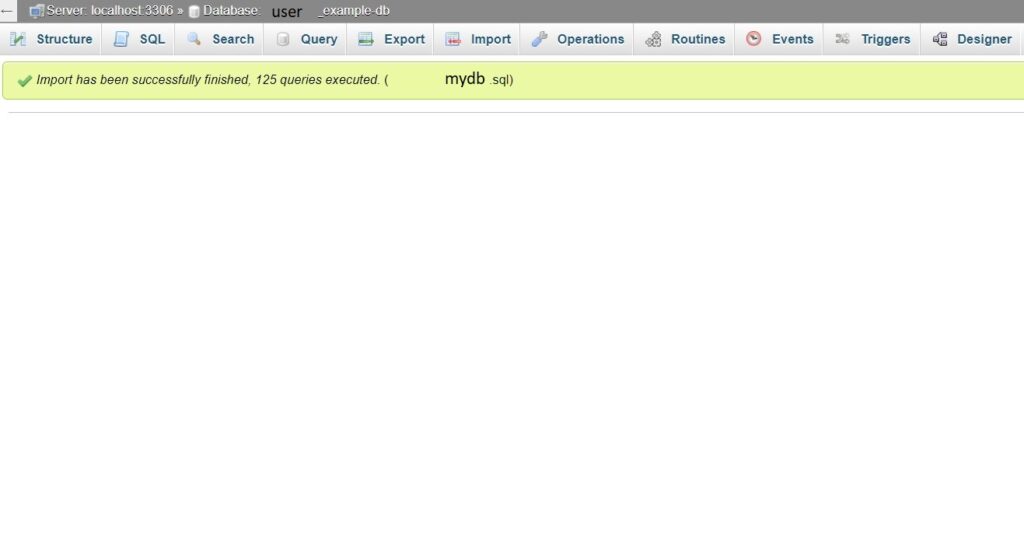
We will use again phpMyAdmin function to upload our MySQL database that we have downloaded from our old hosting account. Remember the Step 2? We have created a new MySQL Database & MySQL User, we will use them to import our database from the old hosting account. Chose your MySQL database from the left menu and use the Import function.
Step 5. And the last step 🙂 We have to update the wp-config.php file with the new MySQL Database credentials.
Navigate to your website directory using File Manager and edit wp-config.php file with the new credentials from Step 2.
We are done. I know that it’s a bit of pain in the neck but once you get used to it will become natural. Follow those steps and you will successfully migrate your website.

Comments (1)