Welcome back to SysNestor! In this extended tutorial, we’ll not only guide you through the installation of Nginx on Ubuntu 23 but also show you how to set up virtual hosts for multiple sites and add SSL certificates for secure connections. This comprehensive guide is perfect for beginners, providing detailed explanations, commands, and examples. Let’s get started on enhancing your Nginx setup!
Prerequisites
Before we proceed, ensure you have the following prerequisites:
- Ubuntu 23: Confirm your Virtual Private Server (VPS) is running Ubuntu 23.
- SSH Access: Connect securely to your VPS using SSH.
Additionally, review our LAMP installation guide for PHP and MySQL.
Step 1: Update Package List
Ensure your system is up-to-date by running the following commands:
sudo apt update && sudo apt upgrade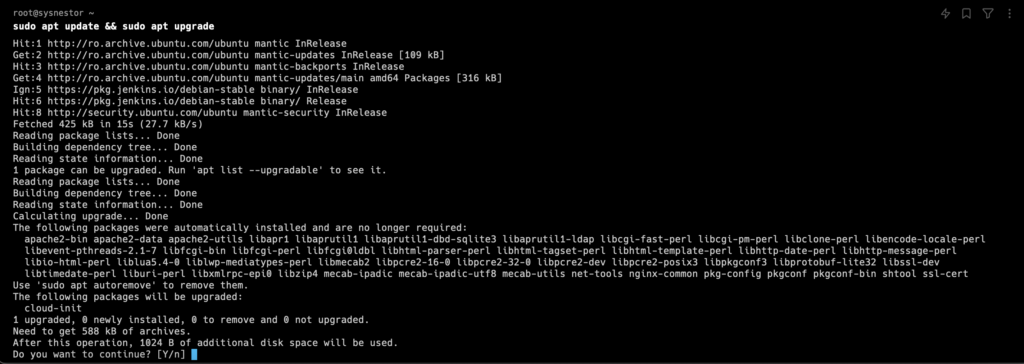
Step 2: Install Nginx on Ubuntu 23
Install Nginx using the following command:
sudo apt install nginx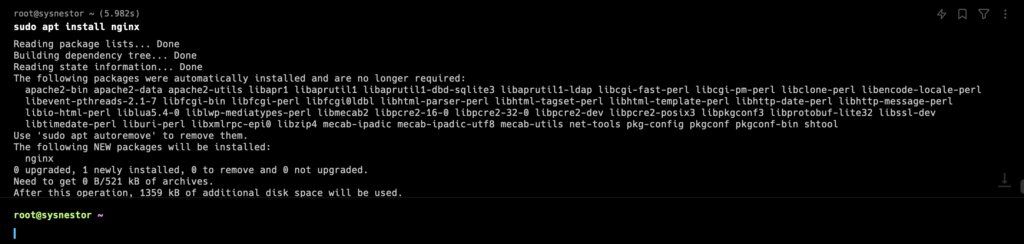
Step 3: Start Nginx
Start the Nginx service:
sudo systemctl start nginxEnable Nginx to start automatically on boot:
sudo systemctl enable nginx
Step 4: Allow Nginx through the Firewall
If your server has a firewall, allow Nginx traffic:
sudo ufw allow 'Nginx Full'Step 5: Verify Nginx Installation
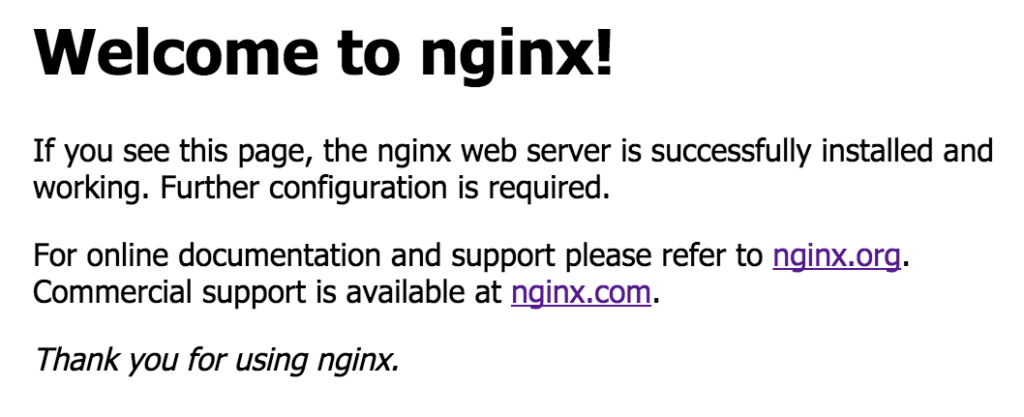
Open your browser, enter your VPS’s IP address, and ensure you see the default Nginx welcome page, confirming a successful installation.
Step 6: Basic Nginx Configuration
Understand the default Nginx configurations:
- Nginx configuration:
/etc/nginx/nginx.conf - HTML files for your site:
/var/www/html
Step 7: Create Virtual Hosts
Now, let’s set up virtual hosts for multiple sites. Create a new configuration file for your site:
sudo nano /etc/nginx/sites-available/nginx.sysnestor.comAdd the following basic configuration. Replace nginx.sysnestor.com with your actual domain or subdomain:
server {
    listen 80;
    server_name nginx.sysnestor.com;

    location / {
        root /var/www/html/nginx.sysnestor.com;
        index index.html;
    }
}
Create a symbolic link to enable the virtual host:
sudo ln -s /etc/nginx/sites-available/nginx.sysnestor.com /etc/nginx/sites-enabled/Create the directory for your site:
sudo mkdir /var/www/html/nginx.sysnestor.com Reload Nginx to apply changes:
sudo systemctl reload nginxStep 8: Obtain an SSL Certificate
To secure your site with SSL, use Certbot:
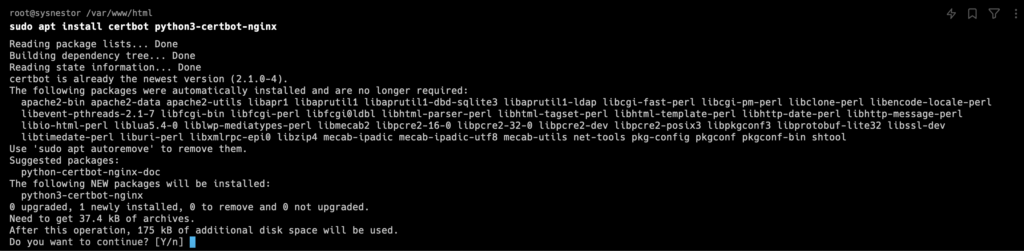
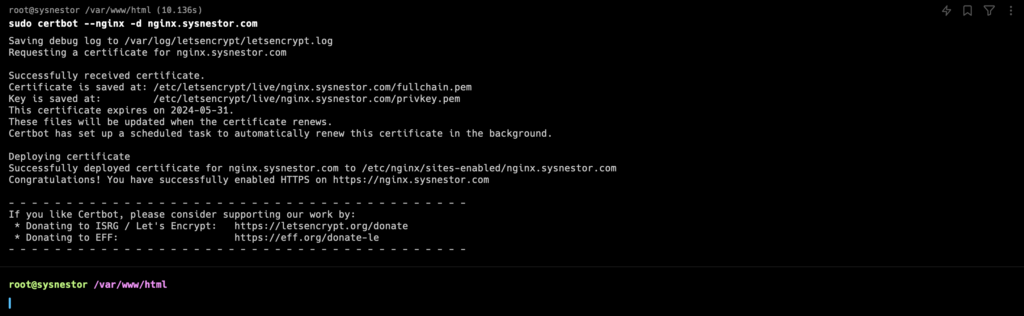
Obtain the SSL certificate for your domain:
sudo certbot --nginx -d nginx.sysnestor.comFollow the prompts to set up SSL. Once done, Certbot will automatically configure Nginx to use the SSL certificate.
Step 9: Access Your Secure Site
Open your browser and enter https://<Your-Domain>. You should see your site with a secure connection.
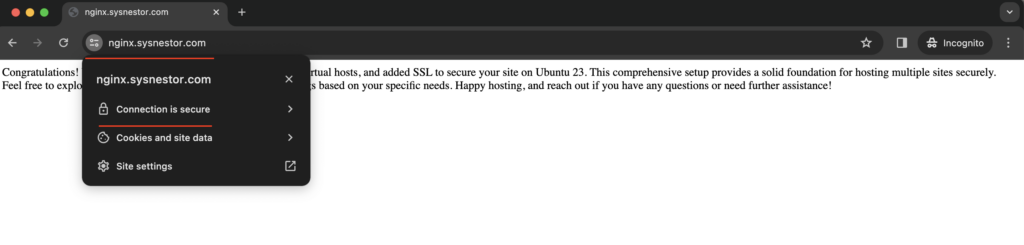
Congratulations! You’ve successfully installed Nginx, configured virtual hosts, and added SSL to secure your site on Ubuntu 23. This comprehensive setup provides a solid foundation for hosting multiple sites securely.
Feel free to explore advanced Nginx configurations and SSL settings based on your specific needs. Happy hosting, and reach out if you have any questions or need further assistance!
Comments (2)