If you’re venturing into the world of content management systems (CMS) and have chosen Joomla as your platform, you’re in for a treat! In this step-by-step guide, we’ll walk you through the seamless process of installing Joomla on Ubuntu 23, ensuring a smooth and efficient setup for your website.
Why Choose Joomla?
Before we dive into the installation process, let’s briefly discuss why Joomla is a preferred CMS for many. Known for its user-friendly interface, extensive customization options, and robust security features, Joomla caters to both beginners and experienced developers. Whether you’re creating a personal blog or a business website, Joomla provides the flexibility and scalability you need.
Prerequisites
Before we get started, ensure that you have the following prerequisites:
- Ubuntu 23 Server: Make sure you have a clean installation of Ubuntu 23 on your server.
- Terminal Access: Familiarize yourself with basic terminal commands, as we’ll be using the command line for some tasks.
- LAMP Stack: Joomla relies on a LAMP (Linux, Apache, MySQL, PHP) stack. If you haven’t set up a LAMP stack yet, follow our LAMP stack installation guide.
Step 1: Download and Extract Joomla
Begin by navigating to the official Joomla website and downloading the latest version. You can use the following commands in the terminal:
cd /var/www/html
wget https://downloads.joomla.org/cms/joomla5/5-0-2/Joomla_5-0-2-Stable-Full_Package.tar.gz
tar zxvf Joomla_5-0-2-Stable-Full_Package.tar.gz
Step 2: Set Permissions
It’s crucial to set the correct permissions to ensure Joomla operates smoothly. Execute the following commands:
sudo chown -R www-data:www-data /var/www/html/
sudo chmod -R 755 /var/www/html/
systemctl restart apache2Step 3: Create a Database
Joomla requires a MySQL database to store its data. Let’s create one:
sudo mysqlRun the following commands:
CREATE DATABASE joomla_db;
CREATE USER 'joomla_user'@'localhost' IDENTIFIED BY 'Your_pa$sw0rd';
GRANT ALL PRIVILEGES ON joomla_db.* TO 'joomla_user'@'localhost';
FLUSH PRIVILEGES;
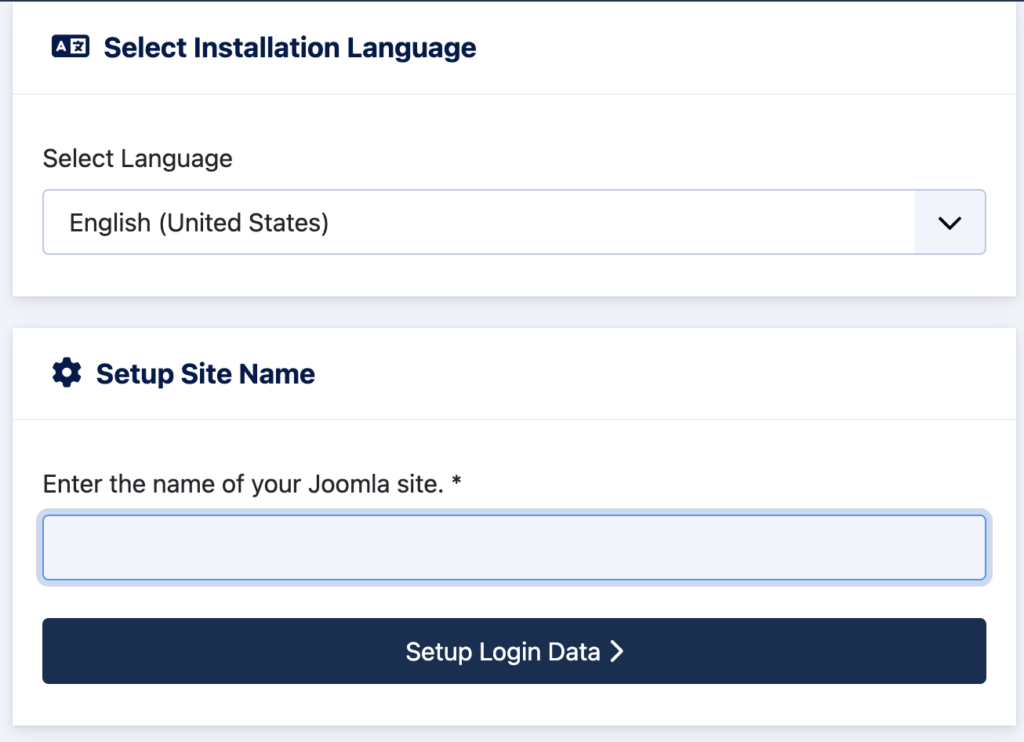
EXIT;Step 4: Joomla Web Installation
Now, open your web browser and navigate to http://your_domain_or_ip/. Follow the on-screen instructions, providing the necessary information such as site name, admin credentials, and database details.
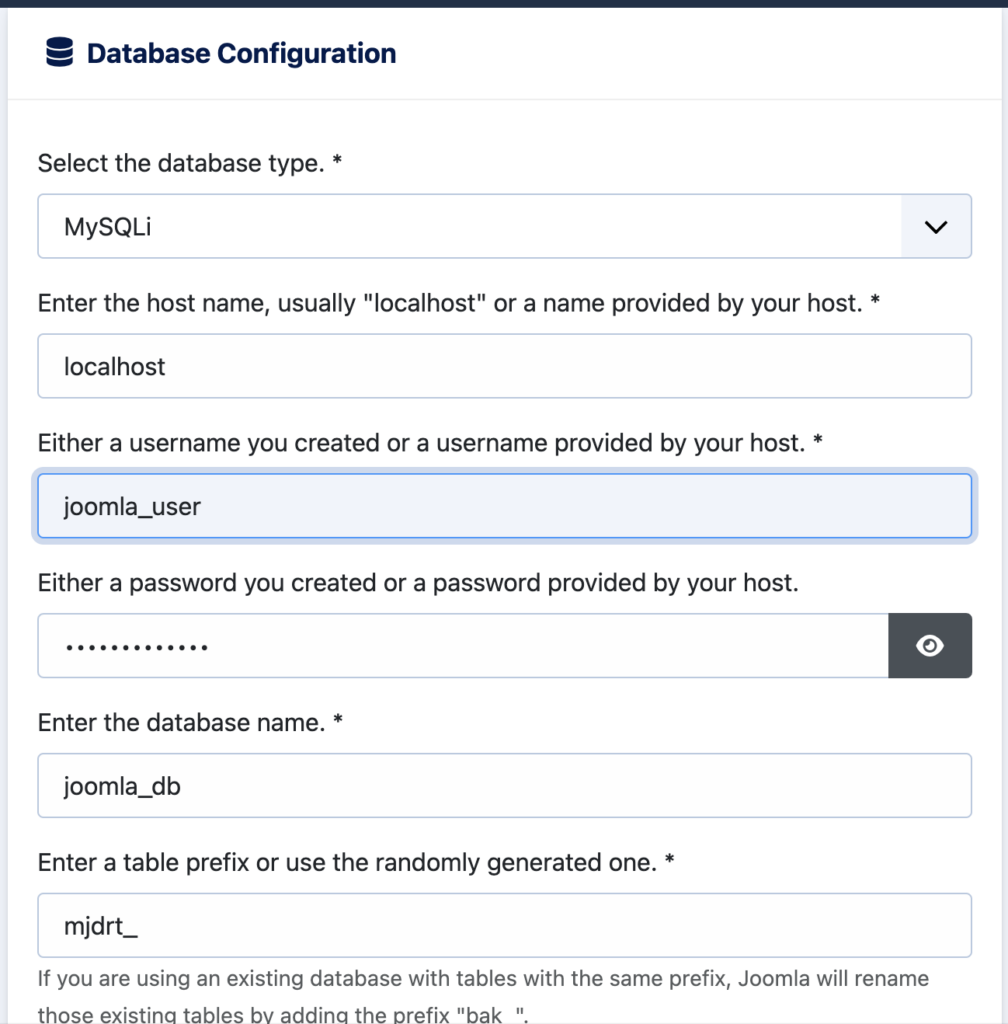
Configure your login details
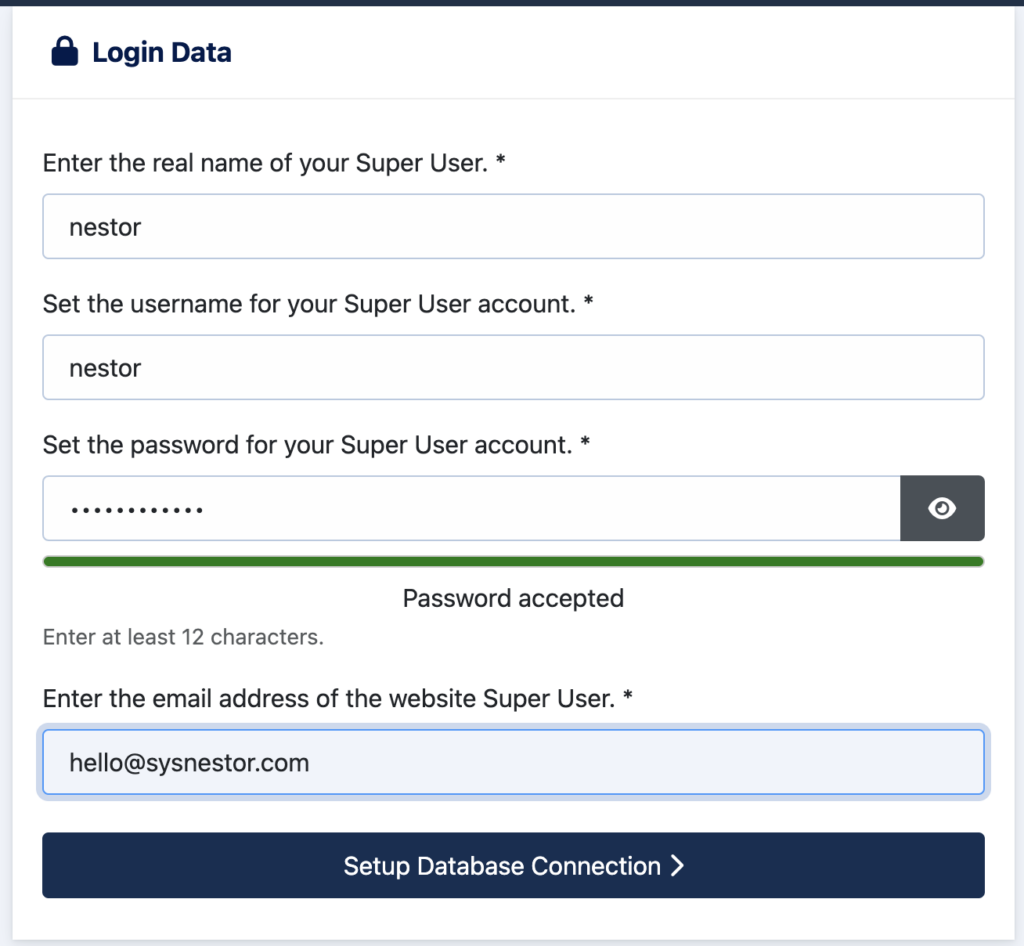
Complete the MySQL details, and use the details from Step 3: Create a Database
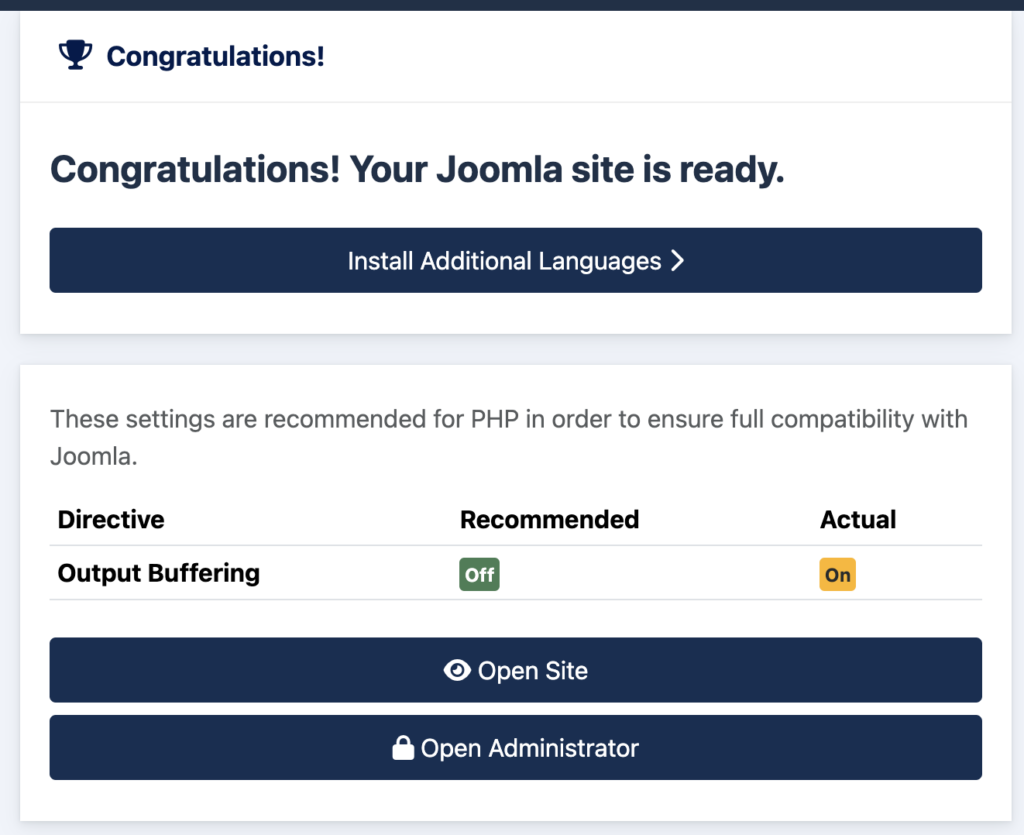
Congratulations! You’ve successfully installed Joomla on Ubuntu 23. Your website is now ready for customization and content creation. Explore the multitude of extensions and templates Joomla offers to tailor your site to your specific needs.
In this guide, we’ve covered the installation process concisely, ensuring a hassle-free experience.