

Jenkins on Ubuntu is an open-source automation server used for building, testing, and deploying software. It facilitates continuous integration and continuous delivery (CI/CD) processes, helping developers automate repetitive tasks in the software development lifecycle. Here are key aspects of Jenkins and how it can help:
- Automation: Jenkins allows you to automate the entire software development process, from code integration to testing and deployment. This reduces manual intervention, saves time, and minimizes the risk of errors.
- Continuous Integration (CI): Jenkins supports continuous integration, which involves automatically building and testing code changes whenever developers commit their code to a version control system (such as Git). This helps identify and fix integration issues early in the development cycle.
- Continuous Delivery/Deployment (CD): Jenkins supports continuous delivery and continuous deployment, automating the process of releasing and deploying software into different environments. This ensures that software can be reliably and consistently delivered to production or other environments.
- Extensibility: Jenkins has a large and active plugin ecosystem that allows users to extend its functionality. There are plugins available for various version control systems, build tools, testing frameworks, and deployment platforms, making it adaptable to different technology stacks.
- Pipeline as Code: Jenkins supports defining build and deployment processes as code through its Pipeline DSL (Domain Specific Language). This allows teams to version control and manage their build and deployment pipelines alongside their application code.
- Scalability: Jenkins can be easily scaled to accommodate projects of varying sizes and complexities. It can distribute builds across multiple machines, allowing for parallel execution and faster build times.
- Integration with Third-Party Tools: Jenkins integrates seamlessly with a wide range of third-party tools and services, such as version control systems (e.g., Git), issue tracking systems, build tools (e.g., Maven), and cloud platforms (e.g., AWS, Azure). This integration capability ensures a smooth workflow across different tools.
- Community Support: Jenkins has a large and active community of users and contributors. This means there are ample resources, documentation, and support available online.
Prerequisites
To get started with setting up Jenkins on Ubuntu 23, make sure you have the following prerequisites in place:
- VPS with Ubuntu 23 Installed: Ensure that you have a Virtual Private Server (VPS) provisioned with Ubuntu 23. If you haven’t done this yet, you can choose a VPS provider, follow their setup instructions, and select Ubuntu 23 as the operating system during the setup process.
- SSH Access to Your Server: It’s essential to have SSH access to your VPS for configuration and management purposes. If you’re not familiar with setting up SSH access, most VPS providers offer instructions on how to generate SSH keys and connect to your server securely.
- Static IPv4 Address for Your VPS: Jenkins requires a static IPv4 address to ensure a stable and consistent connection. Verify that your VPS is configured with a static IPv4 address. If you’re unsure about how to set up a static IP, refer to your VPS provider’s documentation or support resources.
Once you have these prerequisites in place, you’ll be ready to proceed with installing and configuring Jenkins on your Ubuntu 23 VPS. This ensures a smooth setup process and allows you to leverage Jenkins for your continuous integration and continuous delivery needs.
Step 1: Update and Upgrade
Connect to your VPS using SSH and make sure your system is up-to-date:
sudo apt update && apt upgrade -y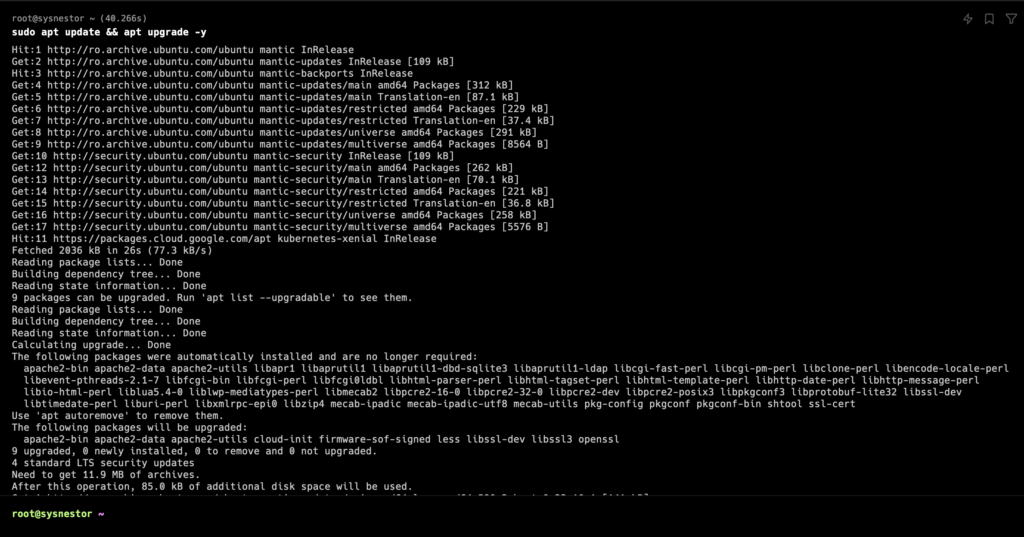
Step 2: Install Java
Now that your Ubuntu 23 VPS is set up, the next step is to install Java, as Jenkins relies on it to operate. We’ll be using OpenJDK for this installation. Follow these steps:
- Open a terminal on your VPS.
- Use the following command to install OpenJDK 11:
sudo apt install openjdk-11-jdk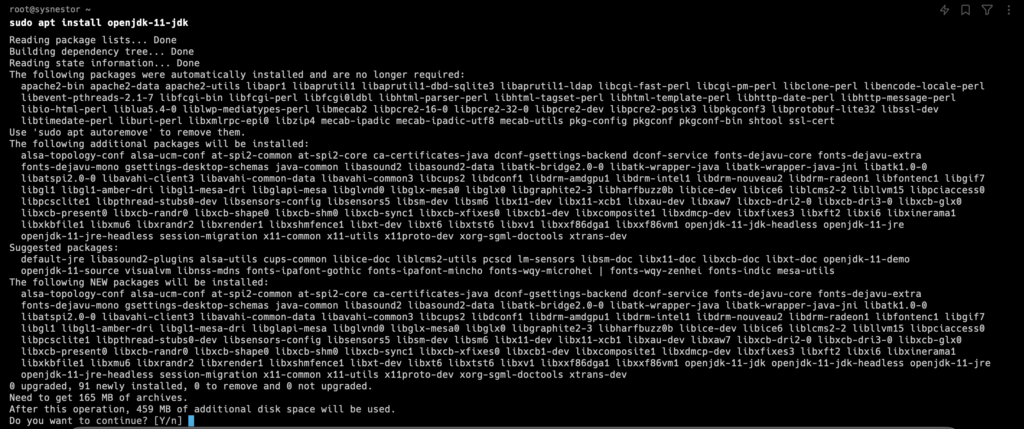
This will download and install OpenJDK 11 on your VPS. Once the installation is complete, Jenkins will be able to utilize Java for its functionalities. The next steps will guide you through the Jenkins installation process, so keep following along to set up your continuous integration and delivery environment.
Verify the installation:
java -version
openjdk version "11.0.22" 2024-01-16
OpenJDK Runtime Environment (build 11.0.22+7-post-Ubuntu-0ubuntu223.10.1)
OpenJDK 64-Bit Server VM (build 11.0.22+7-post-Ubuntu-0ubuntu223.10.1, mixed mode, sharing)
Step 3: Add Jenkins Repository
To proceed with installing Jenkins on your Ubuntu 23 VPS, you need to add the Jenkins repository and install the GPG key. Follow these steps:
- Download and install the GPG key for the Jenkins repository using the following commands:
curl -fsSL https://pkg.jenkins.io/debian-stable/jenkins.io-2023.key | sudo tee \
    /usr/share/keyrings/jenkins-keyring.asc > /dev/null
This step ensures that your system recognizes the Jenkins repository and can verify the authenticity of the software packages during the installation process. With the GPG key in place, you’re ready to move on to the next steps in setting up Jenkins on your VPS.
Add the Jenkins software repository to the source list and provide the authentication key:
echo deb [signed-by=/usr/share/keyrings/jenkins-keyring.asc] \
    https://pkg.jenkins.io/debian-stable binary/ | sudo tee \
    /etc/apt/sources.list.d/jenkins.list > /dev/null
Step 4: Install Jenkins
Update the package list and install Jenkins:
sudo apt update
sudo apt install jenkins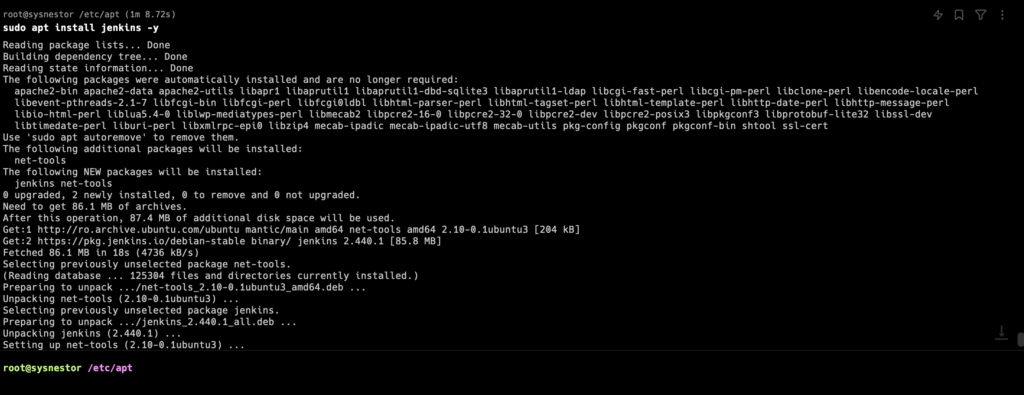
Step 5: Start and Enable Jenkins Service
Now that you have added the Jenkins repository and completed the installation, it’s time to start the Jenkins service and ensure it launches automatically on boot. Follow these steps:
- Start the Jenkins service with the following command:
sudo systemctl start jenkinsThis command initiates the Jenkins service.
- Enable Jenkins to start automatically whenever your VPS boots up:
sudo systemctl enable jenkins- Enabling Jenkins ensures that it will be started automatically on system startup.
Now, Jenkins is up and running on your VPS. You can access the Jenkins web interface to continue the setup process. Open your web browser and go to http://your_server_ip_or_domain:8080. Follow the on-screen instructions to unlock Jenkins and complete the initial configuration.
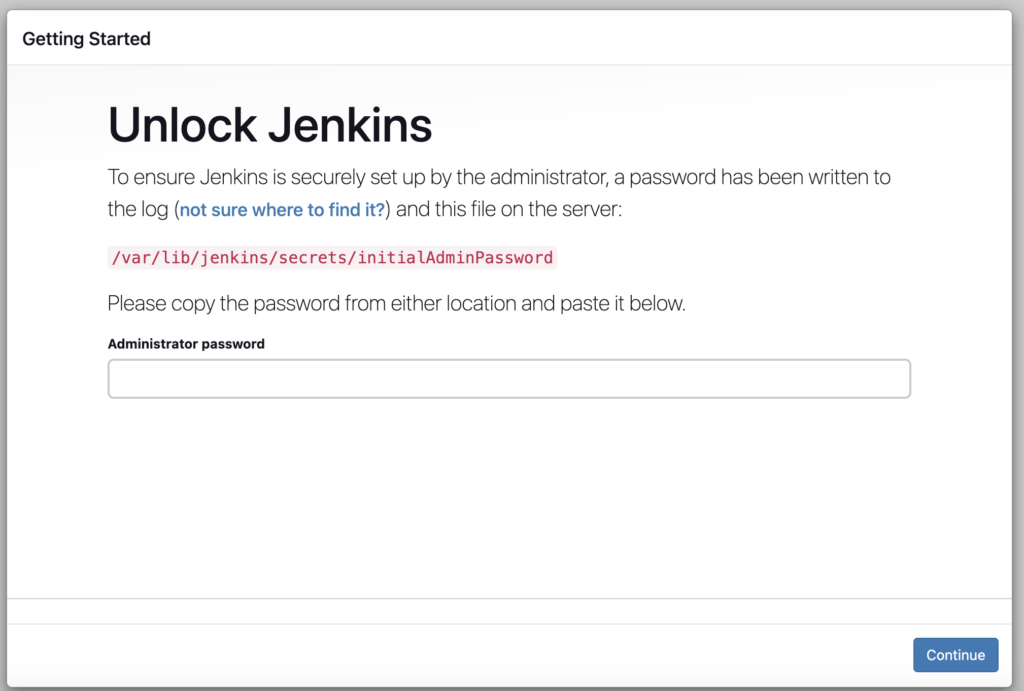
You will be prompted to enter the initial administrator password. Retrieve it from the server:
sudo cat /var/lib/jenkins/secrets/initialAdminPasswordCopy the password and paste it into the Jenkins web interface. Follow the on-screen instructions to complete the setup.
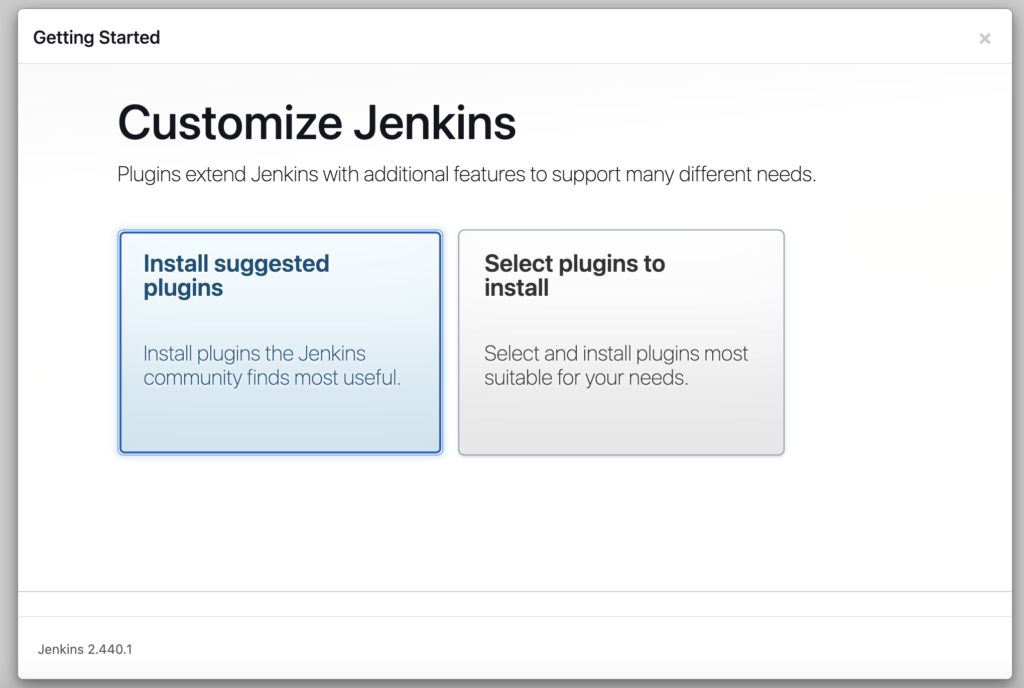
Step 6: Install Recommended Plugins
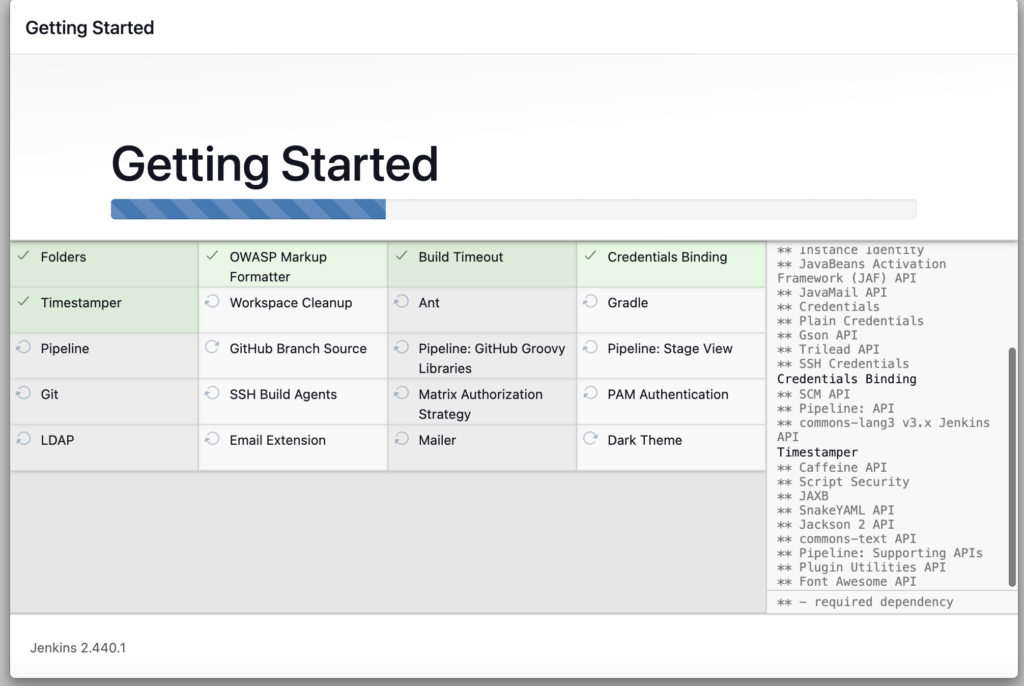
After the setup, Jenkins will provide options for installing recommended plugins. Choose the “Install suggested plugins” option.
Step 7: Create Admin User
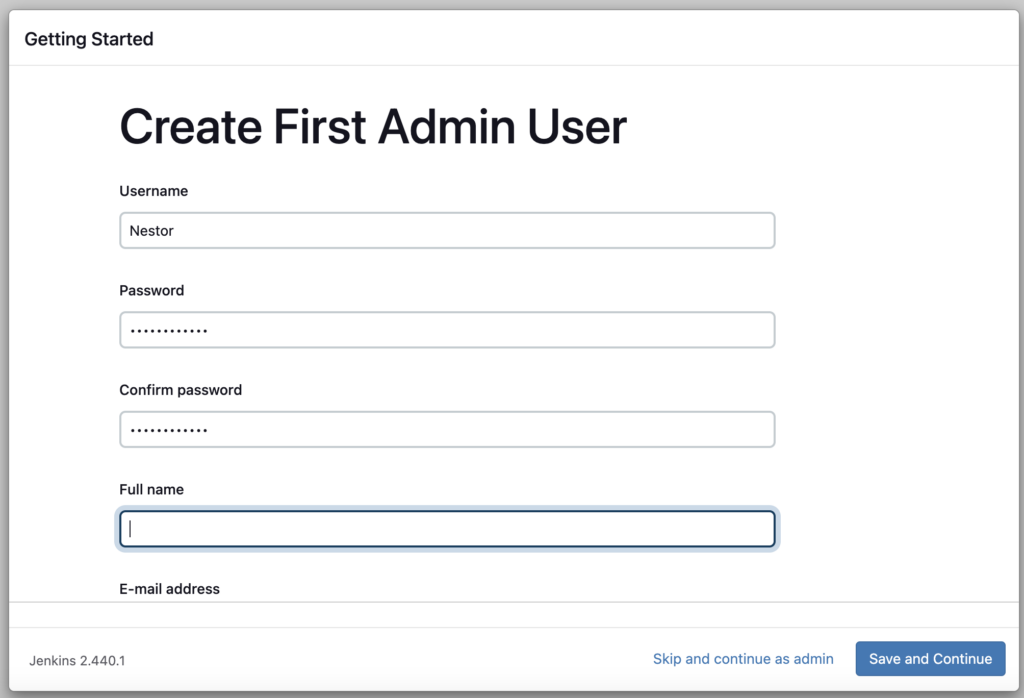
Once the plugins are installed, create an admin user with your desired credentials.
Step 10: Finalize Setup
Click “Start using Jenkins” and you’re ready to use Jenkins! Access it from your browser using your server’s IP address.
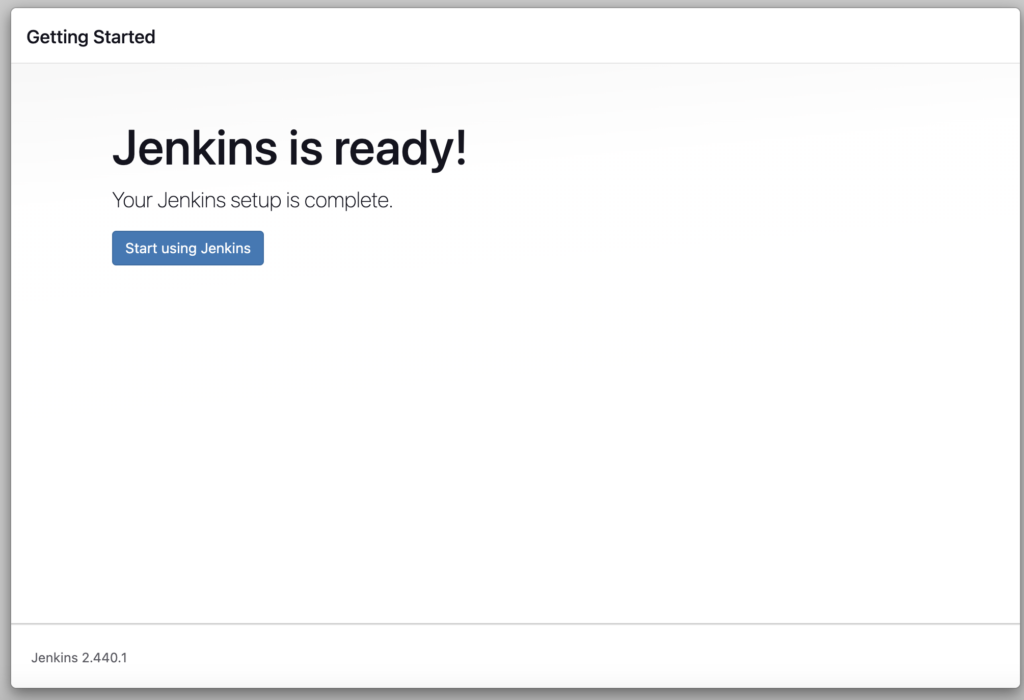
Congratulations! You’ve successfully installed Jenkins on Ubuntu 23. Explore the Jenkins dashboard and start automating your CI/CD workflows.

Comments (1)