

CyberPanel is an open-source web hosting control panel that simplifies server management tasks, making it an excellent choice for those who want to manage their web hosting with ease. It comes with a user-friendly interface and powerful features, including support for OpenLiteSpeed and LiteSpeed Enterprise. In this tutorial, we will walk you through the process of installing CyberPanel on Ubuntu 22.
Requirements for Installation.
To install CyberPanel, ensure you meet the following requirements:
- A server with a fresh installation of Ubuntu 18.04, Ubuntu 20.04, Ubuntu 22.04, AlmaLinux 8, or CloudLinux 8.
- At least 1024MB RAM
- A minimum of 10GB disk space
Step 1: Update Your System
The first step is to update your system to ensure all packages are up to date. Open your terminal and execute the following commands:
sudo apt update && sudo apt upgrade -y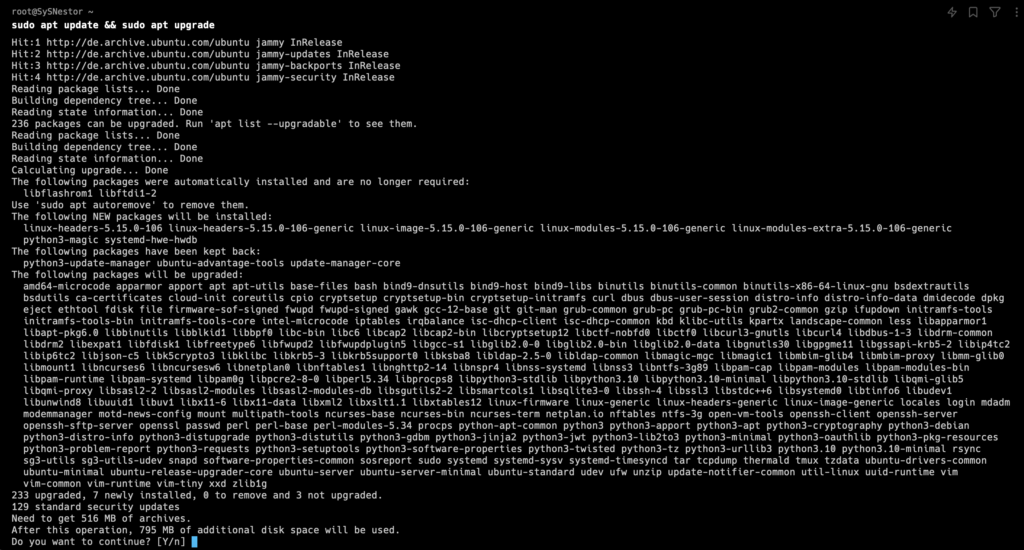
Step 2: Install Required Dependencies
CyberPanel requires certain dependencies to function correctly. Install them by running:
sudo apt install -y curl wgetcurl and wget are tools used to download files from the internet, which we will use to download the CyberPanel installer.
Step 3: Run the CyberPanel on Ubuntu Installation Script
Execute the provided command to initiate the automated installation script. This script will guide you through several decisions regarding the LiteSpeed version and additional add-ons you wish to install.
sh <(curl https://cyberpanel.net/install.sh || wget -O - https://cyberpanel.net/install.sh)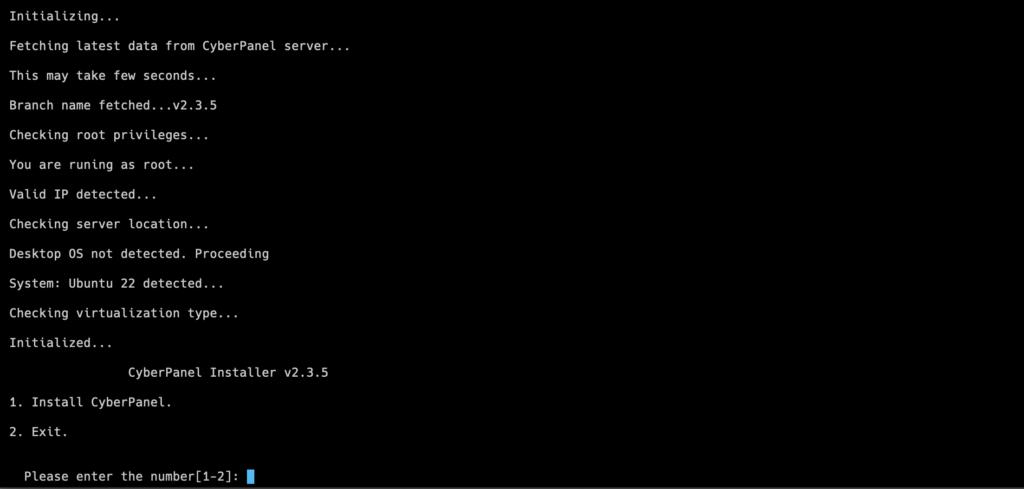
You will be prompted with several options during the installation process:
- Choose Install Type:
- Press
1for CyberPanel with OpenLiteSpeed (Free). - Press
2for CyberPanel with LiteSpeed Enterprise (requires a license).
- Press

- Install Full Service:
- Press
Yto install the full service, which includes PowerDNS, Postfix, and Pure-FTPd.
- Press
- Remote MySQL:
- If you want to use a remote MySQL server, press
Y. Otherwise, pressN.
- If you want to use a remote MySQL server, press

- Install Memcached and Redis:
- Press
Yto install Memcached and Redis, which can improve your server’s performance.
- Press

- Install WatchDog:
- Press
Yto install WatchDog, which monitors your server and ensures services are running.
- Press

The installation process will start automatically and is anticipated to finish within 5-10 minutes, depending on the speed of your server.
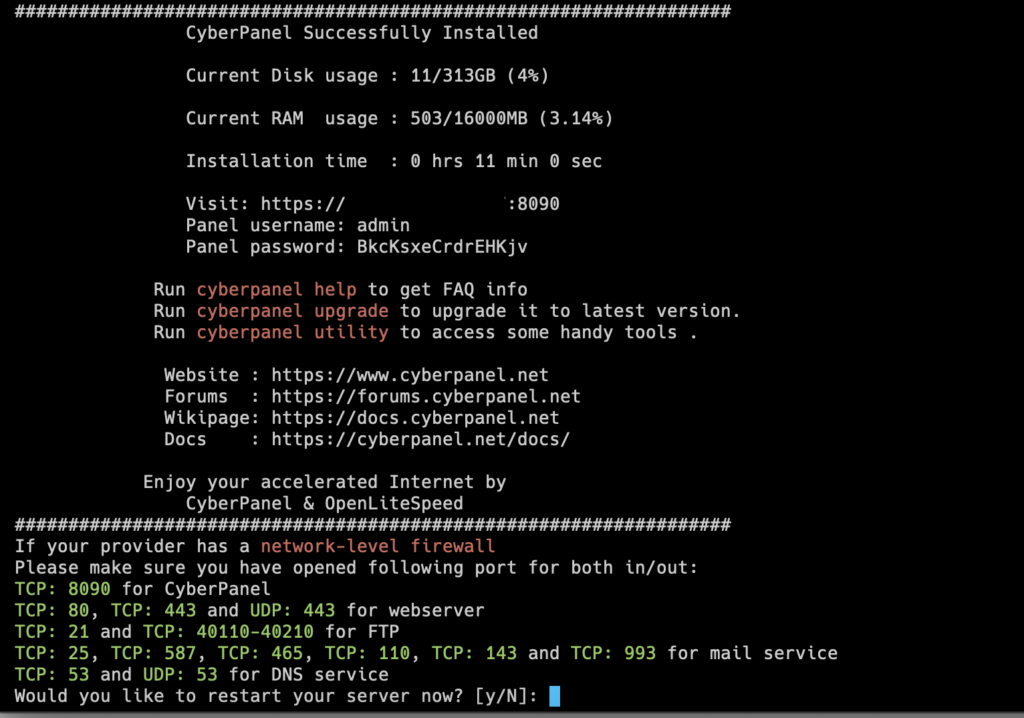
Step 4: Access CyberPanel
Once the installation is complete, you can access CyberPanel via a web browser. Use the following URL format:
https://<your-server-ip>:8090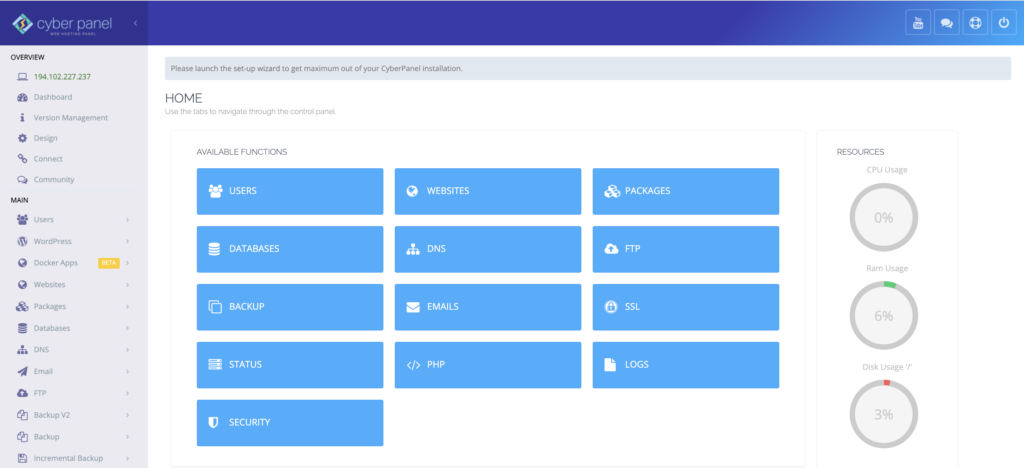
Step 5: Set Up a Website
To set up your first website, follow these steps:
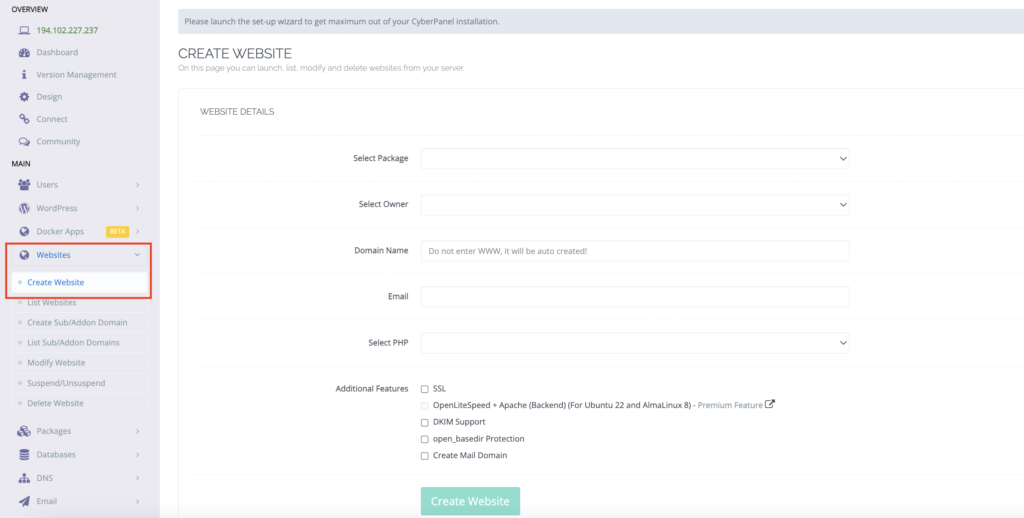
- Add a New Website:
- Go to
Websites > Create Website. - Fill in the required details such as domain name, email, and package.
- Click
Create Website.
- Go to
- Manage DNS Records:
- Navigate to
DNS > Create DNS Zone. - Add the necessary DNS records for your domain.
- Navigate to
- Install SSL for the Website:
- Go to
Websites > List Websites. - Click
Issue SSLnext to your domain name.
- Go to
Step 6: Troubleshooting
Common Issues
- Installation Failure: Ensure all dependencies are installed and your system is up to date.
- Cannot Access CyberPanel: Check your firewall settings and ensure port 8090 is open.
- SSL Issues: Verify your DNS settings and ensure your domain points to your server’s IP.
Logs and Support
If you encounter issues, check the logs located at:
/usr/local/lscp/logs/Setting up CyberPanel on Ubuntu 22 is quite a breeze and it really boosts your server management game with its sleek interface and powerful tools. By following this step-by-step guide, you should have CyberPanel up and running smoothly, ready to take on all your web hosting tasks. Just remember to keep everything updated to keep your server secure and running at its best. Happy hosting and enjoy the new capabilities!
