If you’re managing websites and applications, you understand the importance of a reliable and efficient server management panel. CloudPanel is a modern, lightweight control panel designed specifically for managing cloud servers. It’s optimized for performance and supports the latest technologies, making it an excellent choice for both developers and system administrators. In this guide, we’ll walk you through the process of installing CloudPanel on an Ubuntu 22.04 server.
Prerequisites
Before we begin, ensure you have the following:
- A fresh installation of Ubuntu 22.04.
- Root or a user with sudo privileges.
- A stable internet connection.
Step 1: Update Your System
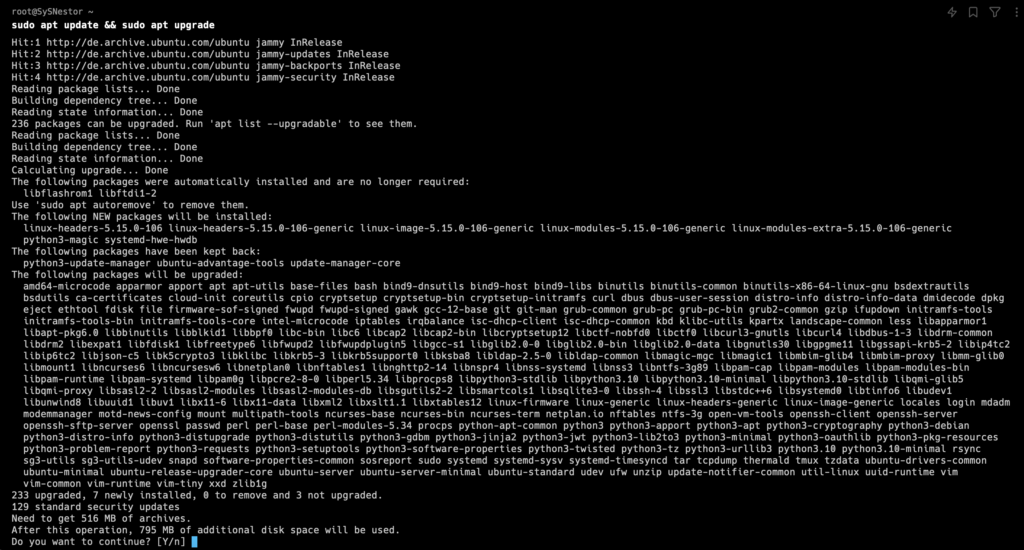
Start by updating your system’s package list and upgrading the installed packages to their latest versions. Open your terminal and execute the following commands:
sudo apt update
sudo apt upgrade -y
This ensures that you have the latest security updates and software versions installed.
Step 2: Install Required Dependencies
CloudPanel requires several dependencies to function correctly. Install these by running:
sudo apt install -y curl wget gnupg2 lsb-release software-properties-commonBreakdown of Commands:
curlandwget: Tools to download files from the internet.gnupg2: A complete and free implementation of the OpenPGP standard.lsb-release: Provides information about the Linux distribution.software-properties-common: Adds the ability to manage PPAs.
Step 3: Install CloudPanel
Install CloudPanel using the following command:
curl -sS https://installer.cloudpanel.io/ce/v2/install.sh -o install.sh; \
echo "85762db0edc00ce19a2cd5496d1627903e6198ad850bbbdefb2ceaa46bd20cbd install.sh" | \
sha256sum -c && sudo bash install.sh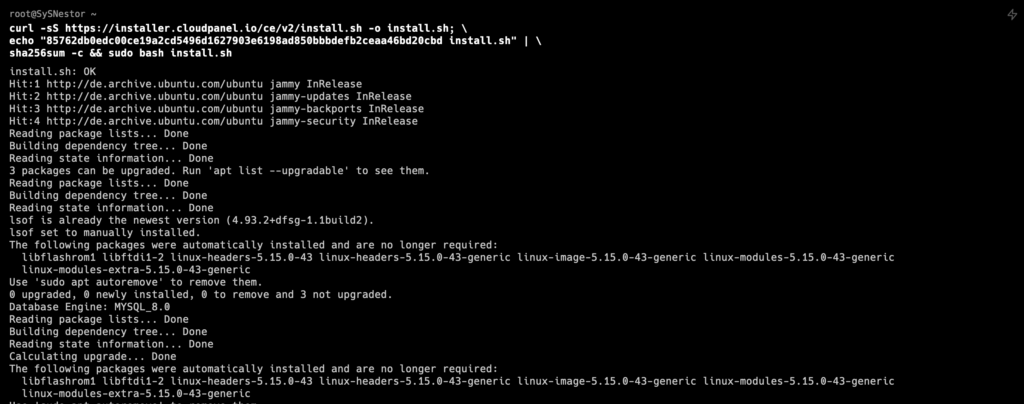
For security reasons, access CloudPanel as fast as possible to create the admin user. There is a small time window where bots can create the user. If possible, open port 8443 only for your IP via firewall.

Step 4: Access CloudPanel
Once the installation is complete, CloudPanel will automatically start. To access it, open a web browser and navigate to your server’s IP address or domain name followed by port 8443:
https://your_server_ip_or_domain:8443Ignore the self-signed certificate warning and click on Advanced and Proceed to continue to CloudPanel.
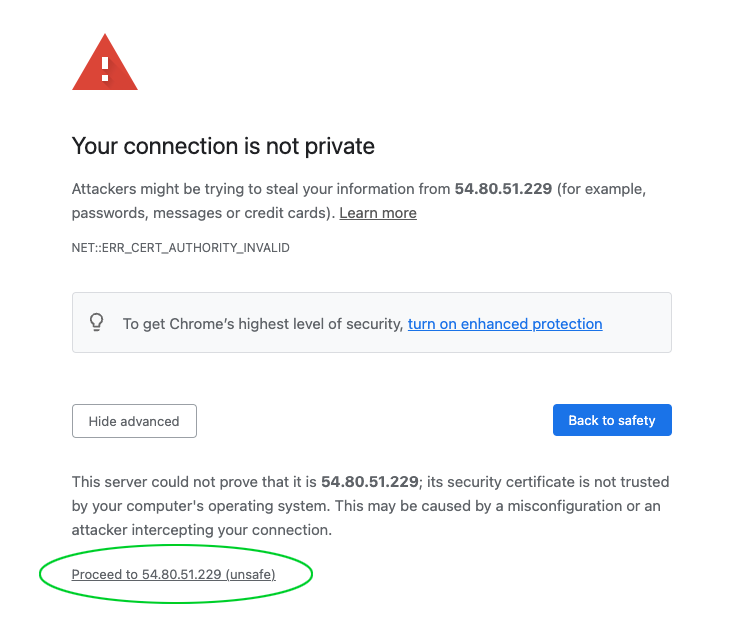
Example:
- If your server IP is
192.168.1.100, go tohttps://192.168.1.100:8443.
Step 5: Initial Setup
You will be greeted by the CloudPanel setup wizard. Follow these steps to complete the initial configuration:
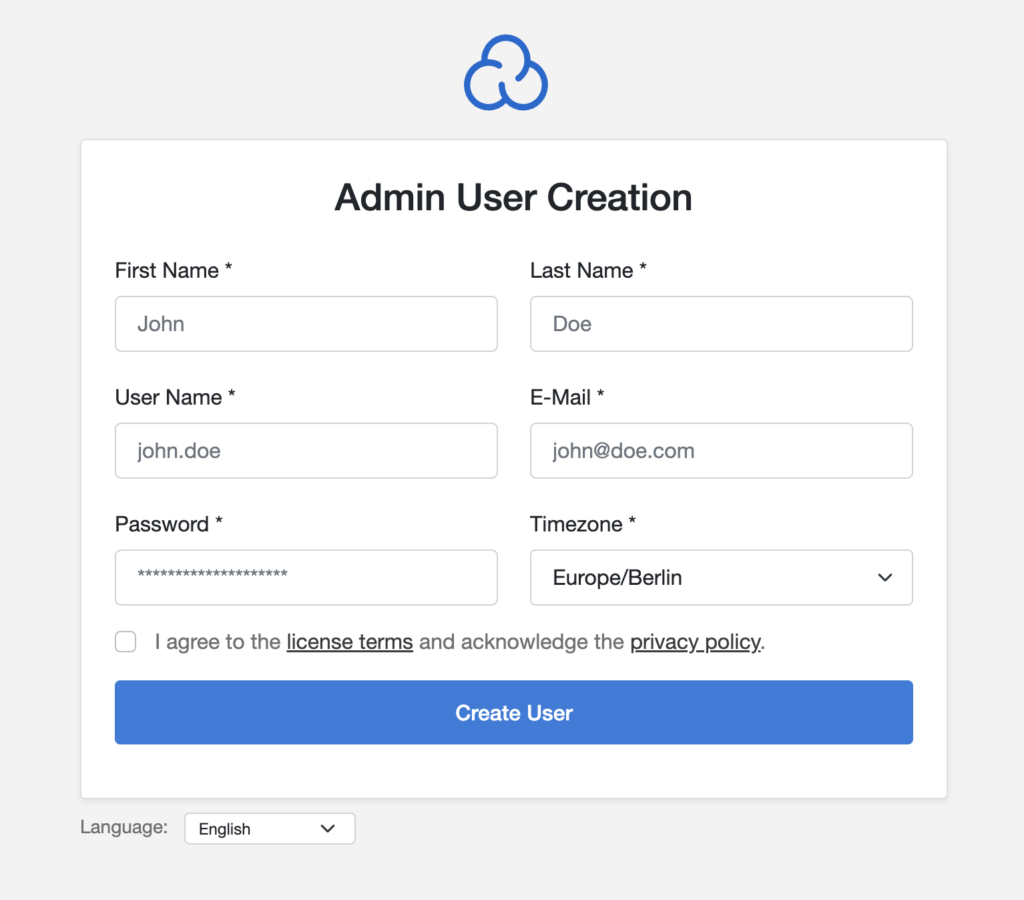
- Create an Admin Account: Enter your desired username, email, and password.
- Server Configuration: Review the server settings and make adjustments if necessary.
- Finish Setup: Click on the finish button to complete the installation.
Step 6: Securing Your Installation
For security purposes, it’s crucial to configure a firewall to protect your server. Ubuntu comes with ufw (Uncomplicated Firewall) pre-installed. Here’s how to configure it:
- Allow SSH Connections:
sudo ufw allow ssh
- Allow HTTP and HTTPS Connections:
sudo ufw allow httpsudo ufw allow https- Allow CloudPanel Port:
sudo ufw allow 8443/tcp
- Enable the Firewall:
sudo ufw enable
Breakdown of Commands:
sudo ufw allow ssh: Allows SSH connections for remote management.sudo ufw allow http: Allows HTTP traffic.sudo ufw allow https: Allows HTTPS traffic.sudo ufw allow 8443/tcp: Opens the CloudPanel port.sudo ufw enable: Activates the firewall.
Step 7: How to Add a Website in CloudPanel
With CloudPanel, you can Create a WordPress Site, Create a PHP Site, Create a Node.js Site, Create a Static HTML Site, Create a Python Site or Create a Reverse Proxy.
In this example, we will install WordPress with a few clicks.
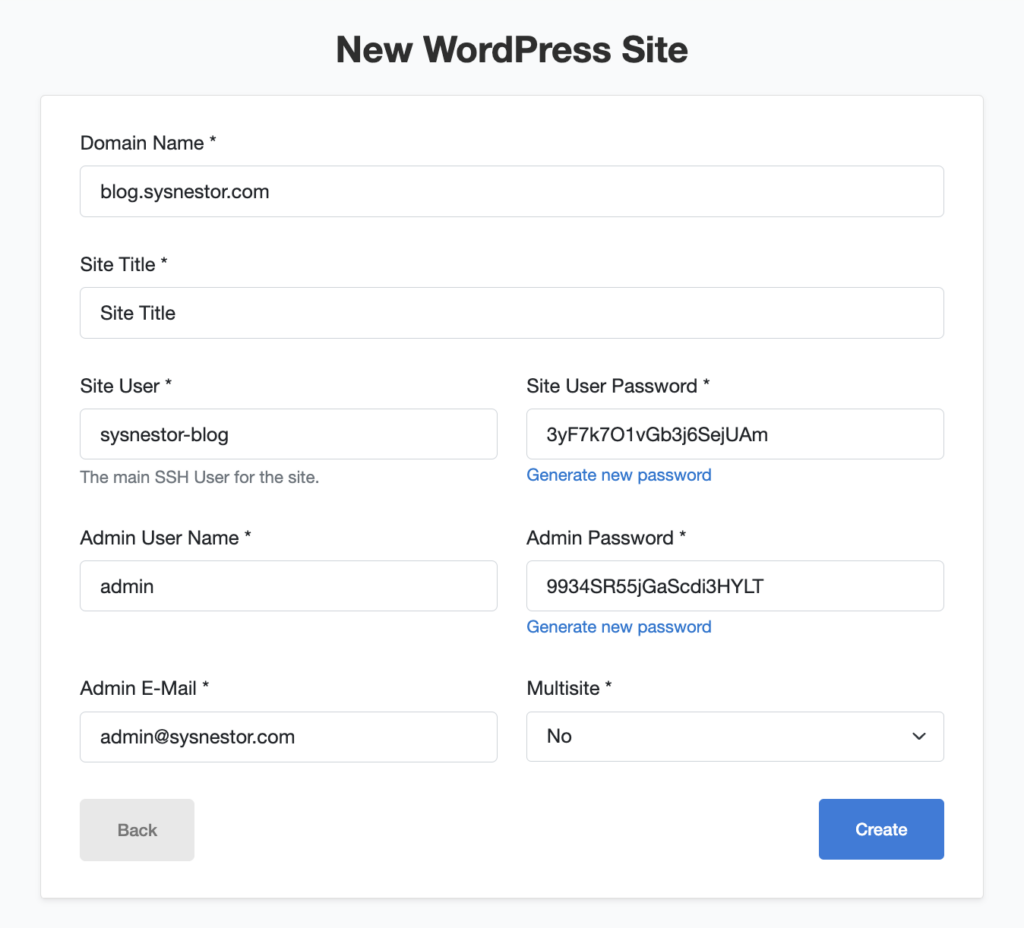
Voyla
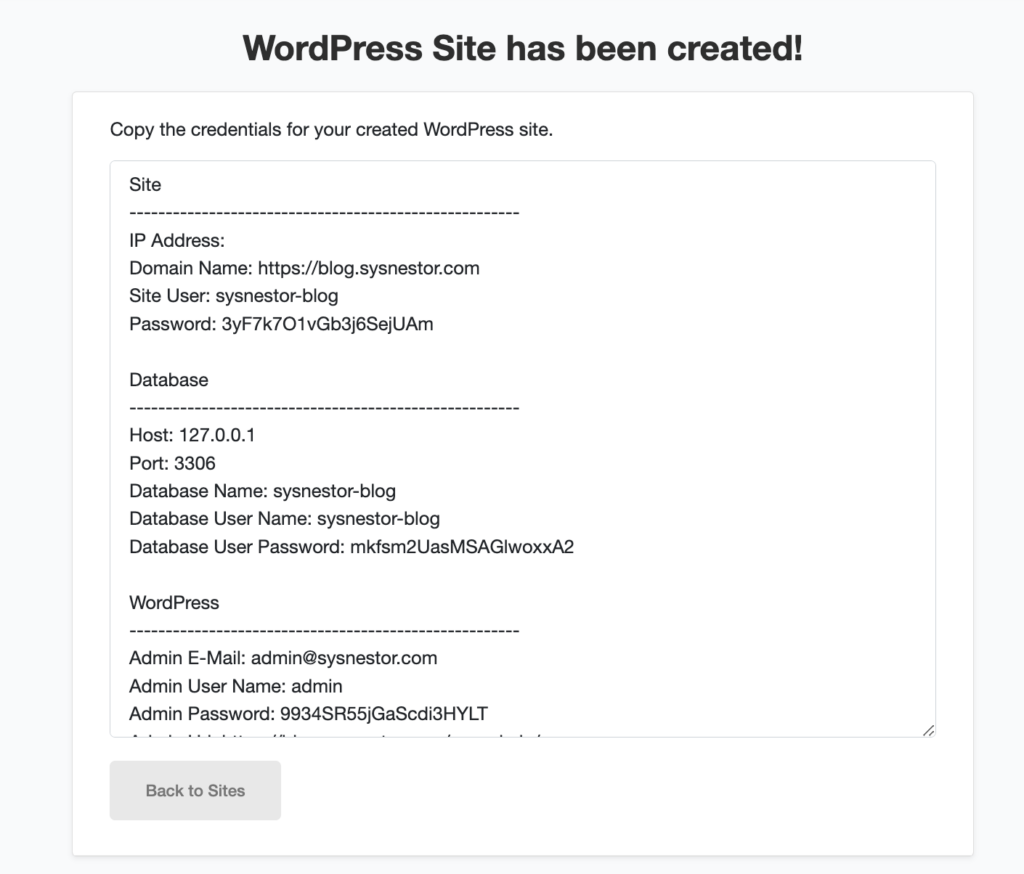
Installing CloudPanel on Ubuntu 22.04 is a straightforward process that enhances your server management capabilities with a powerful, modern control panel. By following this guide, you’ve set up a robust environment to manage your cloud server efficiently. Whether you’re hosting websites, applications, or other services, CloudPanel provides the tools you need to streamline your operations. Remember to keep your system updated and regularly back up your data to maintain a secure and reliable server environment.
