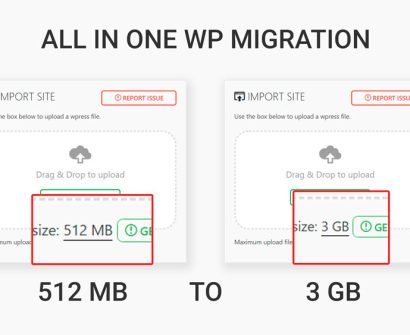
Encountering the upload limit restriction can be rather frustrating, especially when attempting to upload a backup file that surpasses the specified limit. It becomes apparent that acquiring the premium version solely to bypass this upload size restriction is an unnecessary and cumbersome expense.
Method 1:
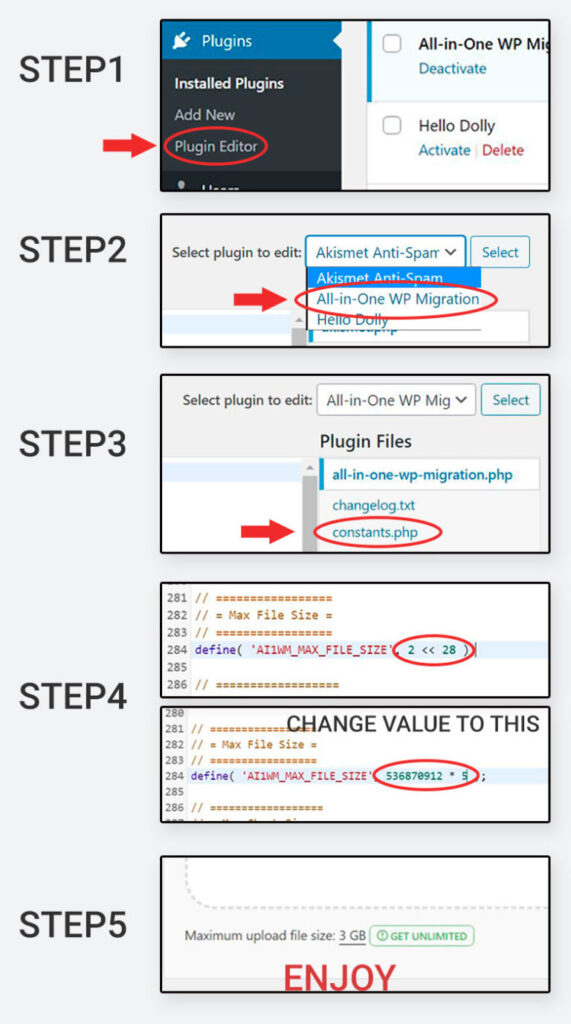
- Changing the upload limit size takes just 5 steps
- Go to Plugin editor from the left menu panel in the admin dashboard.
- Top right, Choose All-in-one WP Migration from the dropdown and click select.
- Click on constants.php file.
- Search for the word AI1WM_MAX_FILE_SIZE. Change it’s value, refer below code:
- define( ‘AI1WM_MAX_FILE_SIZE’, 2 << 28 );
- To
- define( ‘AI1WM_MAX_FILE_SIZE’, 536870912 * 5 );
If you even want more than 3 GB then change the value from 536870912 * 5 to 536870912 * 10( or any number).
Don’t forget to update the file.

Method 2:
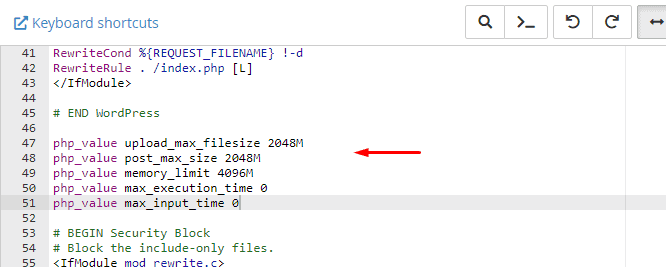
Using .htaccess file
Before Increase All-in-One WP Migration Upload Limit, or altering, or editing any WordPress plugins, you should first create a backup of your complete WordPress website. So that’s all. If something goes wrong, you can always restore from a recent backup.
You will need access to the site’s root folder, which contains the .htaccess file.
Place the following code in your .htaccess:
php_value upload_max_filesize 2048M
php_value post_max_size 2048M
php_value memory_limit 4096M
php_value max_execution_time 0
php_value max_input_time 0
