To bolster the security of your WordPress website, one effective strategy is to implement HTTP security headers. In an era of increased cyber threats and malicious attacks, website security has become a critical concern for website owners. WordPress, being the most popular content management system (CMS) globally, is not immune to such risks. These headers provide an additional layer of protection by controlling how browsers and visitors interact with your site. In this article, we will guide you through the process of adding HTTP security headers in WordPress to fortify your website’s security.
Understanding HTTP Security Headers
HTTP security headers are additional pieces of information that are transmitted between a web server and a browser to ensure secure and controlled communication. These headers help protect your website from various attacks, such as cross-site scripting (XSS), clickjacking, and content injection.
The Process of Adding HTTP Security Headers in WordPress:
Step 1: Evaluate Your Current Security Headers Setup:
Before adding new security headers, it’s essential to assess your existing setup. You can use online tools like securityheaders.com or Mozilla Observatory to check your website’s current security headers. These tools will provide you with a detailed analysis of your headers, highlighting any missing or misconfigured ones.
Step 2: Choose the Appropriate Security Headers
Based on the analysis from the previous step, you can determine which security headers are missing or need improvement. Some commonly recommended security headers include:
- Strict-Transport-Security (HSTS): Enforces secure HTTPS connections and prevents downgrade attacks.
- Content-Security-Policy (CSP): Controls which resources can be loaded on your website, protecting against XSS and data injection.
- X-Frame-Options: Prevents clickjacking attacks by limiting how your website can be embedded in iframes.
- X-XSS-Protection: Enables the built-in XSS filter in modern browsers to protect against cross-site scripting attacks.
- X-Content-Type-Options: Prevents content type sniffing, ensuring that browsers interpret your website’s content correctly.
Step 3: Implementing HTTP Security Headers
There are several ways to add security headers to your WordPress website. Here are two commonly used methods:
Method 1: Plugin Installation
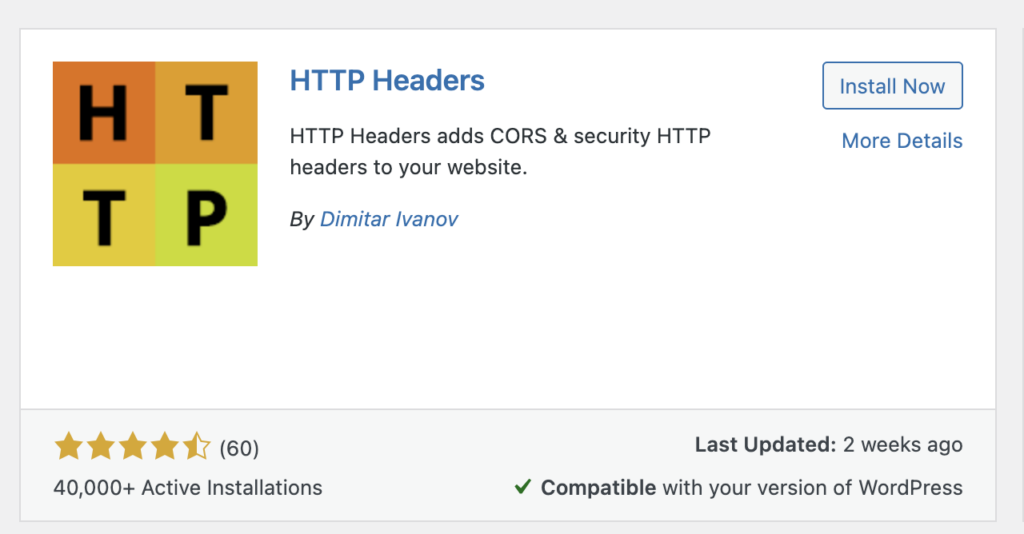
- Log in to your WordPress dashboard and navigate to “Plugins” > “Add New.”
- Search for a security plugin such as “HTTP Headers” or “Security Headers.”
- Install and activate the plugin of your choice.
- Configure the plugin settings to add the desired security headers. The plugin will generate the necessary code and insert it into your website’s headers.

Method 2: Manual Implementation
- Access your website’s root directory using an FTP client or cPanel file manager.
- Locate the .htaccess file (if it doesn’t exist, create a new one).
- Open the .htaccess file and add the necessary code snippets corresponding to the security headers you wish to implement.
<ifModule mod_headers.c>
Header set Strict-Transport-Security "max-age=31536000" env=HTTPS
Header set X-XSS-Protection "1; mode=block"
Header set X-Content-Type-Options nosniff
Header set X-Frame-Options DENY
Header set Referrer-Policy: no-referrer-when-downgrade
</ifModule>- Save the changes and upload the modified .htaccess file back to the server.
Method 3: Add HTTP Security Headers Using Cloudflare
- In your Cloudflare dashboard, go to the “SSL/TLS” section.
- Scroll down to the “Edge Certificates” section and find the “HTTP Strict Transport Security (HSTS)” option.
- Toggle the switch to enable HSTS.

- Set the desired “Max Age” for HSTS. This value determines how long the browser should remember to access your website via HTTPS.
- Consider enabling the “Include subdomains” option if you want HSTS to apply to all subdomains of your website as well.
- Save the settings.
In conclusion, adding HTTP security headers to your WordPress website is an important step in enhancing its overall security. By implementing headers such as Strict-Transport-Security (HSTS), Content-Security-Policy (CSP), X-Frame-Options, X-XSS-Protection, and X-Content-Type-Options, you can significantly reduce the risk of various attacks and vulnerabilities.
Whether you choose to add these headers manually by modifying the .htaccess file or utilizing the features provided by Cloudflare, it’s crucial to regularly monitor and update your security headers to stay ahead of potential threats.
Remember to test and verify the implementation of HTTP security headers to ensure they function as intended and do not interfere with your website’s functionality. Additionally, staying informed about emerging security practices and keeping your website’s software up to date will further strengthen your overall security posture.
By following the steps outlined in this guide, you can fortify your WordPress website’s security, protect your visitors’ data, and establish a trusted online presence. Prioritizing website security is an ongoing process, so remain vigilant and proactive in maintaining a robust defense against evolving cybersecurity threats.
