Deploying applications in Docker containers is a powerful way to ensure consistency across different environments. In this tutorial, we will guide you through the process of deploying Ollama on Docker using Ubuntu 24.04. This guide is tailored for beginners, providing detailed explanations and commands to make the process as straightforward as possible.
1. Introduction to Docker and Ollama
What is Docker?
Docker is a platform that allows you to automate the deployment, scaling, and management of applications using containerization. Containers are lightweight, portable, and ensure that applications run consistently across different environments. Docker simplifies the process of setting up complex environments, making it easier to share and collaborate.
2. Installing Docker on Ubuntu 24.04
Before we can deploy Ollama, we need to install Docker on our Ubuntu 24.04 system. Follow these steps to get Docker up and running:
Step 1: Update Your System
First, update your system to ensure all packages are up to date. Open a terminal and run:
sudo apt update && sudo apt upgrade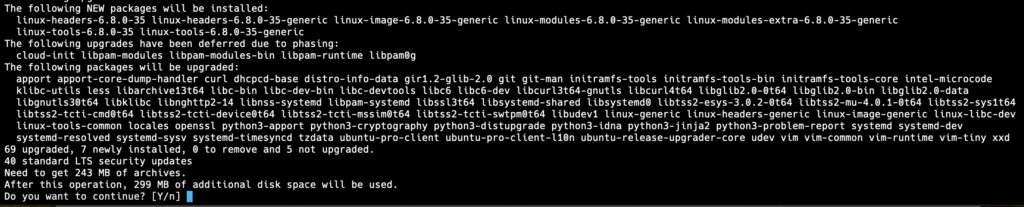
Step 2: Install Docker
Ubuntu 24.04 includes Docker in its official repositories. To install Docker, run the following commands:
sudo apt install docker.io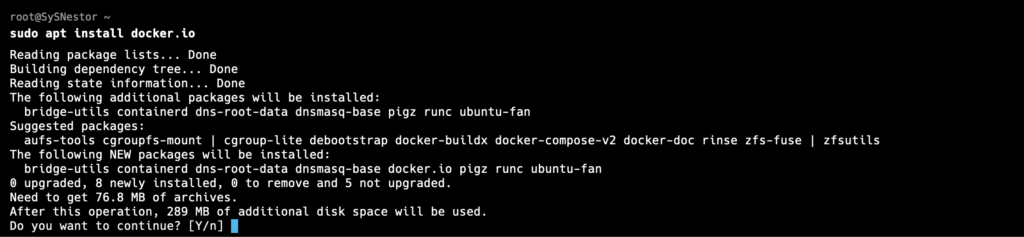
Step 3: Start and Enable Docker
After installation, start the Docker service and enable it to start on boot:
sudo systemctl start docker
sudo systemctl enable docker
Step 4: Verify Docker Installation
To verify that Docker is installed correctly, run:
docker --version
You should see an output similar to Docker version 20.10.x, build xxxxx.
Step 5: Add User to Docker Group
To run Docker commands without sudo, add your user to the Docker group:
sudo usermod -aG docker $USERLog out and log back in for the changes to take effect.
3. Setting Up a Dockerfile for Ollama
A Dockerfile is a script that contains instructions for building a Docker image. We will create a Dockerfile for Ollama, assuming it is a web application written in Python.
Step 1: Create a Project Directory
Create a directory for your project:
mkdir ollama-docker
cd ollama-docker
Step 2: Create a Dockerfile
In the project directory, create a file named Dockerfile and open it in a text editor:
touch Dockerfile
nano Dockerfile
Add the following content to the Dockerfile:
# Use an official Python runtime as a parent image
FROM python:3.8-slim

# Set the working directory in the container
WORKDIR /app

# Copy the current directory contents into the container at /app
COPY . /app

# Install any needed packages specified in requirements.txt
RUN pip install --no-cache-dir -r requirements.txt

# Make port 80 available to the world outside this container
EXPOSE 80

# Define environment variable
ENV NAME Ollama

# Run app.py when the container launches
CMD ["python", "app.py"]
Step 3: Create a Requirements File
Create a requirements.txt file with the necessary Python dependencies:
touch requirements.txt
nano requirements.txt
Add the following lines (assuming Ollama requires Flask):
Flask==2.0.1
Werkzeug==2.0.1
Step 4: Create the Application Code
Create a simple Flask application as an example. Create a file named app.py:
touch app.py
nano app.py
Add the following content to app.py:
from flask import Flask
app = Flask(__name__)

@app.route('/')
def hello_world():
    return 'Hello, Ollama!'

if __name__ == '__main__':
    app.run(host='0.0.0.0', port=80)
4. Building and Running the Ollama Docker Container
Step 1: Build the Docker Image
In the project directory, build the Docker image using the Dockerfile:
docker build -t ollama .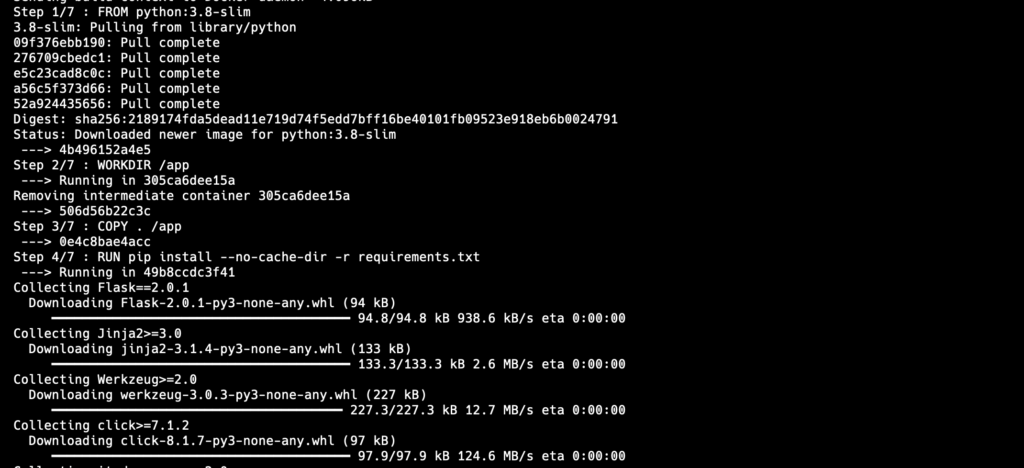
This command will create a Docker image named ollama based on the instructions in the Dockerfile.
Step 2: Run the Docker Container
Run a container using the newly created Docker image:
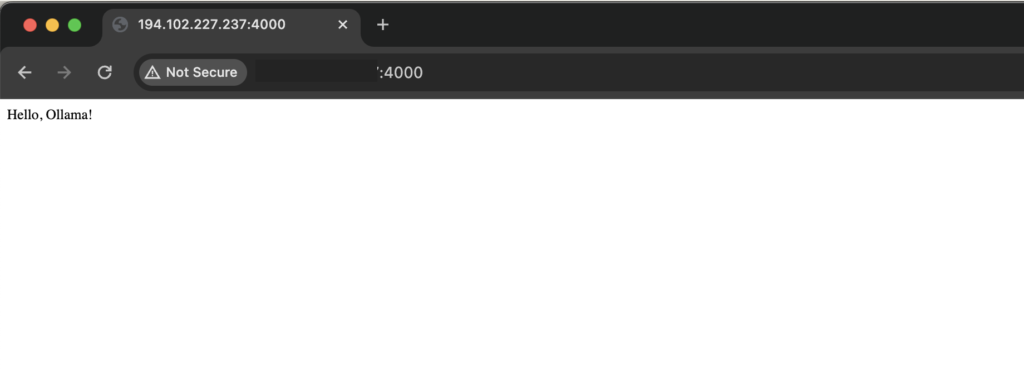
docker run -d -p 4000:80 --name ollama_container ollamaThis command runs the container in detached mode (-d), maps port 4000 on your host to port 80 in the container (-p 4000:80), and names the container ollama_container.
Step 3: Verify the Deployment
Open your web browser and go to http://localhost:4000. You should see the message “Hello, Ollama!”.
5. Managing and Using the Ollama Container
Step 1: Viewing Container Logs
To see the logs from the running container, use the docker logs command:
docker logs ollama_container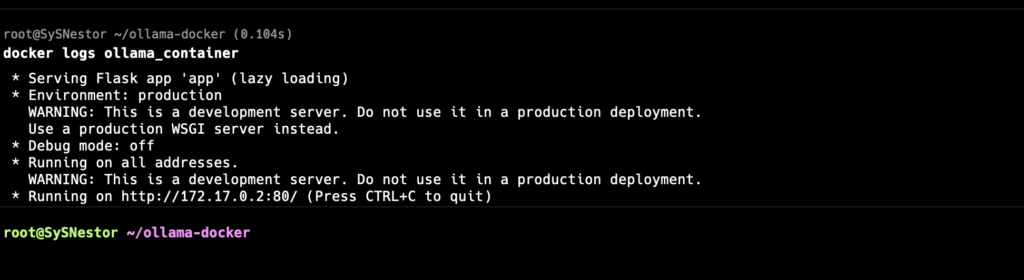
Step 2: Accessing the Container
To open a bash shell inside the running container, use the docker exec command:
docker exec -it ollama_container bashStep 3: Stopping and Restarting the Container
To stop the running container, use the docker stop command:
docker stop ollama_containerTo restart the container, use the docker start command:
docker start ollama_containerStep 4: Removing the Container
If you no longer need the container, you can remove it using the docker rm command:
docker rm ollama_containerStep 5: Removing the Docker Image
If you want to remove the Docker image as well, use the docker rmi command:
docker rmi ollamaDeploying Ollama on Docker using Ubuntu 24.04 is a straightforward process that offers many benefits, including environment consistency and ease of sharing. Docker simplifies the setup of complex environments, making it an excellent tool for both development and production.
In this tutorial, we covered the basics of Docker, how to install Docker on Ubuntu 24.04, and how to set up and manage Ollama containers. With this knowledge, you can now explore more advanced Docker features and customize your Ollama environment to suit your specific needs.
Happy coding! If you have any questions or run into any issues, feel free to leave a comment below.