Jenkins, a widely used automation server, plays a crucial role in modern IT environments. In this step-by-step guide, we’ll walk through the process of changing the default Jenkins port and adding an SSL certificate to enhance security. If you’re new to Jenkins or just getting started with IT, fear not – we’ve got you covered.
To make Jenkins accessible on both port 80 and with an SSL certificate, you can use a reverse proxy like Nginx or Apache to handle SSL termination and proxy requests to Jenkins running on a higher port. Here, I’ll guide you through setting up Nginx as a reverse proxy with SSL termination for Jenkins.
Prerequisites:
- Ensure Jenkins is running on a higher port, let’s say on port 8080. If you don’t have Jenkins installed refer to our step-by-step guide.
- Obtain an SSL certificate for your domain using Let’s Encrypt (as previously explained).
Steps to Add SSL Certificate:
Install Certbot:
sudo apt install certbot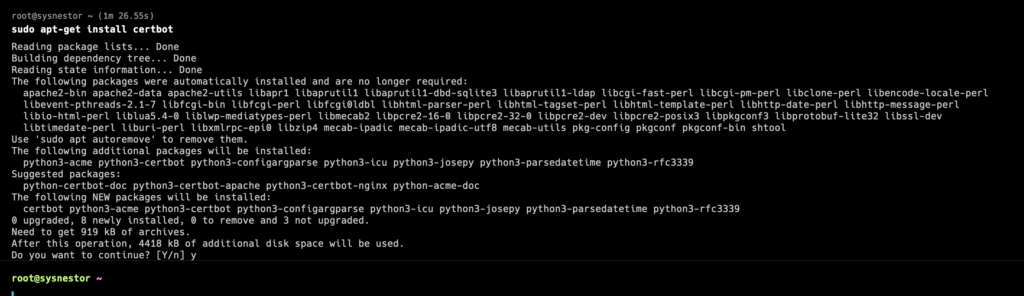
Obtain SSL Certificate
Run Certbot to obtain the SSL certificate. Replace jenkins.sysnestor.com with your actual domain.
sudo certbot certonly --standalone -d jenkins.sysnestor.com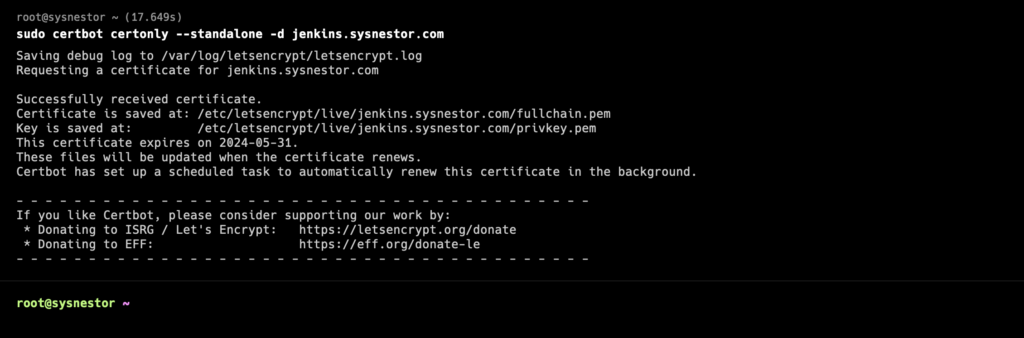
- Certbot will guide you through the process. You may need to agree to terms and provide an email address for notifications.
- Certificate Location: Note the location of the generated certificates. The location is typically something like
/etc/letsencrypt/live/your_domain.
ls /etc/letsencrypt/live/
README  jenkins.sysnestor.com
Install Nginx
sudo apt-get update
sudo apt-get install nginx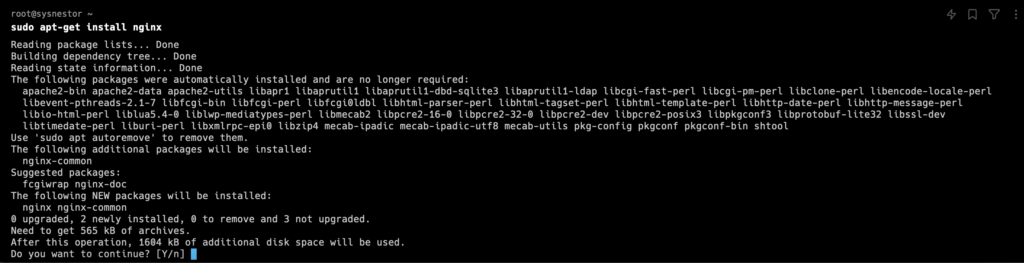
Stop Jenkins:
sudo systemctl stop jenkinsConfigure Nginx for SSL
Create an Nginx configuration file for Jenkins:
sudo nano /etc/nginx/sites-available/jenkinsAdd the following configuration, replacing your_domain with your actual domain:
server {
    listen 80;
    server_name jenkins.sysnestor.com;

    location / {
        return 301 https://$host$request_uri;
    }
}

server {
    listen 443 ssl;
    server_name jenkins.sysnestor.com;

    ssl_certificate /etc/letsencrypt/live/jenkins.sysnestor.com/fullchain.pem;
    ssl_certificate_key /etc/letsencrypt/live/jenkins.sysnestor.com/privkey.pem;
    ssl_protocols TLSv1.2 TLSv1.3;
    ssl_ciphers 'TLS_AES_128_GCM_SHA256:TLS_AES_256_GCM_SHA384:TLS_CHACHA20_POLY1305_SHA256:ECDHE-RSA-AES128-GCM-SHA256:ECDHE-RSA-AES256-GCM-SHA384';

    location / {
        proxy_pass http://localhost:8080;
        proxy_http_version 1.1;
        proxy_set_header Upgrade $http_upgrade;
        proxy_set_header Connection 'upgrade';
        proxy_set_header Host $host;
        proxy_cache_bypass $http_upgrade;
    }
}
Save the file and create a symbolic link to enable the site:
sudo ln -s /etc/nginx/sites-available/jenkins /etc/nginx/sites-enabledTest Nginx Configuration:
sudo nginx -t
nginx: the configuration file /etc/nginx/nginx.conf syntax is ok
nginx: configuration file /etc/nginx/nginx.conf test is successful
If the configuration test is successful, restart Nginx:
sudo systemctl restart nginxUpdate Jenkins Configuration
Edit the Jenkins configuration file:
sudo nano /etc/default/jenkinsEnsure that HTTP_PORT is set to -1 to disable direct access:
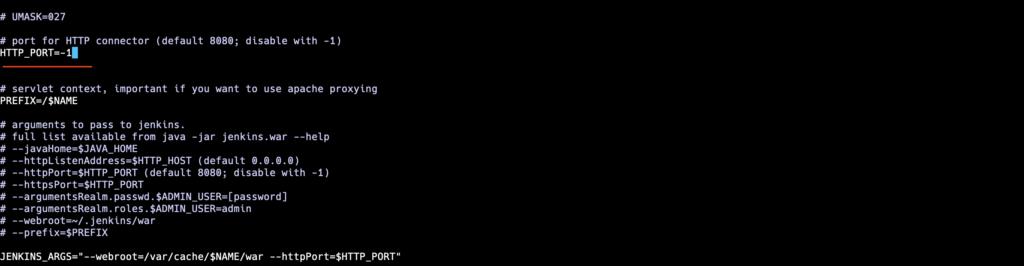
Restart Jenkins and Nginx:
sudo systemctl restart nginx
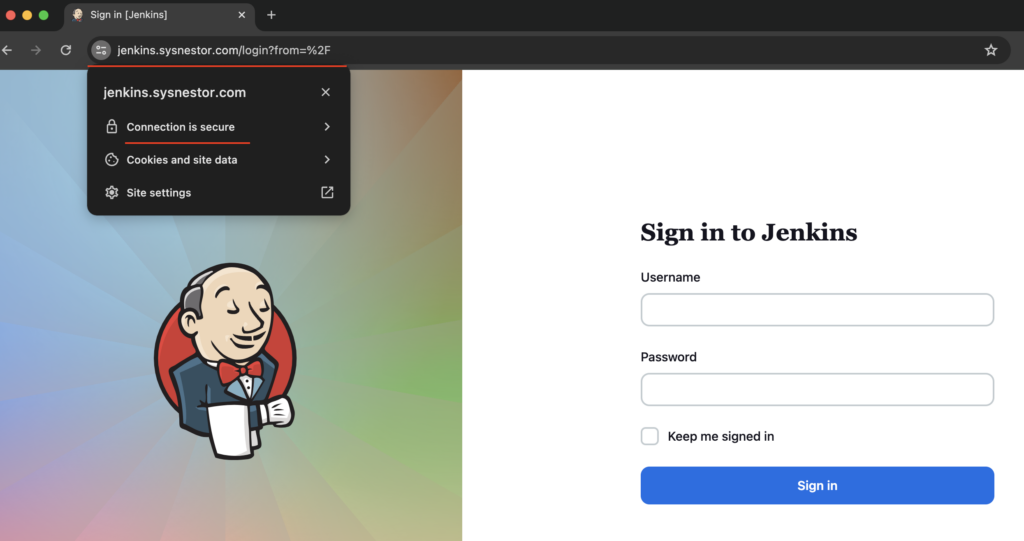
sudo systemctl restart jenkinsOpen your web browser and navigate to https://your_domain. You should now access Jenkins securely through SSL on port 443.
This setup allows you to use SSL with Jenkins while still having it accessible on port 80. The reverse proxy handles SSL termination and forwards requests to Jenkins. Ensure that your firewall allows traffic on ports 80 and 443.