When you find yourself needing to bulk delete a large number of WordPress posts, doing so individually can be time-consuming and tedious. Managing a WordPress website involves regular maintenance tasks, including post-management. Fortunately, WordPress offers a convenient solution called bulk deleting. In this article, we will guide you through the process of deleting WordPress posts in bulk, helping you optimize your workflow and save valuable time.
Understanding Bulk Deleting in WordPress
Bulk deleting is a built-in feature in WordPress that allows you to delete multiple posts simultaneously. It is particularly useful when you need to remove numerous posts quickly, such as outdated content, spam, or test articles. By utilizing bulk deleting, you can streamline your post management tasks and maintain a clutter-free website.
Method 1: Manual Approach
Step 1: Accessing the WordPress Admin Dashboard
Log in to your WordPress admin dashboard by entering your credentials on the login page.
Step 2: Navigating to the Posts Screen
Once logged in, navigate to the “Posts” screen by clicking on the “Posts” option in the admin dashboard menu.
Step 3: Filtering the Posts
Consider filtering the posts based on categories, tags, dates, or authors to refine your selection and delete only the desired posts.
Step 4: Selecting the Posts for Bulk Delete
Choose the posts you want to delete by selecting the checkboxes next to each post title. Alternatively, select all the posts on the page by clicking the checkbox in the header row.
Step 5: Initiate Bulk Delete
Locate the “Bulk Actions” dropdown menu above or below the post list. Choose the “Move to Trash” option from the dropdown to move the selected posts to the trash.
Step 6: Confirming Deletion
WordPress will display a confirmation message. Double-check the posts listed for deletion, as this action cannot be undone. Click “Apply” to proceed with the bulk deletion.
Step 7: Emptying the Trash
To permanently delete the posts, go to the “Trash” screen and select the “Empty Trash” option.
Method 2: Using a Plugin
Step 1: Install and Activate the Plugin
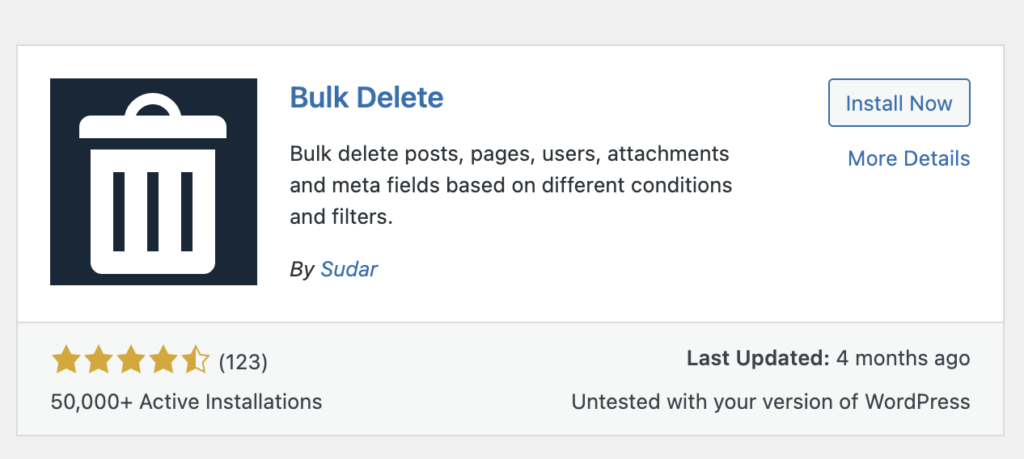
Go to your WordPress admin dashboard and navigate to “Plugins” > “Add New.” Search for the “Bulk Delete” plugin, install it, and then activate it.

Step 2: Accessing the Plugin’s Settings
Once activated, locate the “Bulk WP” option in the admin dashboard menu and click on it to access the plugin’s settings.
Step 3: Selecting Post Type and Filter Criteria
Choose the post type you want to delete (e.g., posts, pages, custom post types) and specify filter criteria such as categories, tags, authors, or date ranges.
Step 4: Preview and Confirm Deletion
Preview the posts that match the specified criteria and ensure they are correct. Once satisfied, click the “Delete” button to initiate the bulk deletion process.
Step 5: Confirming Deletion
The plugin will display a confirmation message. Verify the posts to be deleted, as this process cannot be undone. Confirm the deletion to proceed.
Step 6: Deleting Permanently
The plugin will move the selected posts to the trash. To permanently delete them, navigate to the “Trash” screen and use the plugin’s options to empty the trash.
Bulk Delete WordPress posts is a simple yet powerful feature that can significantly enhance your productivity and save you time. By following the step-by-step guide outlined in this article, you can efficiently manage your website’s content and maintain a well-organized online presence. Embrace the benefits of bulk deleting, and enjoy a streamlined workflow that allows you to focus on creating exceptional content for your audience.
